Fortify your RMM Central server

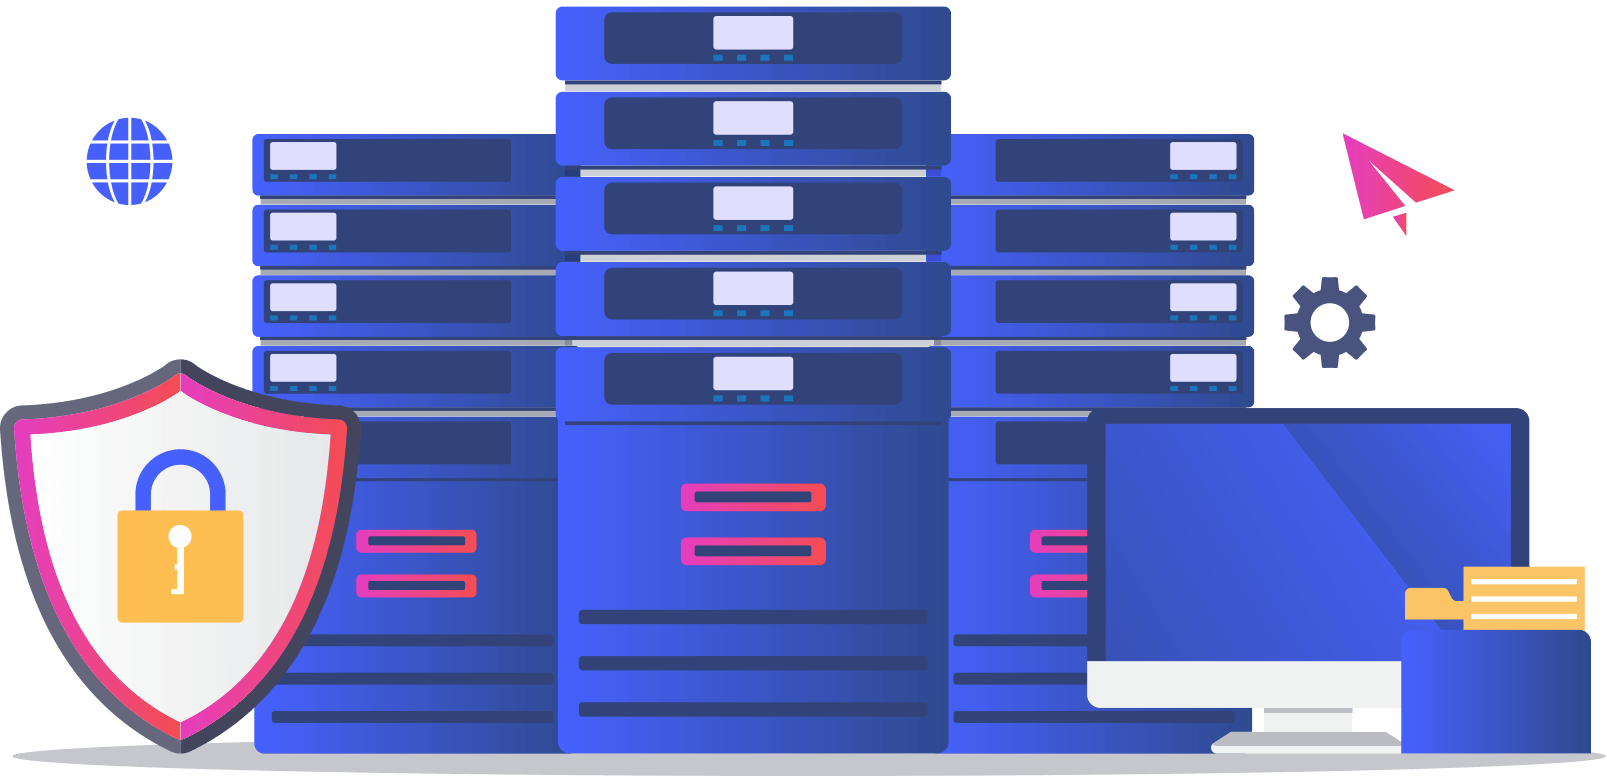
RMM Central is a holistic remote monitoring and management tool for MSPs that manages your client networks and devices, and helps you automate your complete client IT management from a central location. In this document, we will provide you with some tips and tricks to harden your RMM Central security.

Best security practices

RMM Central immediately releases the security patches for identified security issues. Follow the Security Updates Group to stay updated with the latest security patches. Furthermore, please subscribe to our Data Breach Notification to receive notifications on any security incident without delay.

Note: It is highly recommended to
1) Update your RMM Central server to the latest build.
2) Grant access to the RMM Central folder only to authorized users.
3) Use proper firewall and Anti-virus software and keep them up-to-date to get accurate alarm.
4) Delete unused user accounts from RMM Central server's product console and from the machine where the RMM Central server is installed.
5) Install distribution server in a dedicated machine with no other third party software in it. Only Authorized users should have access to this machine.

Secure the access to RMM Central

Securing the login access to RMM Central, can prevent security issues involving roles and permissions.

Security Settings

To fortify the login access, go to the Admin tab, choose UEM and click Security Settings.

Under Secure Login,

  • Change password for default account

    The default password for the admin account should be changed after the first login. Go to profile and click on Personalize and navigate to Change Password to modify the account password for login.

  • Use Third Party SSL Certificate

    It is recommended to configure RMM Central with a trusted third party certificate to ensure secured connections between server and all devices. However, for secured communication using HTTPS, a default certificate will be provided along with the server.

  • Set Complex Password

    Setting a complex password policy allows users to configure unique passwords that are tough to crack. The more complex a password policy is, the more combinations there will be.

  • Restrict users from Uninstalling the Agent from Control Panel

    The agent monitors and executes the configurations and tasks deployed to a particular endpoint. That's why it is necessary to forbid users from uninstalling the agent. Navigate to Admin tab -> UEM -> Agent Settings to restrict agents from being uninstalled by users.

  • Restrict users from stopping Agent service

    Preventing the users from stopping the Agent service ensures that the endpoint stays in contact with the server every 90 minutes.

Under Secure agent server communication,

  • Enable Secured Communication (HTTPS) for LAN and WAN agents

    HTTPS protocol for both LAN and WAN agents ensures that the communication between the agents and the server is always encrypted.

  • Secure Remote Control and File Transfer operations

    Enable this option to secure the communication during Remote Control sessions and File Transfer operations.

  • Disable the older versions of TLS

    For improved security, it is advisable to use the newer version of TLS, instead of using the older ones.
    Note
    : Users cannot manage devices running on legacy OS platforms (Windows XP, Vista, Server 2003 and Server 2008) after disabling the older version of TLS.

  • Enable Agent Server Trusted Communication

    Trusted Communication can be enabled only after importing a third party certificate.

  • Enable certificate-based authentication for agent-server communication

    If enabled, the computers with the older agent versions will no longer be able to communicate. Ensure the agent versions are up to date.

Module-wise methodical steps to enhance security:

  • Provide the root access only to trusted technicians in Redhat nominated machines to avoid sending malicious content, instead of meta files.
  • Provide the root access only to trusted technicians in Linux agents to avoid sending malicious URLs, instead of package URLs.
  • Scan the uploaded files in the Upload Patch option for any malicious files.
  • Enrollment settings

    • For enrolling corporate-owned devices, use the following enrollment methods based on the supported platforms to ensure devices always remain under management even after being factory reset:
    • On corporate devices, the options to perform a factory reset and device wipe can also be restricted to prevent users from removing devices from management.
    • For Android devices, the Allow User to remove ME MDM App option should be disabled to restrict corporate devices that have not been enrolled using the above mentioned enrollment methods from being removed from management.
    • Enable the option to detect and remove jailbroken and rooted devices to ensure only compliant devices remain under management and access corporate data.
  • Inventory settings

    • Schedule regular device scans to ensure the device details remain up to date.
  • Device settings

    • Configure Device Privacy Settings to ensure only the details required by RMM Central for management and only the data permitted by the local and global compliance laws are stored on the server.
    • Configure the Terms of Use policies to be displayed to the device users and obtain their consent before collecting and storing device information on the RMM Central server to ensure user privacy.
  • Go to the Admin -> UEMtab, under Tools Settings,
    click Port Settings and switch the Communication to HTTPS. Click Save.
  • click System Manager Settings.
  • Under Permission Settings, enable the permission to access the end user's File Manager and Command Prompt to only admins.
  • Under User Confirmation Settings, opposite to the Enable user confirmation for field, check the boxes for File Manager and Command Prompt.
  • Now, go to the UEM -> Tools tab, click Remote Control, and switch to the Settings tab. Here, enable the Idle Session Settings. This allows the remote connection to either just disconnect or disconnect and lock the target computer automatically, when the connection is idle for a set period.
  • In the Remote Control tab, switch to the User Confirmation tab. Here, enable User Confirmation, set a time out period and provide a confirmation message. You can also Make User Confirmation Permanent. Click Save.
  • Note: After enabling the Make User Confirmation Permanent option, the confirmation dialog box will always be displayed and this cannot be reverted even by administrators.

    Go to the Admin -> UEM tab,

  • under Database Settings, click Database Backup. Here, schedule a time at which the database should back up every day. You can also set the number of backups to be stored, beyond which the backups will be deleted automatically. It is highly recommended to receive notifications about the database backup failure. Furthermore, secure the database backup using a password.
  • under Customers, click Agent Settings. Here, enable the Restrict users from Uninstalling the Agent from Control Panel and the Restrict users from stopping Agent service options.
  • under Security Settings, click Export Settings. While exporting any reports, you can:
    • Mask the personal Information
    • Remove personal Information
    • Retain Personal Information
    • Let the Technician Decide
    Here, opposite to both Configure Export Settings and Configure Scheduled Report Settings, choose Remove Personal Information.
  • Set the session timeout as minimum as possible
  • In the web console, click the user profile picture at the top right and click Personalize. Here, set a minimum possible period for Session Expiration.
  • Monitor the active sessions on the RMM Central web console and close the stale sessions.
  • It is highly recommended to
    • change the passwords of all the technicians every 90 days.
    • not host the Distribution Server as an edge device.
    • not share the RMM Central agent registry and logs to anyone except RMM Central Support.
  • Scan the files before uploading when creating a new software package.
  • While uploading a script in the Script Repository, ensure that the file is scanned for malicious content before uploading.

It is highly recommended for RMM Central users to follow the guidelines in this document. In particular, safeguarding the server by configuring the Security Settings. This proves to be a quick and effective move against cyber threats. Moreover, the steps provided for every module will help strengthen the security even further.