The following is a comparison between removing computers from a Active Directory domain with Windows PowerShell and ADManager Plus:
Screenshot
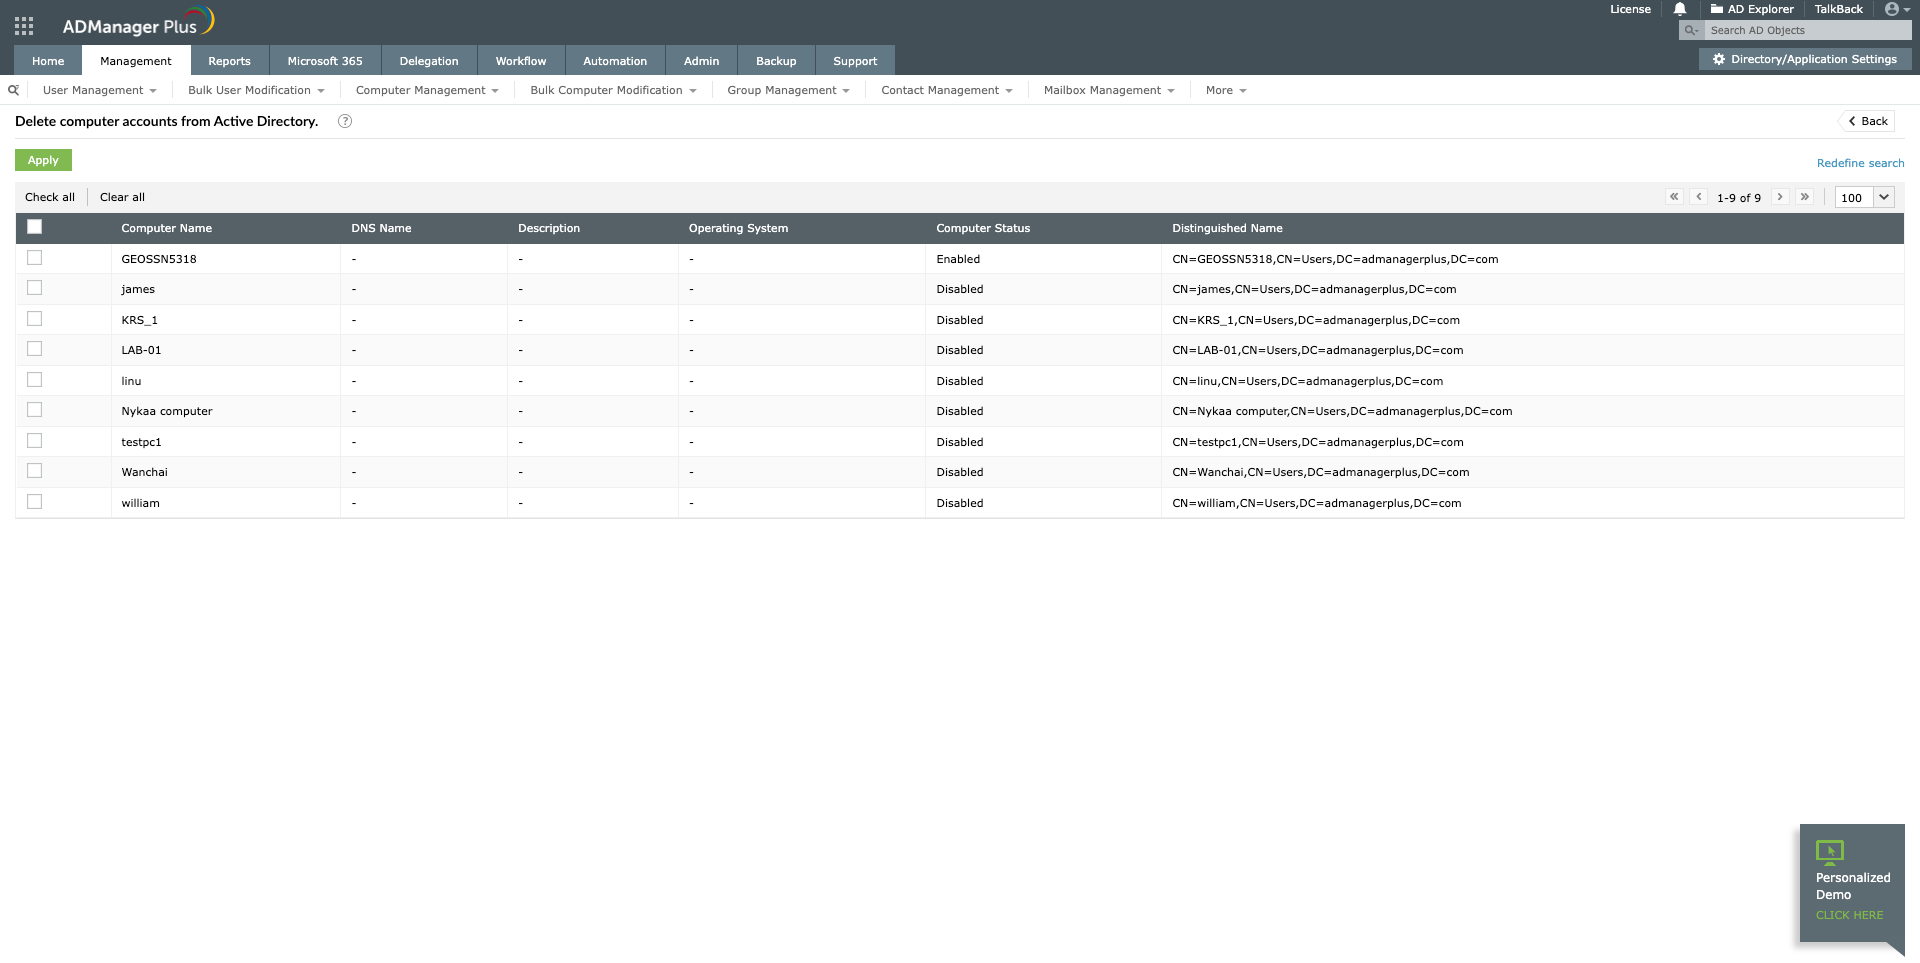
ADManager Plus can delete computers in bulk armed with just a CSV file from a simple and intuitively designed UI.
Deprovision AD computers in bulk without breaking a sweat with ADManager Plus' bulk management features.
Get 30-day free trial.Your download should begin automatically in 15 seconds. If not, click here to download manually.
For AD User Management
For AD User Reporting
For GPO Management
For Password Management
For AD Group Management
For File Access Management
For AD Computer Management
For Office 365 Management
For Exchange Management
For Microsoft Graph PowerShell
Entra ID user management
Entra ID reporting
Entra ID group management and reporting
Entra ID domain management
Entra ID contact management and reporting
Other Entra ID tasks
For Azure AD PowerShell
Entra ID user management
Entra ID reporting
Entra ID group management
Entra ID group reporting
Entra ID domain management
Entra ID contact management and reporting
Other Entra ID tasks