MG Executive Report
The Monitor Group (MG) Executive Report provides performance metrics and configuration data for the selected monitor type across monitor groups. You can schedule reports for specific monitor groups or include all monitor groups accessible to your account. The report can be generated daily, weekly, monthly, or quarterly and delivered as a ZIP file containing individual CSV reports for each monitor group.
The MG Executive Report is available for all monitors except monitor types that support multiple location profiles.
Use case
Consider you have a server-integrated EC2 monitor in a monitor group. Analyzing the data separately for both the EC2 and Server agent level metrics can be challenging. OpManager Nexus's MG Executive Report provides a comprehensive view of the performance metrics and configuration data in an unified view for each monitor at the monitor group level.
You can schedule emails to your customers with the requisite data as CSV attachments on a daily, weekly, monthly, or quarterly frequency.
Schedule MG Executive Report
To schedule an MG Executive Report:
- Log in to OpManager Nexus.
- Navigate to Admin > Report Settings > Scheduled Reports.
- Click Schedule Report.
- Configure the following details:
- Display Name: Enter a name to identify the scheduled report.
- Report: Select MG Executive Report.
- Select Resource Type: Choose one of the following options:
- Monitor Groups: Select the specific monitor groups for which you want to generate the report.
- All Monitor Groups: Include all monitor groups accessible to your account, including their subgroups. The monitor groups are dynamically identified each time the report runs. Any new monitor groups created after scheduling the report are automatically included in subsequent report runs.
NoteSystem generated ADDM smart groups and cloud topology groups are excluded when you select All Monitor Groups.
- Monitor Type: Select the monitor type for which you want to generate the report.
- Business Hours: Select the applicable business hours.
- Report Format: The report is generated in CSV format.
- Frequency: Select Daily, Weekly, Monthly, or Quarterly.
- Reporting Period: Select the timeframe for which you want to generate the report.
- Time Zone: Select the applicable time zone.
- Reporting Time: Specify the time at which the report should be generated.
- Send Report to: Select the user alert group that should receive the report.
- Click Save to schedule the report or click Send Now to generate and send the report immediately.
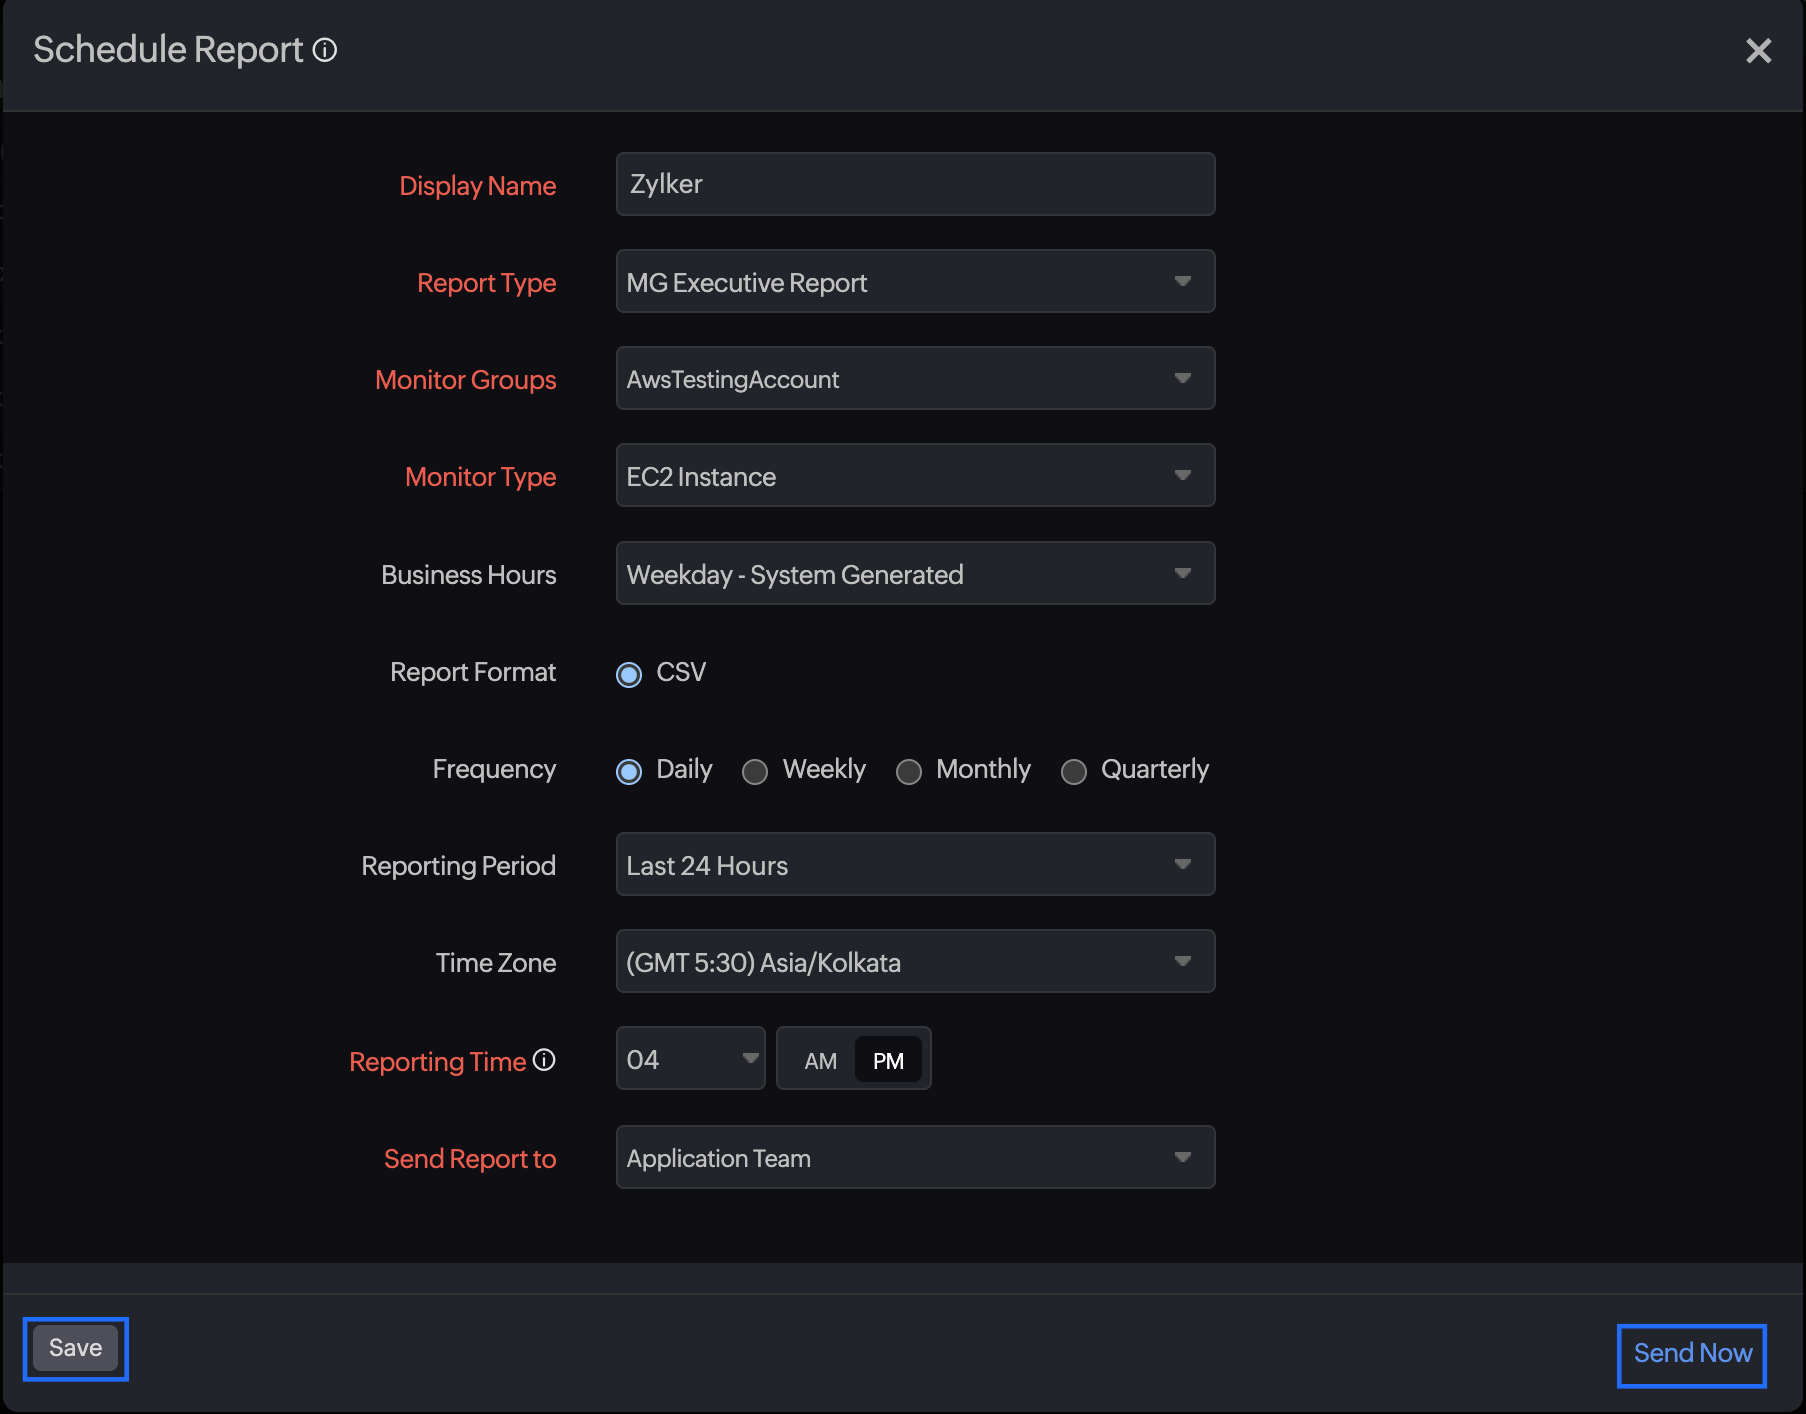
The report created will automatically be listed in the Scheduled Reports page along with the other reports that were previously created.
When the scheduled report runs, OpManager Nexus sends a single email with an MGExecutiveReport.zip attachment. The ZIP file contains an individual CSV report and its corresponding manifest for each monitor group included in the report.
- The All Monitor Groups option is not available for MSP admin users.
- Monitor groups that do not contain monitors of the selected monitor type are skipped. If none of the selected monitor groups contain monitors of that type, no email is sent for that run.
Suspend the report
To suspend a report follow the steps below:
- Click on the report that you want to suspend in the Schedule Reports page.
- Click Suspend.
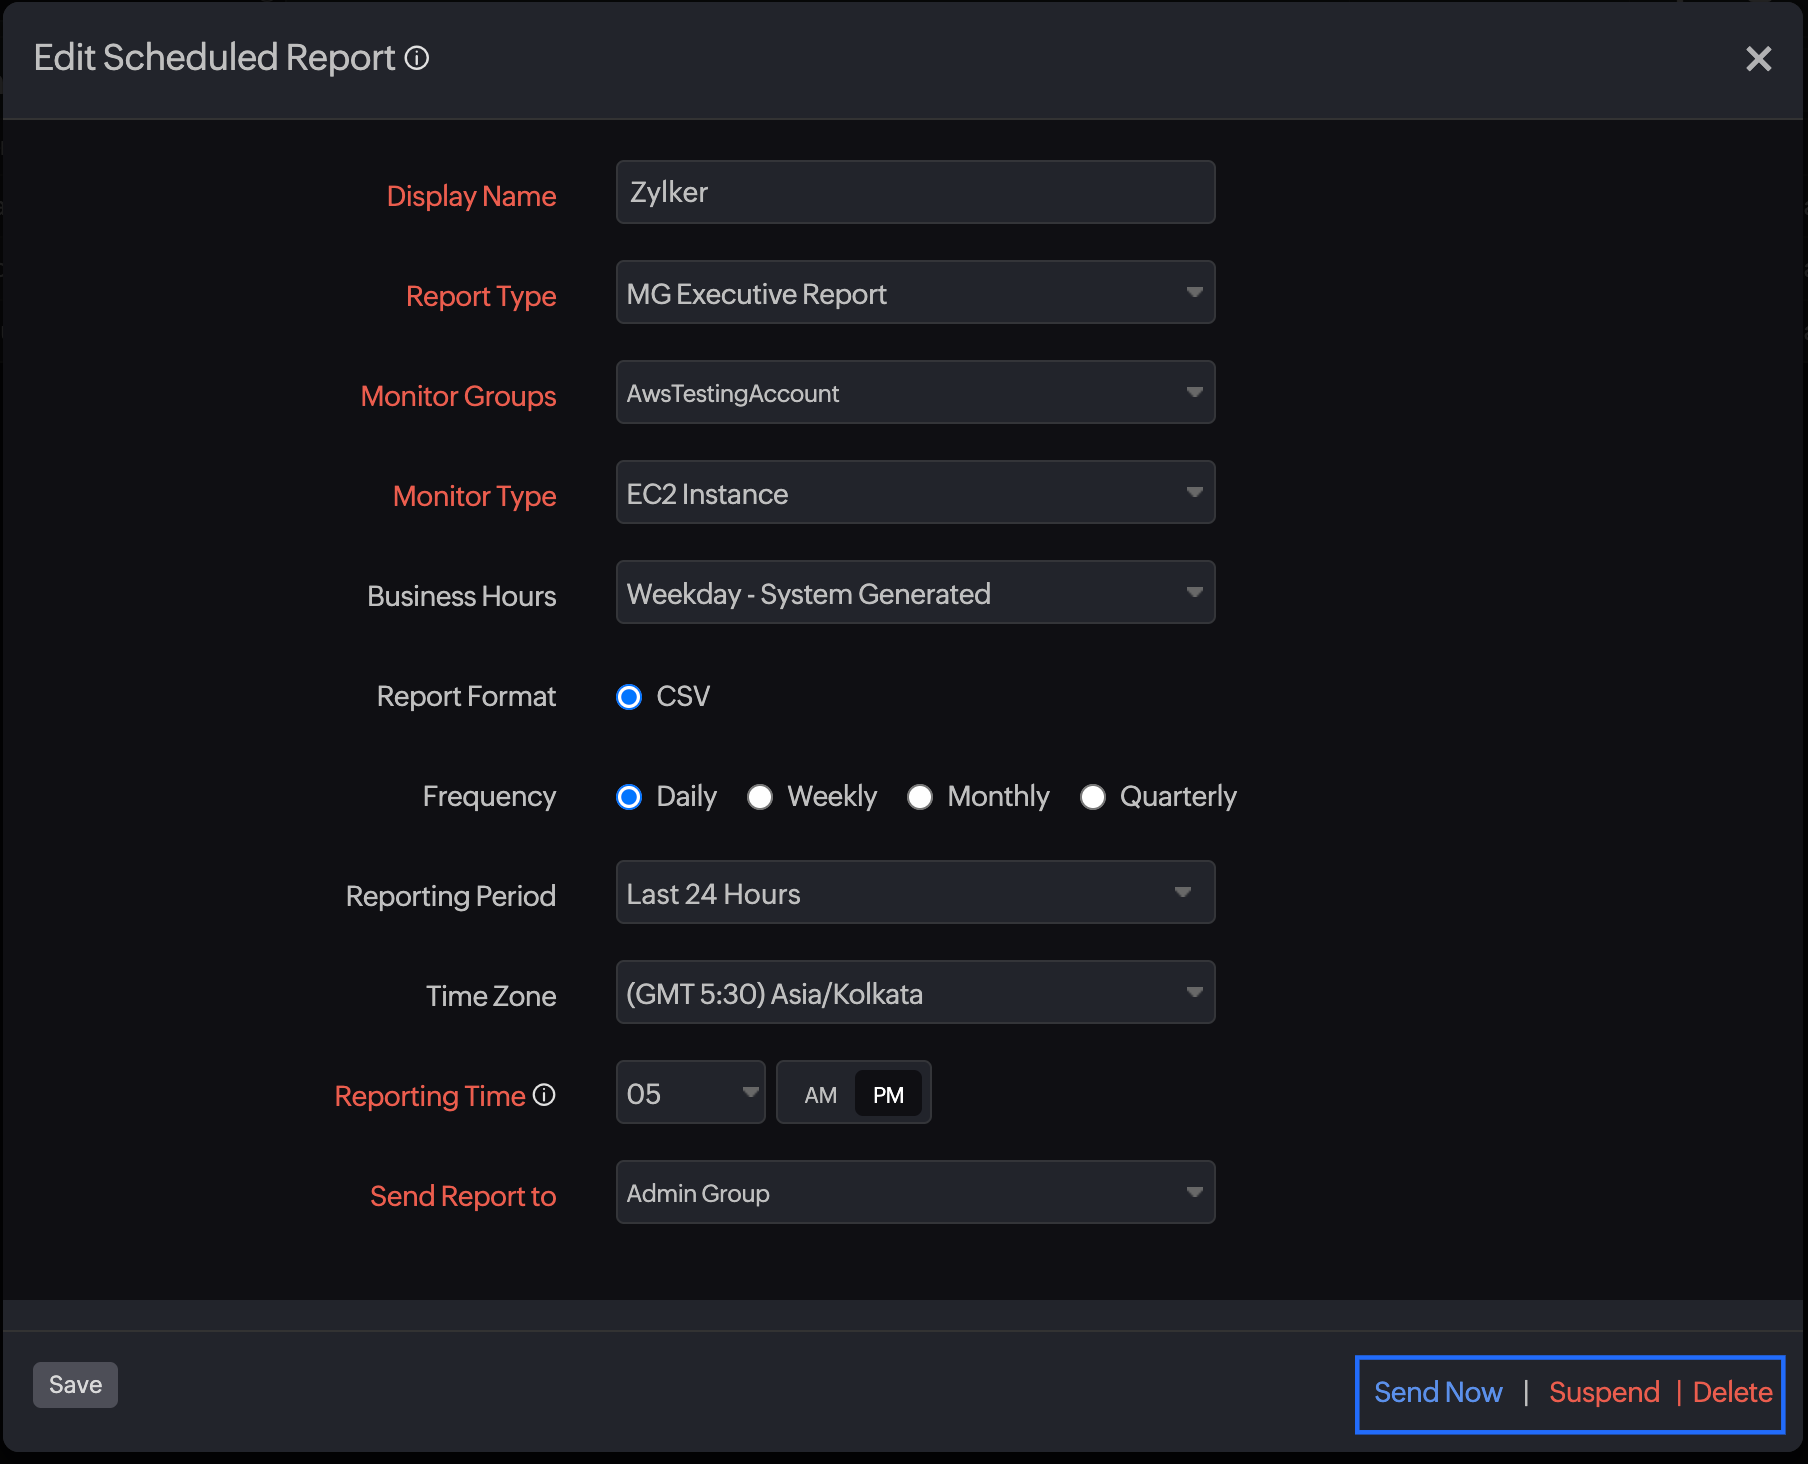
-
The suspended status of the report will be displayed under Status in the Scheduled Reports page.
Delete the report
To delete a report:
- Click on the report that you want to delete in the Schedule Reports page.
- Click Delete in the Edit Schedule Report page.
Related topics