

How to schedule reports in M365 Manager Plus
Last updated on:In this page
In this article
This article explains how to schedule your Microsoft 365 reports in M365 Manager Plus for automated report generation on a periodic basis.
With Schedule Reports, you can convert M365 Manager Plus to an automated Microsoft 365 reporting tool that can generate your reports with customized filters, mail your admins a copy of the reports, and do all of this at a custom time interval. All without any effort on your end once you set it up. This simplifies your Microsoft 365 reporting tasks to just a peek in your inbox, allowing you to focus on the data, instead of selecting the same filters every week across different Microsoft 365 admin centers.
Prerequisites
- A M365 Manager Plus technician with the Reports tab delegated to them. Refer to delegate a help desk role to technicians to find the steps to delegate it.
- A mail server has to be configured for M365 Manager Plus if you wish to mail the reports to your admins. Check the mail settings page to find how to connect it.
Steps to follow
Note: For this example, we will use the Current Mailbox Size vs Quota and Archive Mailbox Sizes reports to demonstrate how to schedule customized reports in M365 Manager Plus.
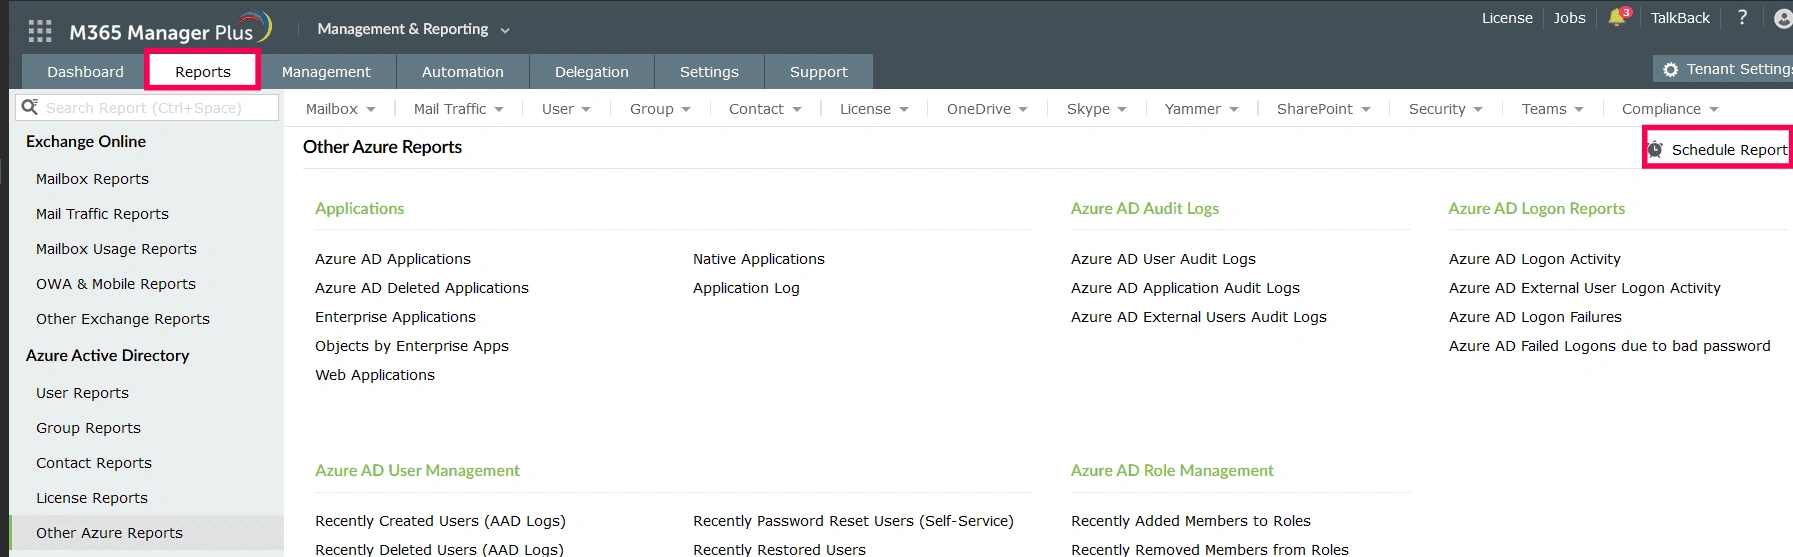
- Log in to M365 Manager Plus, navigate to Reports , and select Schedule Report.
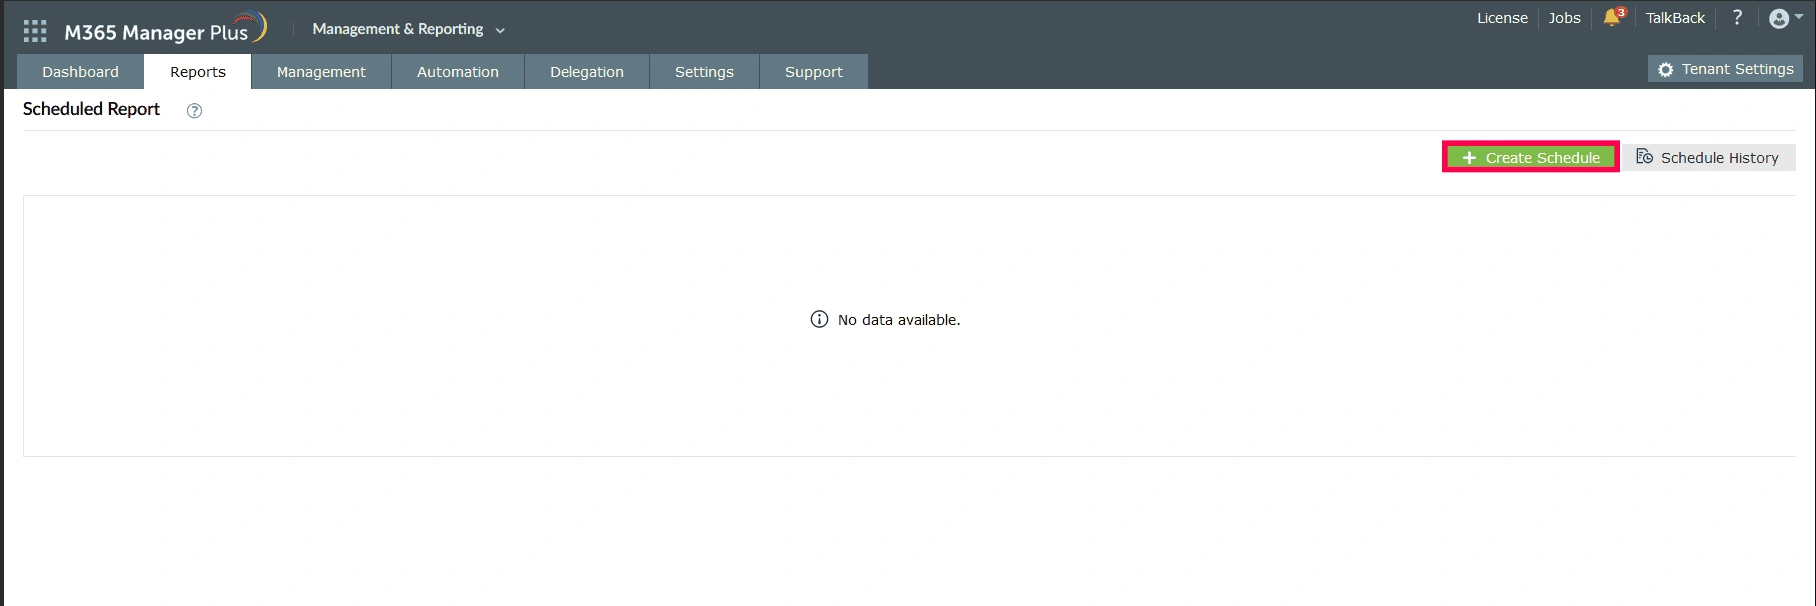
- Click Create Schedule.
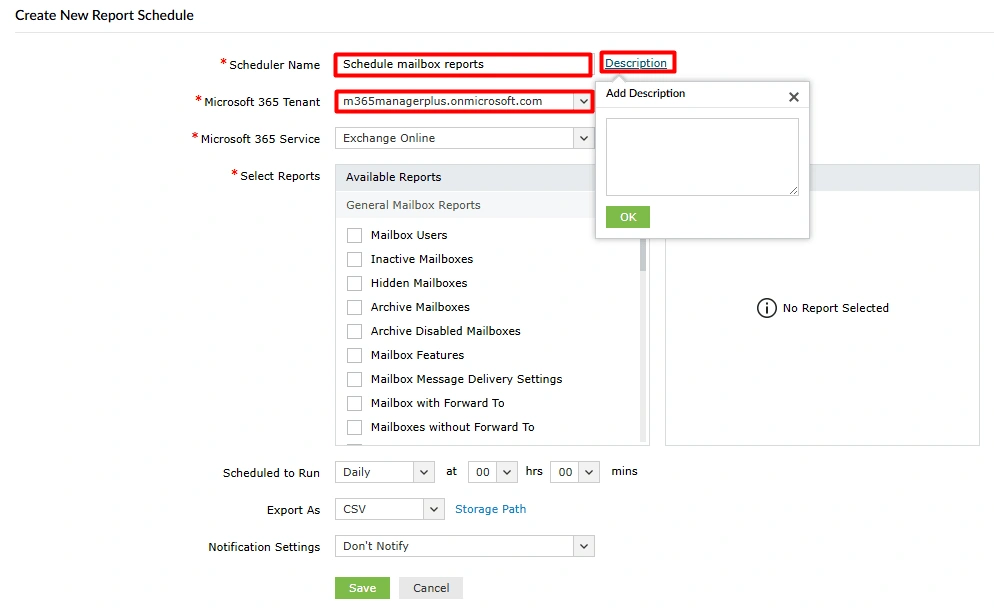
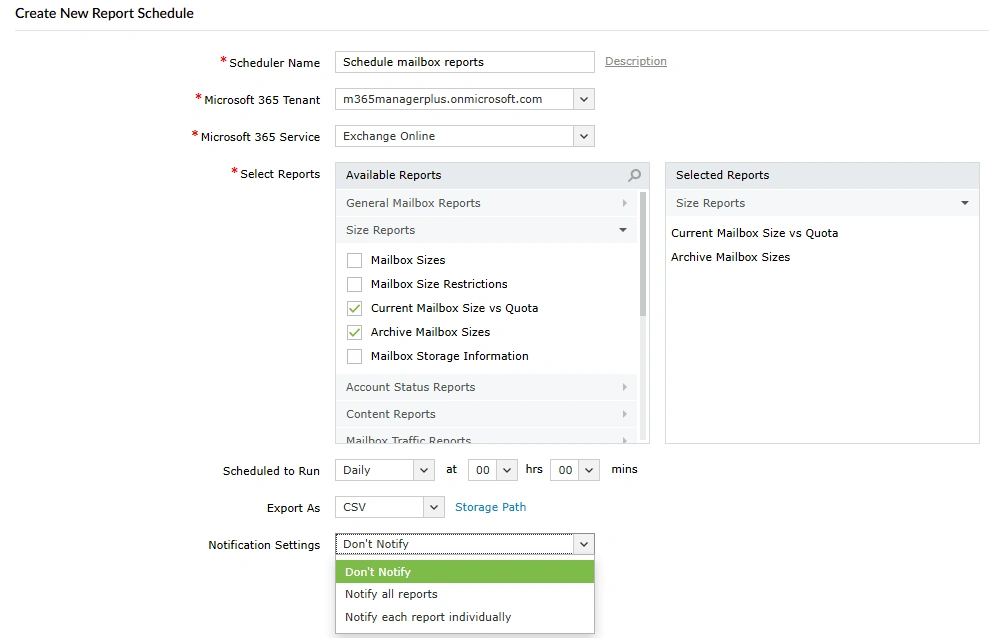
- Type in a Scheduler Name and select the tenant for which you want to generate and schedule this report. You can also click Description and fill it with text that will help your admins understand what this schedule report profile does.
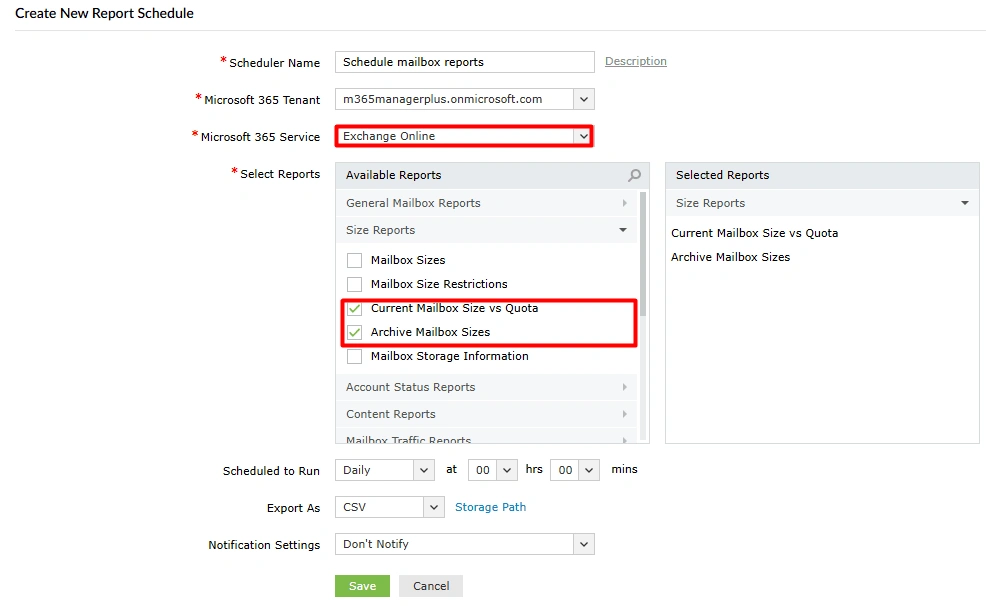
- Select Exchange Online in the Microsoft 365 Service drop-down and select the Current Mailbox Size vs Quota and Archive Mailbox Sizes report .
- Now, create a filter for the Current Mailbox Size vs Quota report. Hover over the report under Selected Reports and click the edit icon.
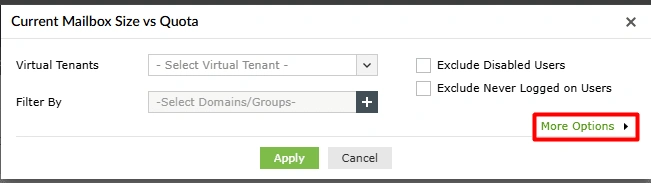
- You can now filter the report by the configured Virtual Tenants in your instance and the Domains/Groups in the tenant. In reports like this one, you also have report-specific options that you can choose to use. Once you are done, click More Options to filter the report further.
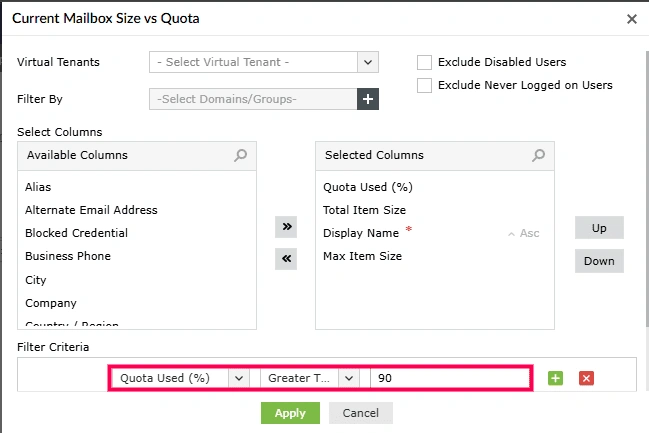
- You can select the columns you want to display in this report schedule. The changes you make
to the Available and Selected Columns in this menu will only apply to this
scheduled report.
- Click on any of the entries in Available Columns and click the >> button to move them to Selected Columns. Similarly, you can remove columns by clicking on them in Selected Columns and clicking the << button.
- You can arrange the order of your selected column by using the Up and Down buttons.
- Click Add Filter and use the dropdown to configure the filter criteria for
your reports.
- For this example, select Quota Used (%) in the first dropdown, Greater than or equals in the second, and type in your preferred threshold percent in the field next to it.
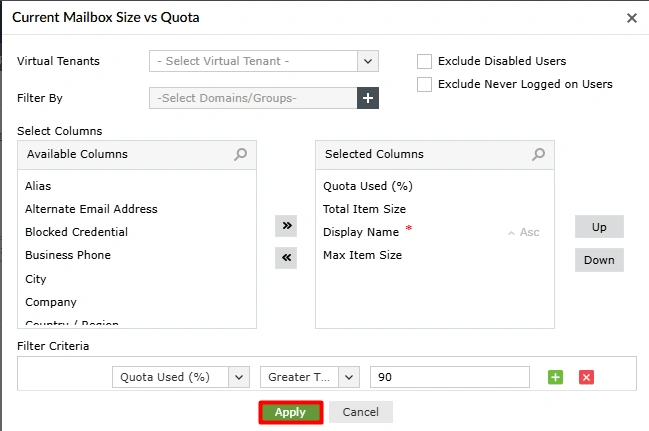
- Click Apply.
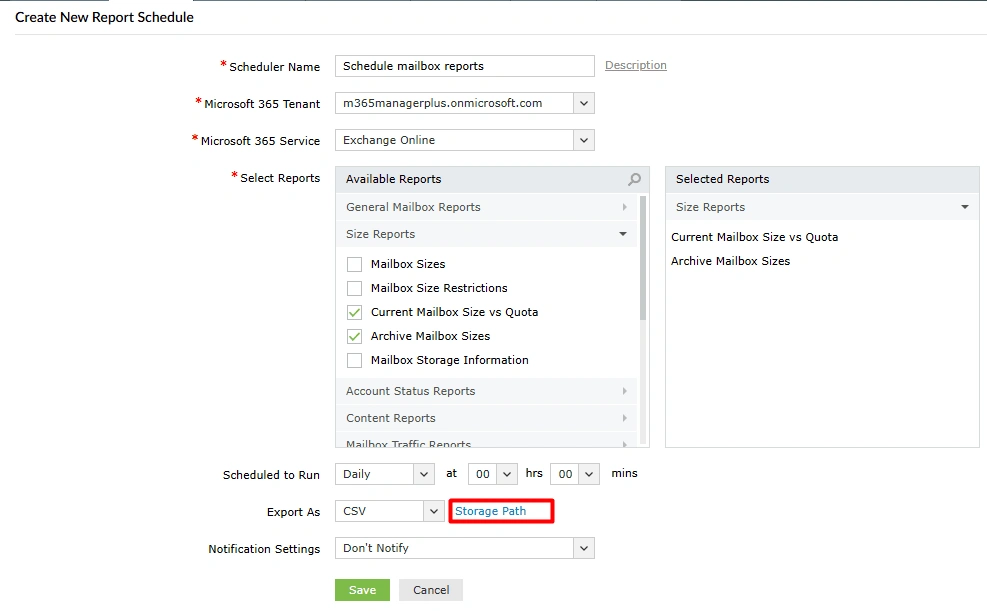
- Configure the schedule using the Scheduled to Run drop-downs.
- You can choose from Daily, Weekly, and Monthly options, or select Custom to set your own frequency. Select the Starting Date and set the Frequency to Repeat and configure it if you want to generate this report as a recurring event.
- Select the format in which you want the report to be mailed and downloaded to using the Export As drop-down. Configure the Storage Path to download the reports locally. You can also choose to only generate the reports and not export them by selecting Don't Export.
- You can select how you want your reports to be emailed using the Notification
Settings drop-down.
- Select Don't Notify if you do not want to email the reports.
- Select Notify all reports if you wish to attach all reports in a single email.
- Select Notify each report individually when you want to send each report as its individual email.
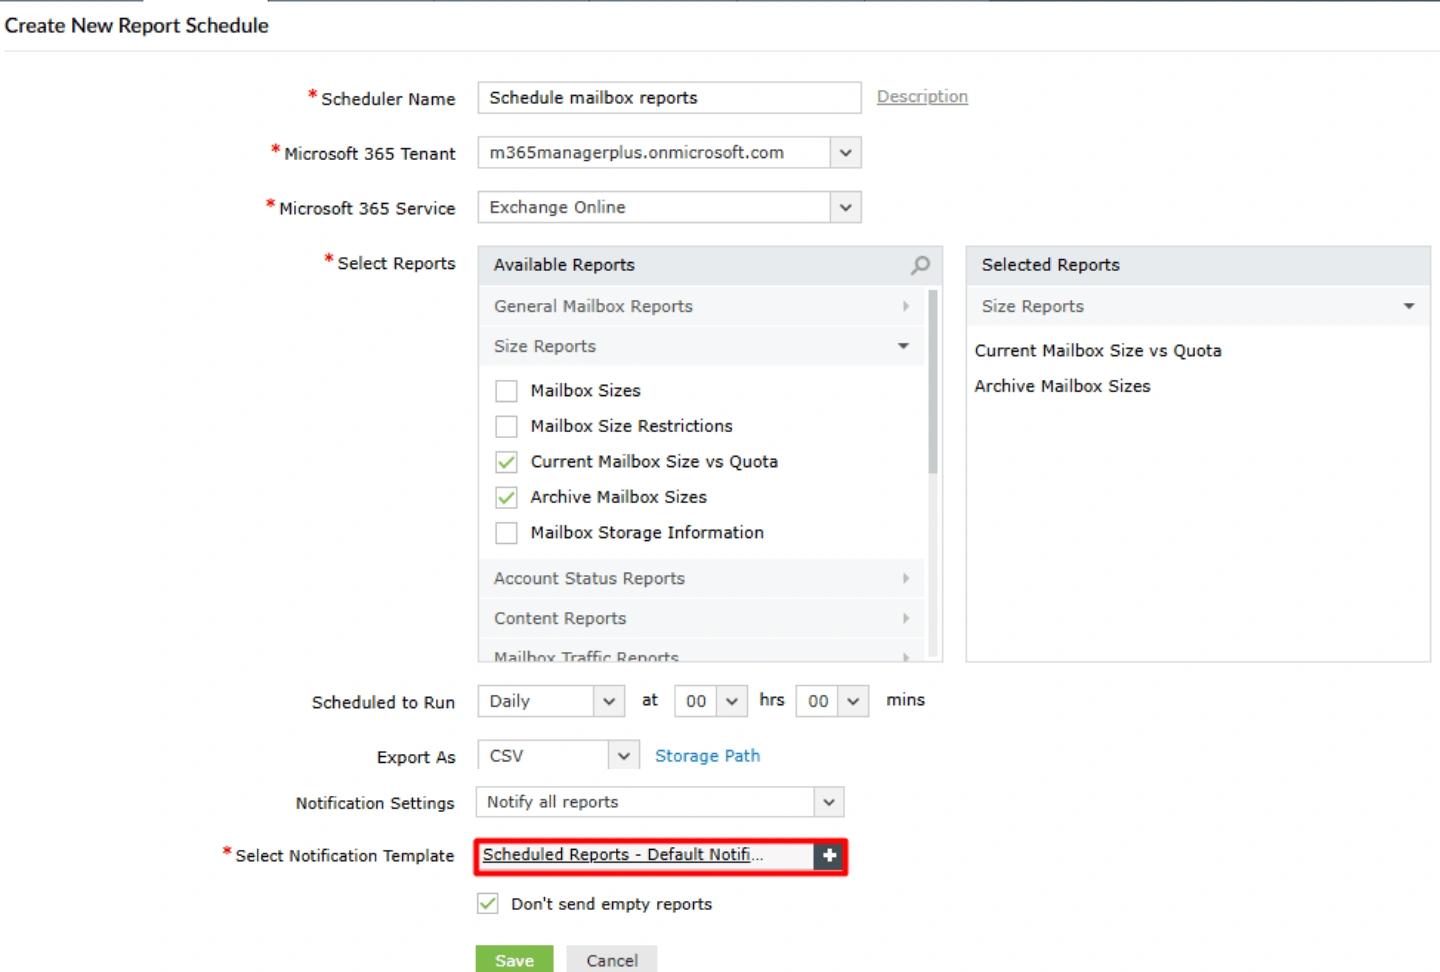
- If you want the reports emailed to you, use the Select Notification Template to select a format for your emails.
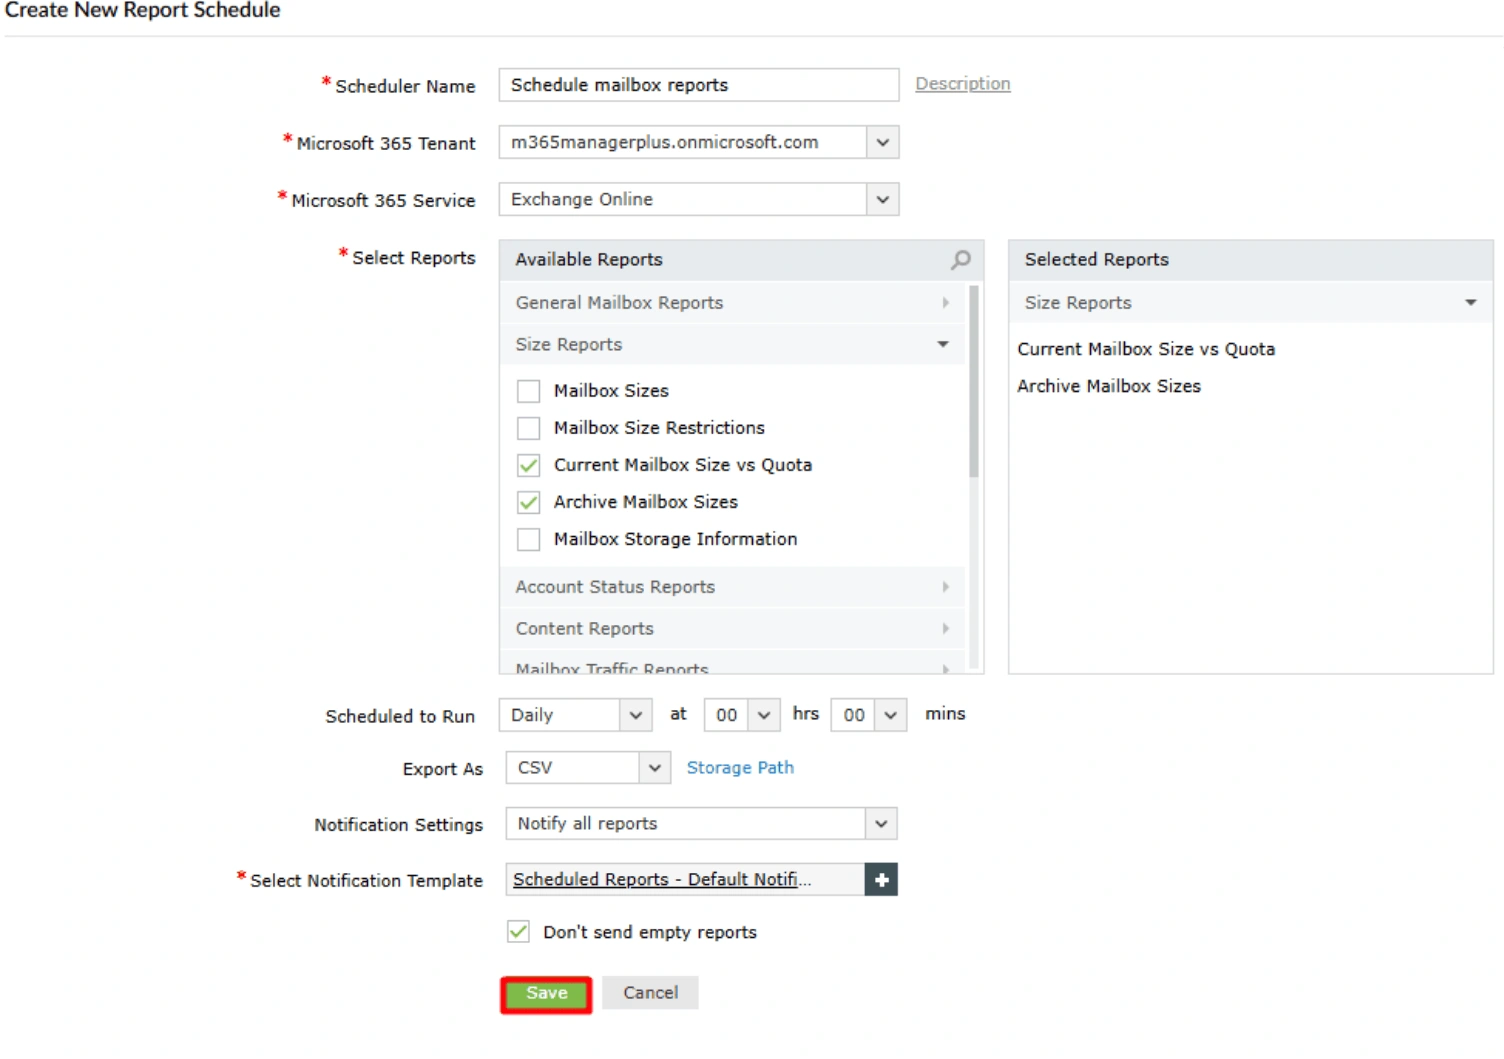
- Click Save to configure your Microsoft 365 automated report generation schedule.

Verification
- Click Schedule Report in the Reports tab and check if the
profile you configured appears in the Scheduled Report page.


Tips
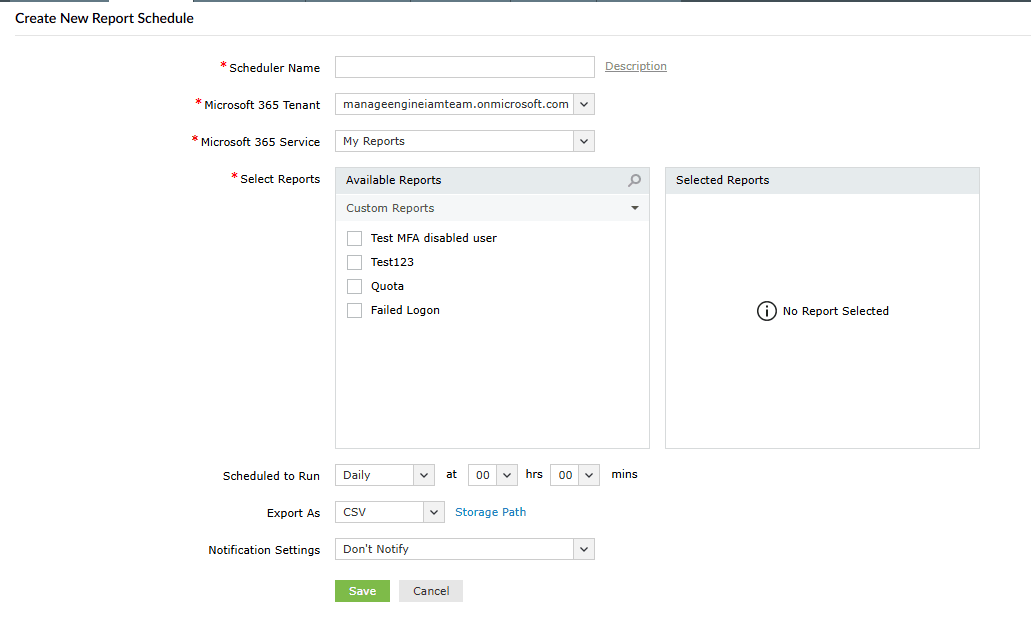
- You can also schedule your custom reports created in M365 Manager Plus by selecting
My Reports in the Category dropdown.

Related pages
Here are some Microsoft 365 reports in M365 Manager Plus that you can automate report generation for.