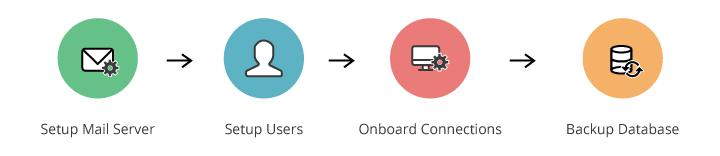
Workflow in Access Manager Plus
The ideal work flow for an administrator engaged in the job of setting up Access Manager Plus in their environment and managing passwords is given below:
1. Setting up Mail Server
Before adding users to Access Manager Plus, the important step to be done is configuring your mail server settings. Users will be notified of their Access Manager Plus access details through email, so ensure the mail server is configured appropriately. To know in detail about mail server settings and its configuration, click here.
2. Adding Users
- Add users either manually or import user information from ActiveDirectory, LDAP or CSV file.
- Specify appropriate access roles and password policies for the Access Manager Plus users.
- Group users together for the convenience of performing operations in bulk.
- Enable authentication to any one of AD, LDAP or Local using Two-Factor Authentication.
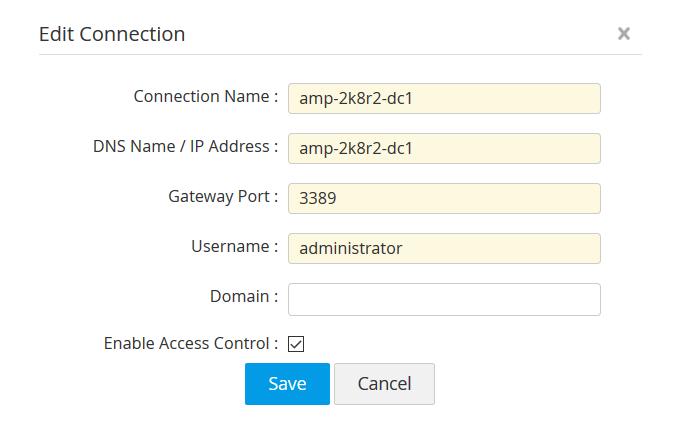
3. Adding Connections
Add your connections in the Access Manager Plus database. Here, connections denotes the server/device whose user accounts and passwords are to be managed by Access Manager Plus.
- Add connections either manually or import from a CSV file along with their user account and password information.
- Setup the password reset method to one of remote or agent-based.
- Group connections together for the convenience of performing operations in bulk.
- Create Nested Connections Groups and maintaining connection groups in hierarchical structure (groups, sub-groups) for navigational convenience.
- By default, the passwords added by you could be viewed and edited only by you. If required, share connection passwords with other Access Manager Plus users or user groups.
- Access and modify passwords that are owned by you and that are shared to you.
3.1 Access Control Workflow
Access Manager Plus provides an access control mechanism with which administrators can grant password access to users for a specific period of time. When the Access control is enabled for a particular connection, even the other administrators will not have access to that connection. They can request connection to that system and once approved, can use that connection for a certain period of time.
- Access control can be enabled while creating a new connection.
- It can also be enabled from Manage >> Connections >> Connection Actions >> Edit.
- Select Enable Access Control and click Save.
4. Setting up Disaster Recovery
If you are a User follow the below steps to setup disaster recovery.
- Configure the database backup schedule to backup the entire contents of the Access Manager Plus database.
- Export connections information in the format of your choice to have readable copies of connections information only.
For more information on disaster recovery and data restore click here.