Direct Inward Dialing: +1 408 916 9892
Launch the 'Server Manager' and click on 'Manage'---> 'Add Role and Features'.
Navigate through the stages of 'Before you begin', 'Installation type',and 'Select Destination Server' on the left pane.
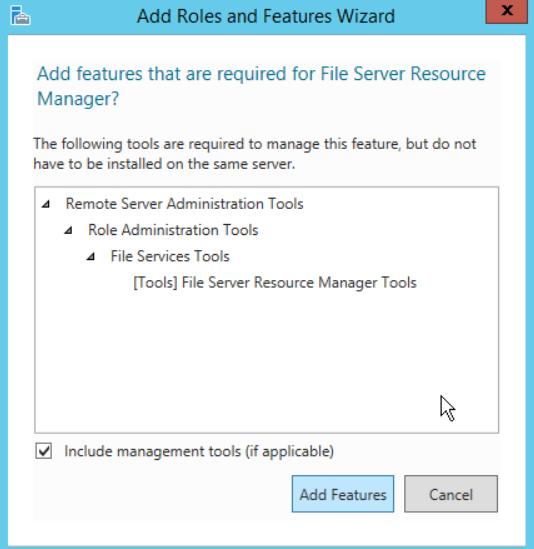
Under the Select Server Roles stage look for File and Storage Services, expand File and iSCI services and check the box near File Server Resource Manager.
Click Add Features --->Next.
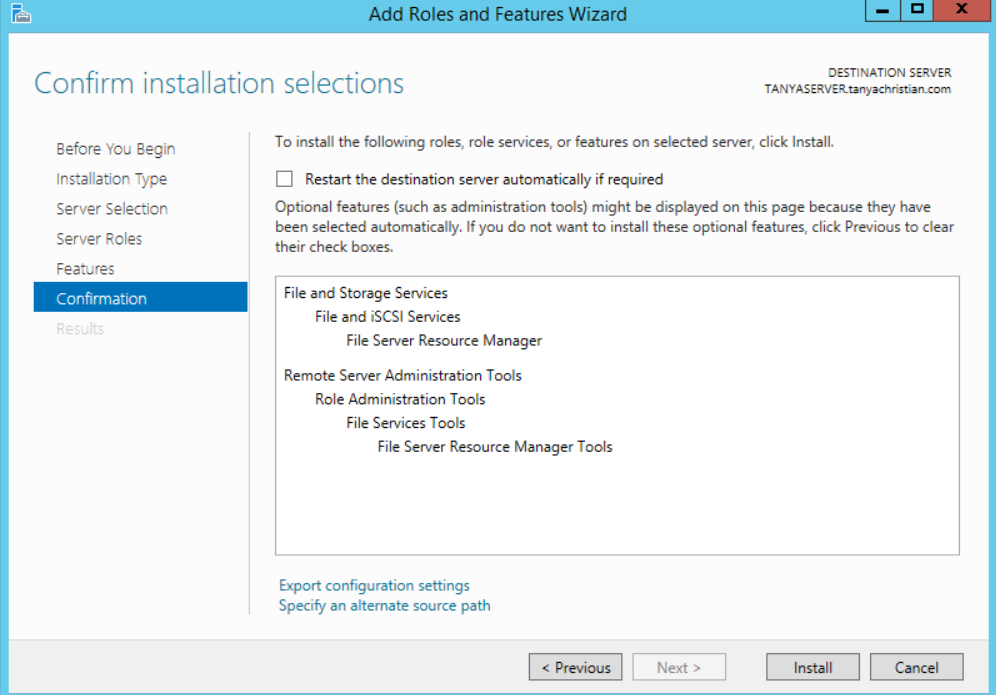
Click 'Next' on the 'Select features pane' after accepting defaults. Click 'Install'. FSRM installation will take a while. Close the wizard when done.
Under 'Tools'--->File Server Resource Manager.Expand File Server Resource Manager (Local) to reveal the 'Quota Management' option. Expand this and select 'Quota Templates'. You'll be provided a list of Quota Templates to help you assign a quota limit for storage.
Double-click the desired limit from the list and expand the 'Copy properties from quota template (optional)'. Select the desired template and click on 'Copy'.
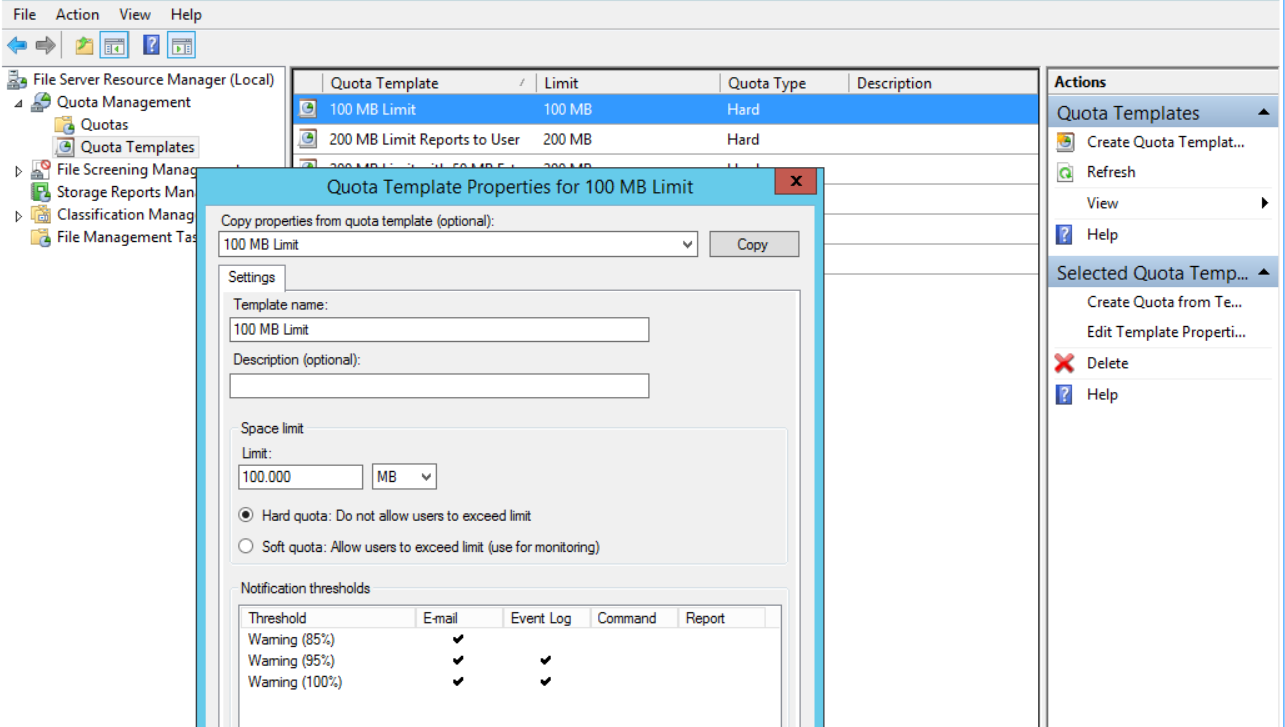
Select the 'Hard quota: Do not allow users to exceed limit' to prevent users from exceeding the limit you've set for a specific folder. Click on Add. You can set notification thresholds as desired to warn if any thresholds have been exceeded.
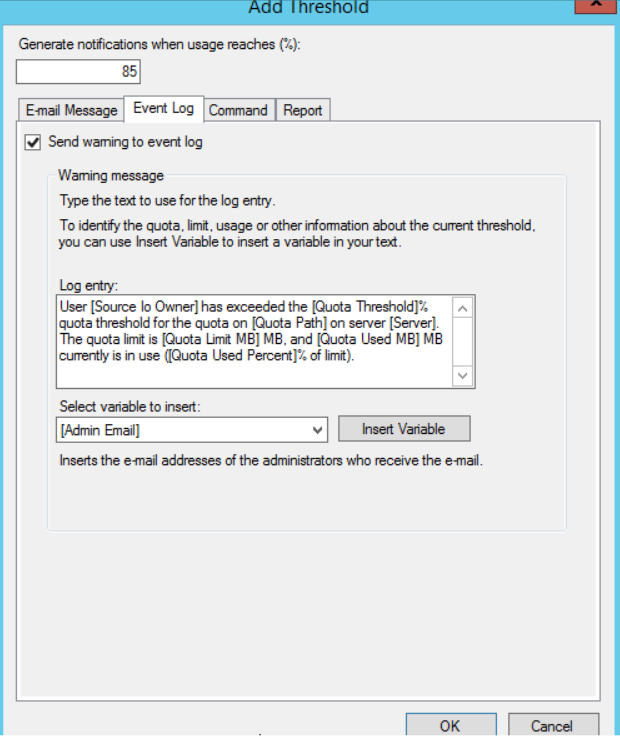
You can set a warning to be triggered in the Event Log. There is an 'Event log' tab under which you can select 'Send warning to event log'. Under the 'Report' tab you can generate a report of any quota that was exceeded and send it to the following administrators.
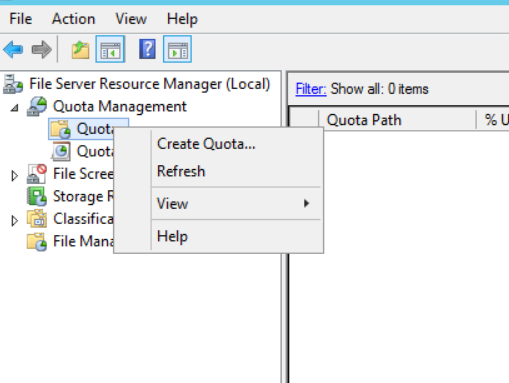
After that create a customized quota, specify the path you want it applied to, derive properties from a quota template and add to it. To do this, expand the 'Quota Management' to display the 'Quota' menu. Right-click this menu and select 'Create Quota'. This brings up the Create Quota Wizard.
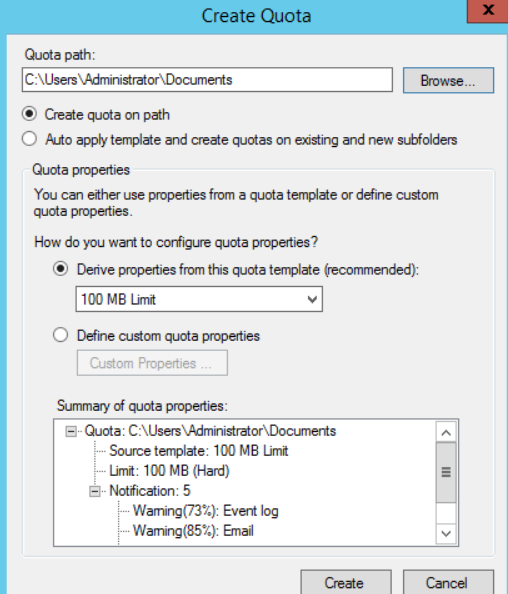
Select 'Create quota on path'. You can also select 'Derive properties from this quota template', and select the limit from the list. and click 'Create'. You can test this by trying to move a folder with a size that exceeds the limit.
The following few steps help you specify what sort of file can be stored in a particular file path.
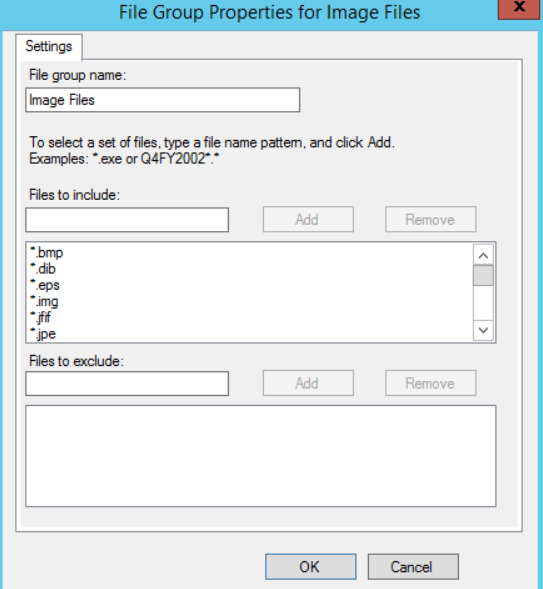
When you expand the 'File Server Resource Manager' node, you'll find the 'File Screening Management node. Expand this node and click on the 'File Groups' option. This provides a list of file types. When we apply any of these file extensions in the list we block that particular file type from being stored in the location we will define in the 'File Screens' in the next step.
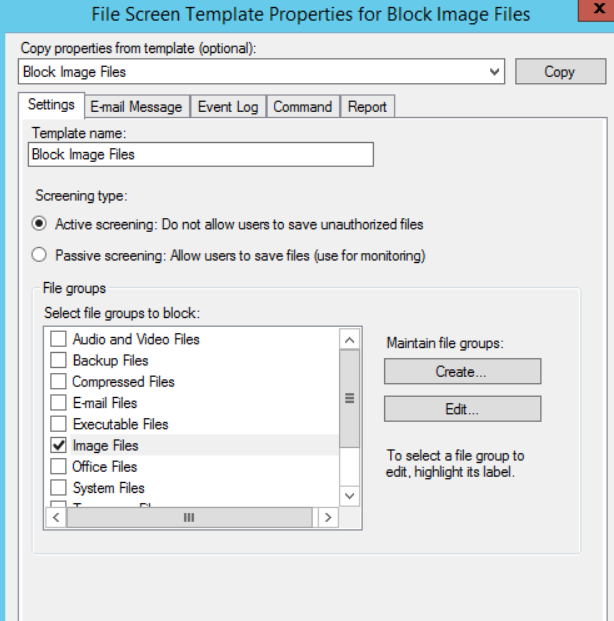
Once the file group configuration is done, you can select the 'File Screen Template'. This gives you a template that is associated with the file group you had specified earlier. Double-click this template.
In the dialog box that opens up, select 'Active Screening: Do not allow users to save unauthorized files' option. If you select the 'Passive Screening' option, you allow users to save the blocked type of files but an alert is generated to the administrator.
As we did before we can allow a warning to be triggered in the event log if an unauthorized type of file is added.
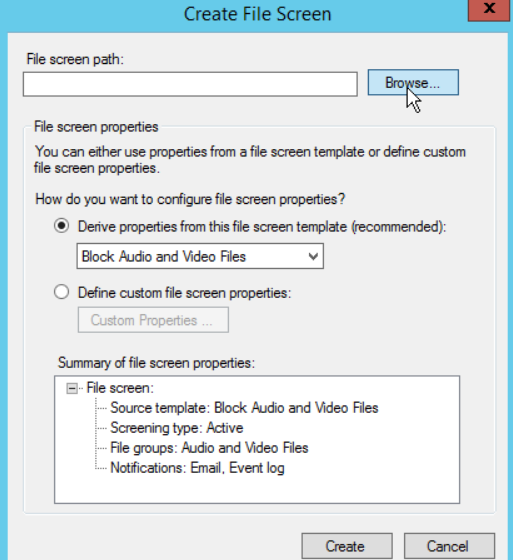
After this you can create a File Screen. Right-click 'File Screen' from the left pane, select 'Create File Screen'. This brings up a pop-up window for you to specify the path of the file where these rules must be applied to. Also, select 'Derive properties from this file screen template' option and check if the right file screen template has been chosen here. Click 'Create'.
ADAudit Plus comes bundled with more than 300 predefined reports that makes your AD auditing easier. The solution offers a comprehensive audit of all your file servers. It provides you with a holistic view of all activity on your file servers including SACL permission changes, failed accesses to files and file modifications. Check out the other capabilities of ADAudit Plus here.
Download ADAudit Plus
Does native auditing become a little too much?
Simplify file server auditing and reporting withADAudit Plus.
Get Your Free Trial Fully functional 30-day trial