How to replace a file in SharePoint
Last updated on:In this page
Replacing a file in SharePoint Online is a common task. Organizations often need to replace documents without breaking links, especially when files are referenced across pages, workflows, or other documents within a SharePoint site. When done correctly, replacing a file maintains the existing URL, preserves version history, and avoids broken references. This can be done using the browser interface, PowerShell scripts, or third-party management tools depending on whether the update is for a single file or across multiple libraries.
- SharePoint Online
- Windows PowerShell
- SharePoint Manager Plus
Method 1: Replace a file using the SharePoint Online browser UI
SharePoint Online allows users to replace files directly in a document library using the browser interface. This is the simplest way to update a document while keeping the same link and maintaining version history.
Prerequisites
- You must have Edit permissions or higher on the SharePoint site.
- The file must exist in a SharePoint Online document library.
- Versioning should be enabled if you want to preserve file history.
- The file must not be locked by another user.
Steps
- Sign in to SharePoint Online and open the relevant SharePoint site.
- Navigate to the document library containing the file you want to replace.
- Select Create or upload > Files upload.
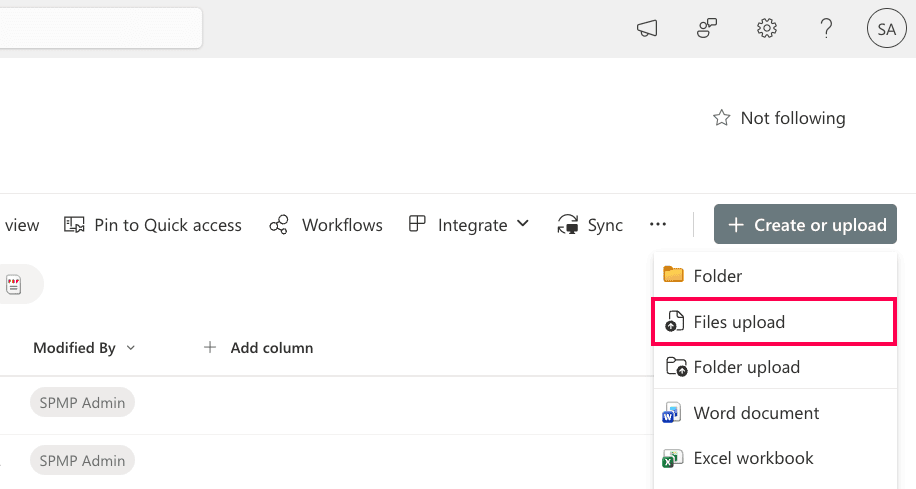
- Upload the updated file with the same file name as the existing document.
- When prompted with this message, choose Replace.
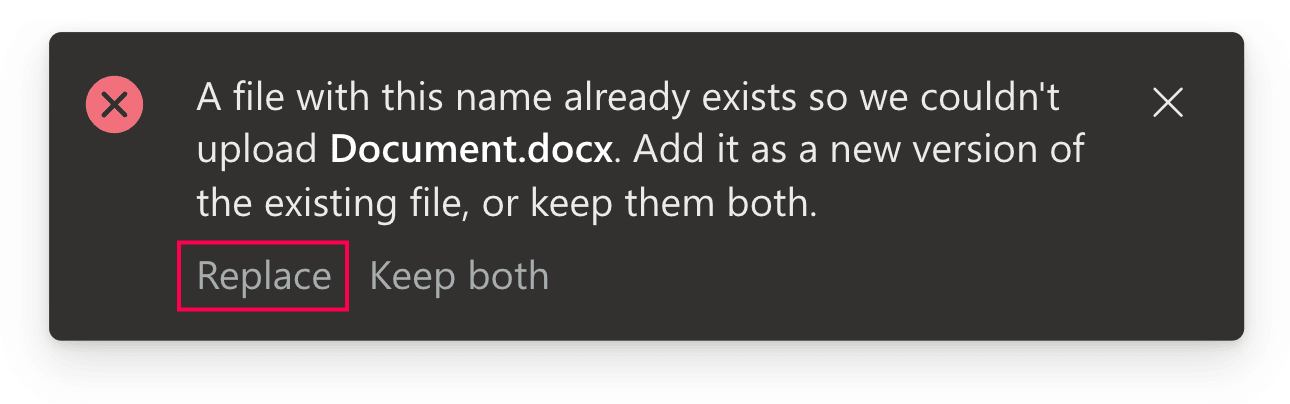


The new file replaces the previous document while keeping the same file URL, ensuring that links in other pages, workflows, or shared locations remain valid.
Alternatively, if the document library is synced using OneDrive, replacing the file in the synced local folder automatically updates the document in SharePoint while preserving the original link and version history.
Limitations to consider
- Replacement must be performed manually for each file.
- Automation capabilities for large-scale file updates are limited.
- Version history depends on whether document library versioning is enabled.
- Scheduling and automation are not provided.
Method 2: Replace a file using Windows PowerShell
PowerShell can automate file replacement in SharePoint Online, making it useful when replacing files across multiple folders or document libraries.
Prerequisites
Before running PowerShell scripts, ensure that:
- You have SharePoint Administrator or Global Administrator privileges.
- The PnP PowerShell module is installed.
- You are connected to the SharePoint site where the file exists.
Install-Module PnP.PowerShell -Scope CurrentUser
Connect-PnPOnline -Url https://tenant.sharepoint.com/sites/ProjectSite -Interactive
Replace a file in SharePoint
Use the following command to upload a file and overwrite the existing document with the same name. This replaces the file while preserving the original file URL within the document library.
Add-PnPFile -Path "C:\Files\UpdatedPolicy.docx" -Folder "Shared Documents/Policies" -Overwrite
Replace multiple files automatically
You can replace multiple files by looping through a folder of updated documents.
$files = Get-ChildItem "C:\UpdatedFiles"
foreach ($file in $files) {
Add-PnPFile -Path $file.FullName -Folder "Shared Documents/Policies" -Overwrite
}
Replace files across libraries
This is useful when uploading updated versions of files across different document libraries within the same SharePoint site.
Add-PnPFile -Path "C:\Files\UpdatedReport.pdf" -Folder "Finance Documents/Reports" -Overwrite
Supported parameters
The following parameters can be used while replacing files and documents in SharePoint.
| Parameter | Description |
|---|---|
| -Path | Local path of the file to upload |
| -Folder | Target SharePoint document library folder |
| -Overwrite | Replaces an existing file with the same name |
| -Values | Allows assigning metadata values during upload |
| -Connection | Specifies an existing SharePoint connection |
Limitations to consider
- You need scripting knowledge and administrative privileges.
- Bulk operations require manual scripting, validation, and testing.
- There is no visual interface for monitoring replacement tasks.
- Scheduling and automation must be handled separately.
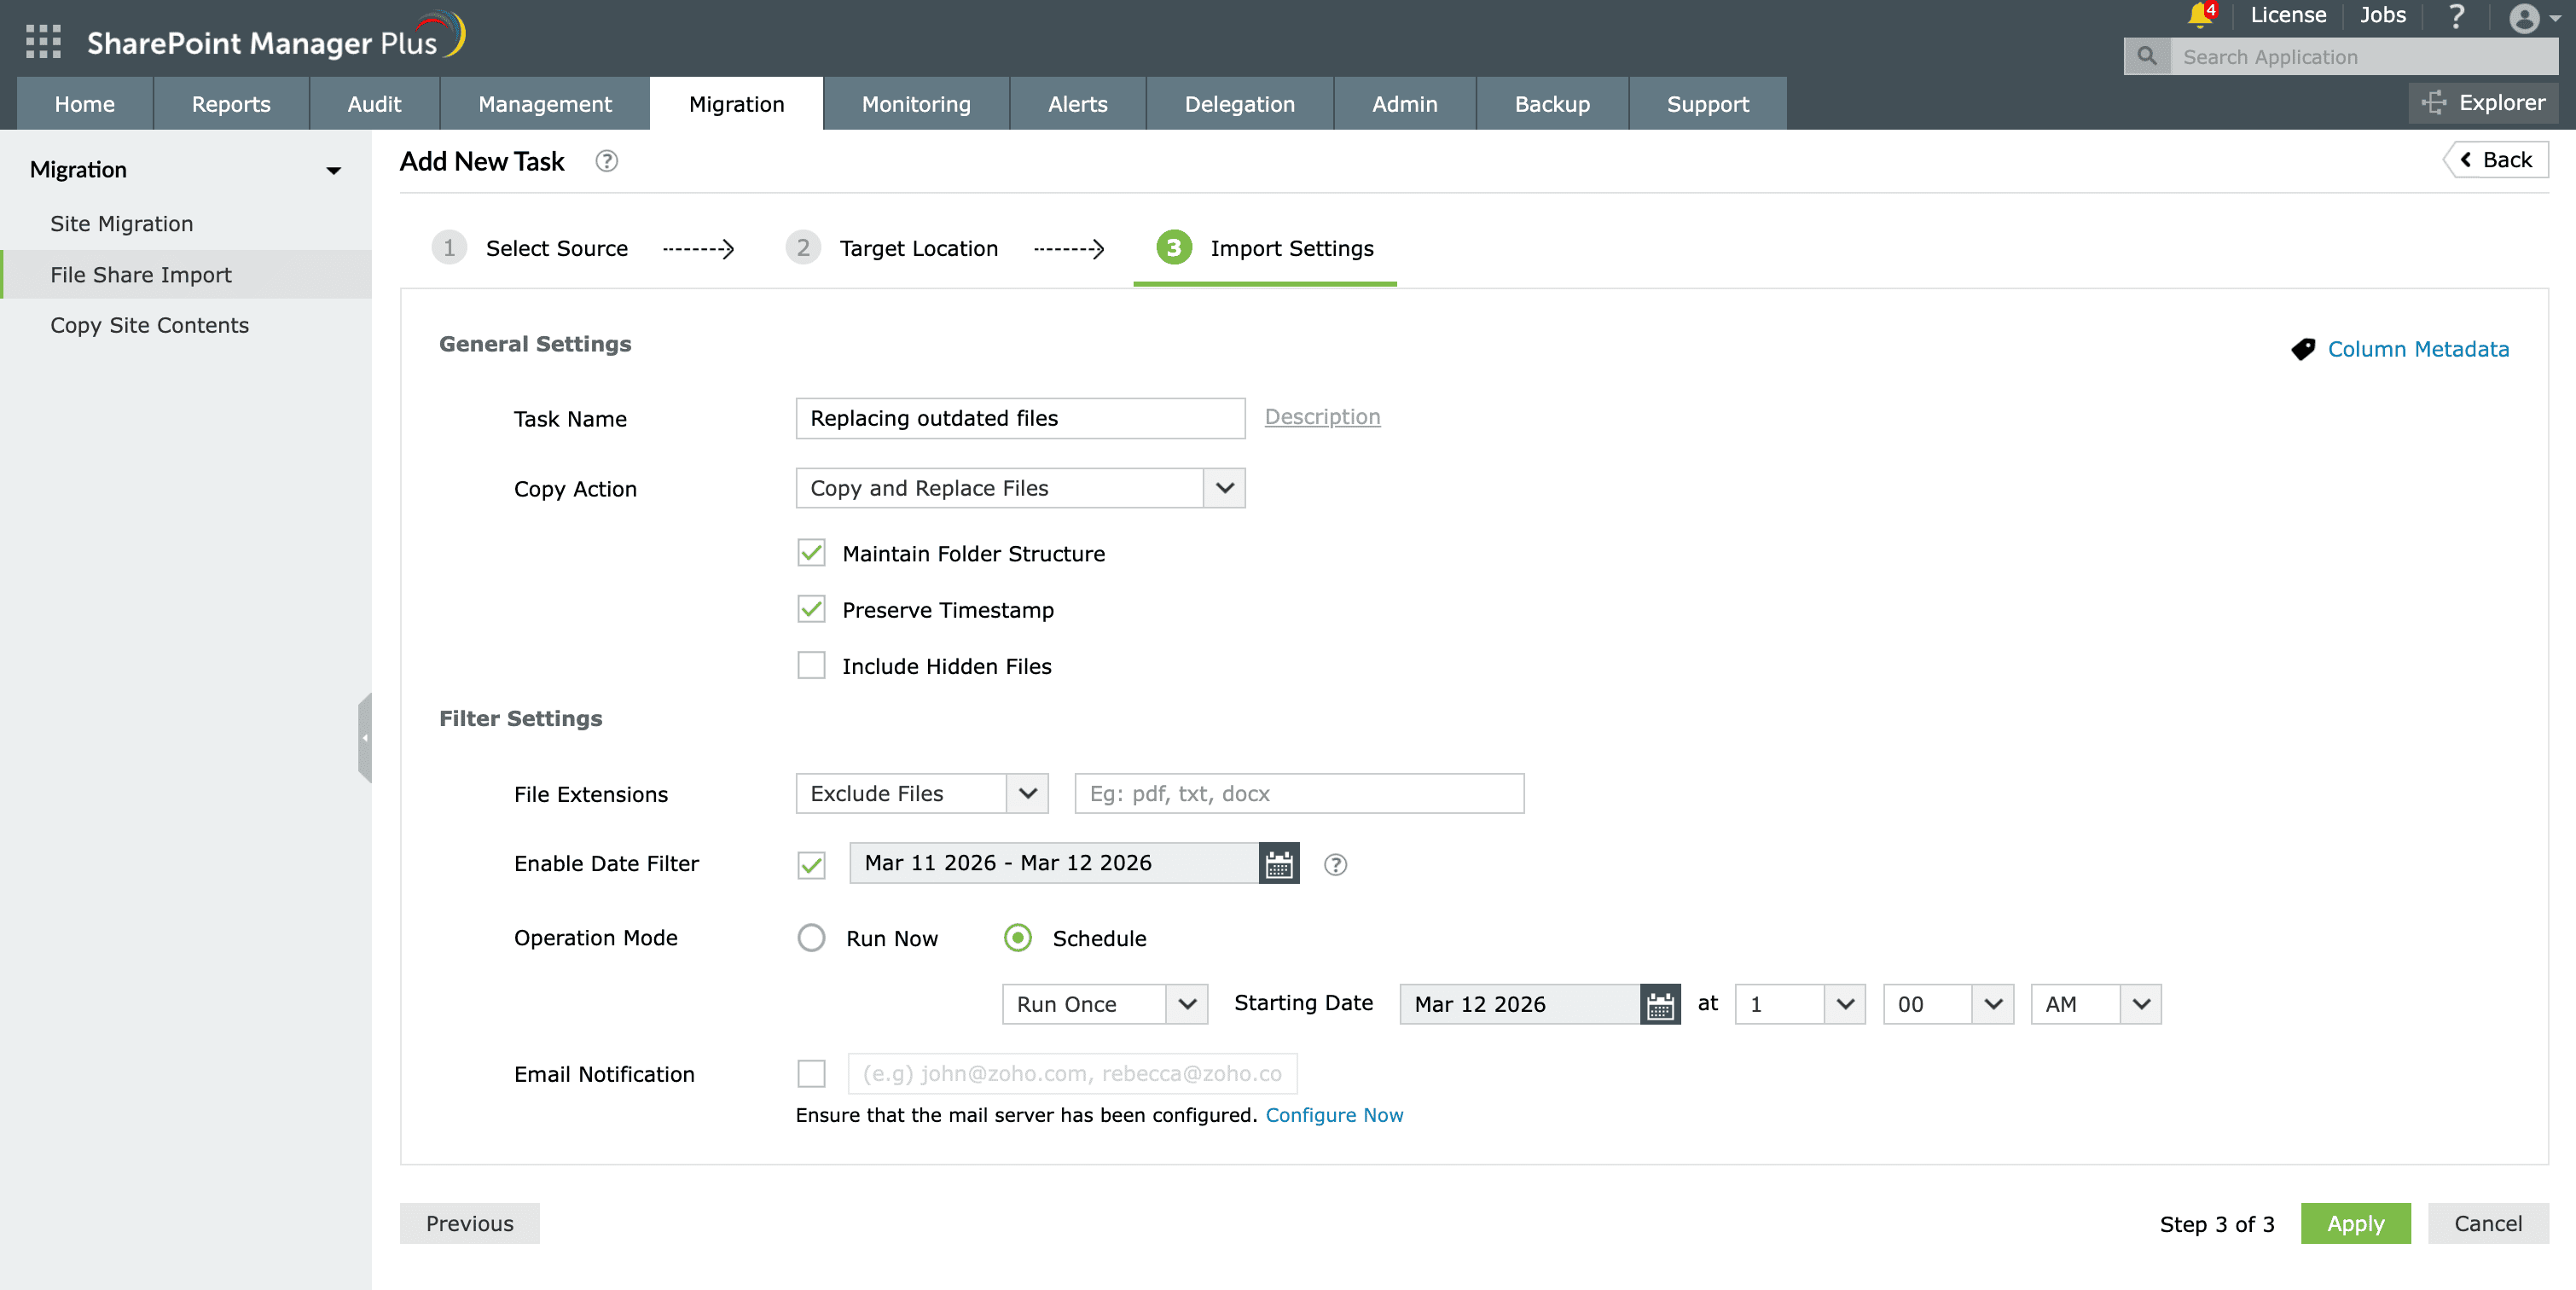
Method 3: Replace a file using SharePoint Manager Plus
SharePoint Manager Plus offers an easy-to-use GUI that allows administrators to replace documents at scale from local machines, file shares, or other SharePoint sites.
- Navigate to Migration > File Share Import and select + Add New Task from the top-right corner.
- Browse to the file you that you want to replace from your local system or mapped network drive, then click Next. Select multiple files for replacement if required.
- Select the existing file in SharePoint that you want to replace by navigating through the site structure, then click Next.
- Choose Copy and Replace Files from the Copy Action drop-down.
- Configure additional options such as filters or column metadata, if required, and click Apply.

How to simplify SharePoint file replacement and management
Replacing a few files manually works for small teams. However, organizations managing multiple SharePoint sites and document libraries often require automation, visibility, and large-scale file replacement capabilities. ManageEngine SharePoint Manager Plus simplifies file replacement and administration with centralized controls and automation features.
Incremental file replacement
Replace files across SharePoint locations using incremental copying, ensuring that only newly modified or updated files are replaced after the first run. Preserve the original folder hierarchy, metadata, and document structure across libraries.
Automate large-scale replacements
Select entire folders or libraries and apply filters to replace only specific file types. Configure schedules to automatically run tasks daily, weekly, or monthly without manual effort.
Track file changes
Audit file activities like uploads, moves, deletions, and modifications with detailed reports. Export reports in PDF, XLSX, CSV, or HTML to support compliance and auditing requirements.
Manage at scale
Replace documents in SharePoint, manage group memberships, and control SharePoint permissions in bulk, all without complex scripts and repetitive manual actions.
Important tips
Avoid deleting and re-uploading files
Deleting and re-uploading creates a new file object that can break URLs, workflows, and references. Instead, upload the new file with the same name to the same location to safely replace it.
Enable versioning in your document libraries
Turn on versioning so that when a file is replaced, previous versions remain available for review or rollback. This ensures document updates don't permanently overwrite important historical data.
Keep the same file name and location
Use the same file name and location when replacing documents to keep the existing URL intact. This prevents broken links in pages, workflows, or other files that reference the document.
Use check-out and check-in for sensitive files
For sensitive or collaborative files, use the check-out/check-in feature when replacing them. This temporarily locks the document while updates are made and ensures the new version is checked in with proper version comments.
Create a local backup before replacing critical files
Before replacing critical SharePoint documents, save a local copy as a backup. This gives you a safety net to fall back on in case of accidental data loss or an unexpected issue during the replacement.
Frequently asked questions
Common reasons include:
- Insufficient permissions on the SharePoint site.
- The document library requires files to be checked out before editing.
- The file is locked or currently being edited by another user.
If a file was replaced in SharePoint, you can restore the previous version using Version History. SharePoint will revert the file to the selected version while keeping the same file name and link, ensuring existing references and shared URLs continue to work.