Configuring Server Settings
This section explains briefly, the various features available in the Product Server Settings window. To configure the Patch Manager Plus server, navigate to Admin > Server Settings.
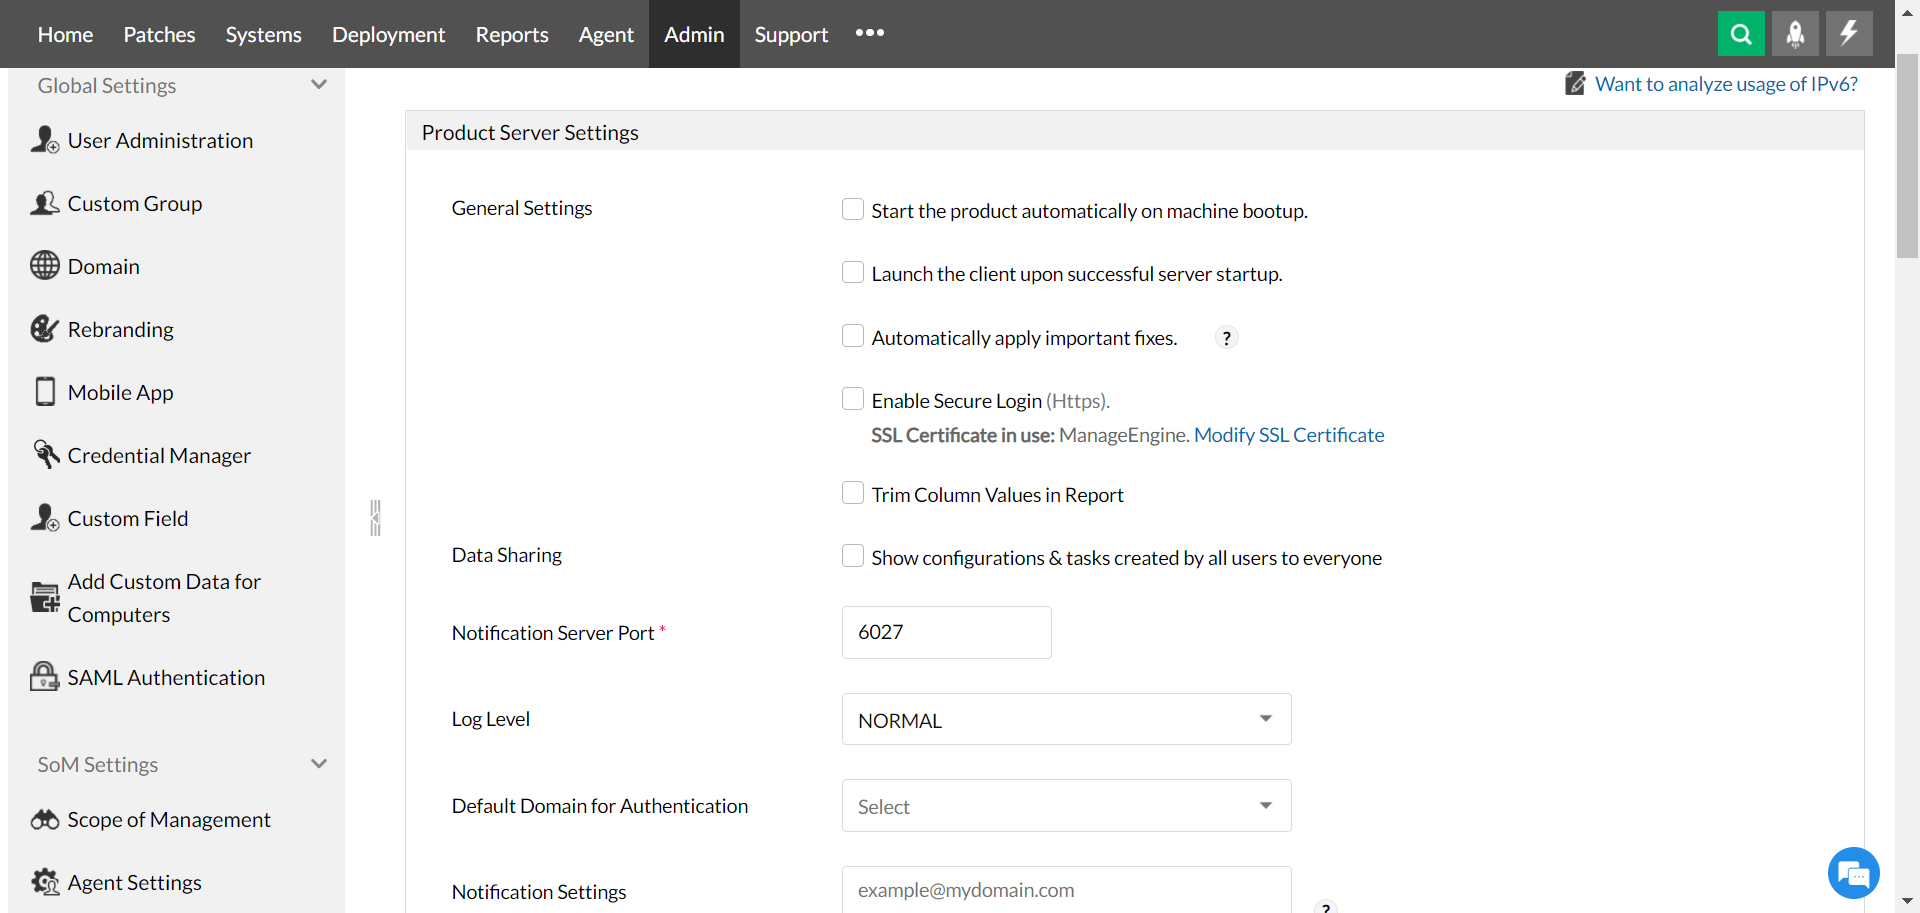
General Settings
Click on the check box to enable the below-listed features:
- Start the product automatically on machine bootup - Enable this to start the Patch Manager Plus server automatically whenever the system is started.
- Launch the client upon successful server startup - Enable this to open the client automatically whenever the Patch Manager Plus server is started.
- Automatically apply important fixes - Enable this to automatically apply all the important fixes that are recommended to your service. However, the admin will be prompted for confirmation, if the fix(es) requires a Central Server Service restart.
- Enable Secure Login (https) - Select the Send the Usage Statistics check box if you wish to collect and share information about the usage of the product. This will be used as feedback to enhance the product.
- Trim Column Values in Report - Enable this if you want to trim the unwanted space in the column values of the report.
Data Sharing
Enabling this allows the user to see the tasks/configurations that are created by all users. If this is disabled, the user will be able to see only the tasks/configurations that are created by themselves.
Notification Server Port
The PMP agent syncs with the server at regular intervals to update its current status (agent live/down). Specify the port number for the Notification Server here.
Log Level
From the drop-down select the current level for Log Settings. Users can choose from the two options viz. NORMAL and DEBUG.
Default Domain for Authentication
Admins can either choose to install agents in the computers through the Active Directory or locally. Depending upon the preferences, choose between Local Authentication and < Domain Name > as available.
Notification Settings
Admins can choose to receive notification alerts via mail related to server status or issues. To enable the feature, add the concerned email Ids in the box. While inserting multiple email Ids, they must be separated with a comma (,).
To save the changes made, click on Save Changes