
Login Home page
The home page of ServiceDesk Plus MSP has various useful information displayed that enables an administrator or a technician to take necessary action.
The user you are logged in as is the Administrator and the following are available in home page,
Incident Catalog drop-down menu
Service Catalog drop-down menu
If you are on a Trail version, then the following links will appear along with the above,
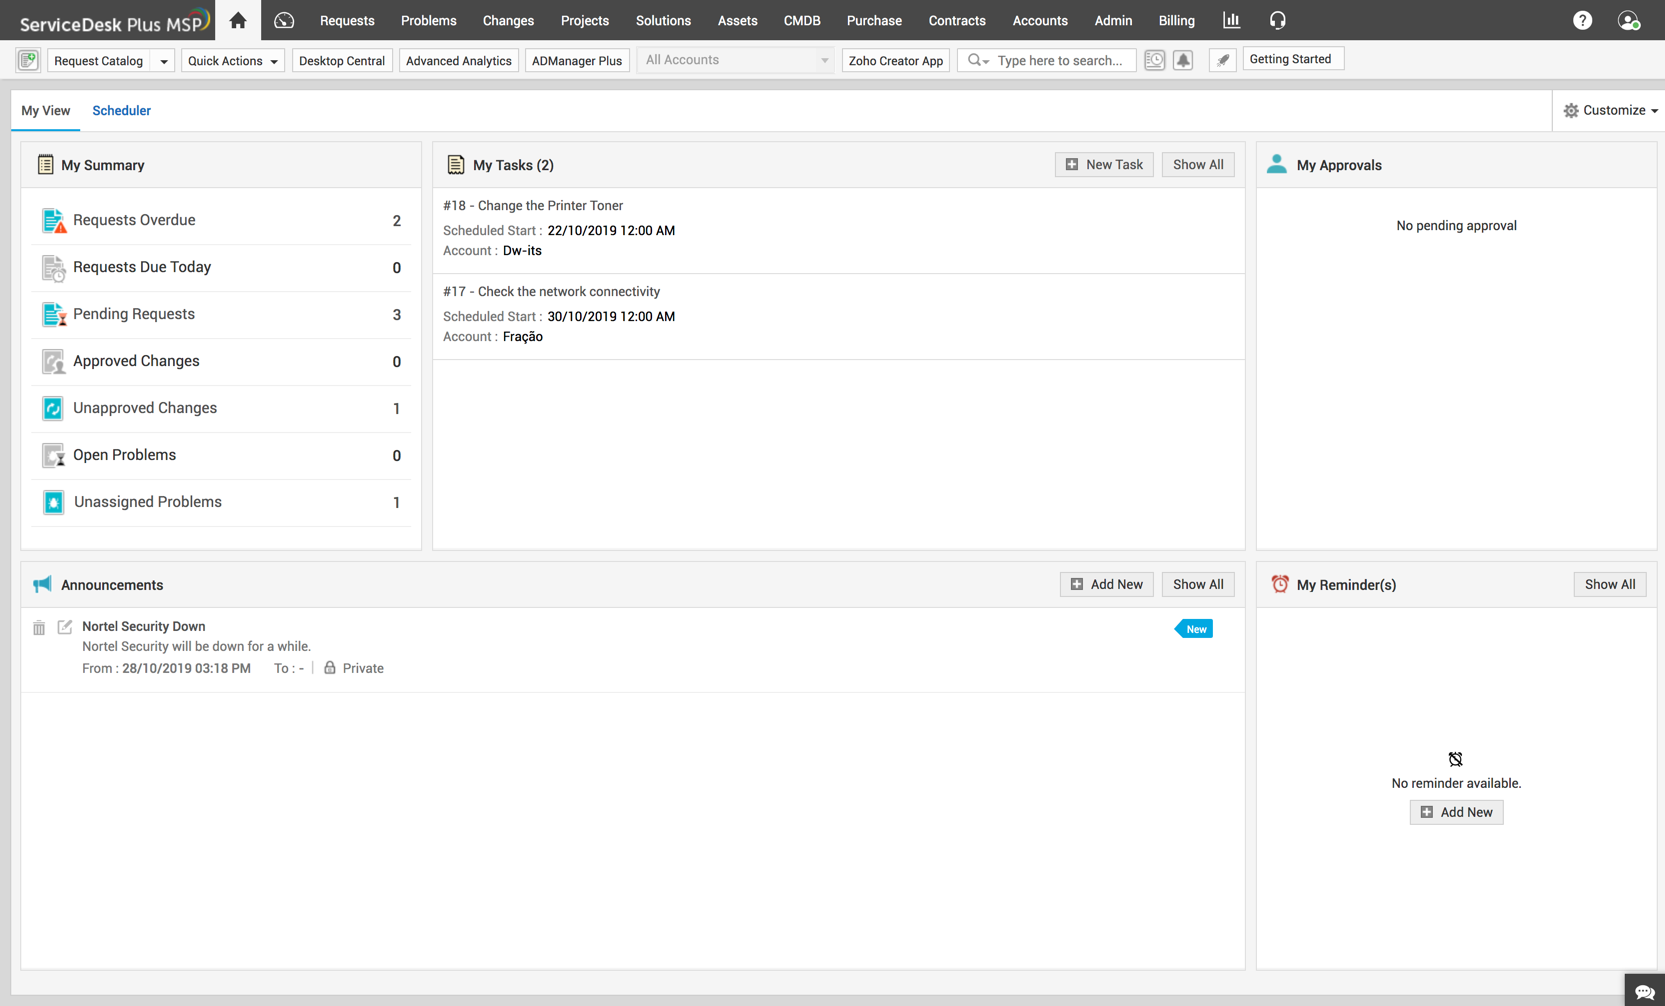
The My View tab displays the following information,
This block lists all the approval actions to be taken by you for a service request, incident request or purchase order. To approve or reject, click Take Actions button. The approval for service requests and purchase orders are listed only if you have the approval permission.
This block displays the summary of requests, problem and changes assigned to the logged in technician.
-
Request Overdue - Number of requests assigned to the logged in technician that are overdue.
-
Requests Due Today - Number of requests assigned to the logged in technician that are due for that day.
-
Pending Requests - Number of pending requests that are assigned to the technician.
-
Approved Changes - Number of changes assigned to the logged in technician that are approved.
-
Unapproved Changes - Number of changes assigned to the logged in technician that are unapproved.
-
Pending Problems - Number of Open problems assigned to the logged in technician.
-
Unassigned Problems - Number of problems that are unassigned to technicians.
Scheduler gives a calender view of the number of open requests, problems, changes, task and reminder for a technician in a given month. Using the Technician Availability Chart, the availability of a technician on a given date can be viewed, based on which requests can be assigned to other technicians (backup technician).
An instant mode to create new incident when you are on a call with a requester. To access Quick Create - New Incident,
Click the quick create icon ![]() in the top left corner.
in the top left corner.

You can either conduct a search for the requester using the Requester List icon or you can enter the name of the requester in the field provided. Next, all you need to do is enter Request Title and Description. If you require additional details such as category, priority or assign a technician, click Add More Details >> link. This takes you to the New Incident form.
Note: The Quick Create - New Incident section is available only when 'Quick Create Settings' option is enabled in the Self Service Portal Settings.
You can search for Requests, Archived Requests, Problem, Change, Assets, Workstation, Software, Purchase, Contract, Solutions, System Log and Requester from the home page. You can further enhance the request search by drilling it down to sub modules. You can search for notes, work log, resolution and request ID. Conducting a search using the request ID/keyword takes you to the request details page of the specified request ID/keyword.

You can change the language and time zone displayed in the application, customize your signature, and change your password from the Personalize link. Click here to view more.
The Quick Actions functions as an instant navigator to the Add New forms, Scheduler, Tasks, Reminders, Asset-Groups, Scanning inventories and Archived requests.
Request Catalog drop-down menu
The Request Catalog drop-down menu groups both, the Incident Requests and Service Request Templates based on the category.
The Request Catalog drop-down menu is made available to your technicians only if you has enabled the option "Combine incident and service templates listing for the service" in Self Service Portal Settings.
Incident Catalog drop-down menu
The incident templates made available to your technicians are grouped based on the Service Category and listed in the Incident Catalog drop-down. Click Incident Catalog link to access the default incident template.
Service Catalog drop-down menu
The service categories and the service items available to you are listed in the Service Catalog drop-down. The list is organized to view the service items under each service category. All you need to do is browse for the available services in the catalog and submit a request.
The license expiry alert shows the number of days for the existing license to get expired. In addition, it also provides the date within which the license should be renewed and the contact information of the support team.
The Get Quote link is visible to users using the Demo or Trial version. Clicking Get Quote link navigates the page to the Get Quote form in the website. Entering the specifications in the form will help us to provide you with the exact details of your requirement. Click Submit on specifying the details and our sales team will contact you on receiving the e-mail.