
Remote users often find it challenging to reset expiring passwords and update outdated credential caches due to a lack of connection to Active Directory (AD). When they lose machine access due to expired passwords, they can't reach the help desk, leading to reduced productivity.
ManageEngine ADSelfService Plus' cached credentials update feature helps remote users reset their domain password from their login screens using the self-service password reset feature. This allows them to regain access to their Windows machines from outside the domain network. ADSelfService Plus comes bundled with a GINA/CP client, also known as the Windows login agent, which allows remote users to perform secure self-service password reset right from their login screens and forcefully updates their Windows machine's cached credentials afterwards.
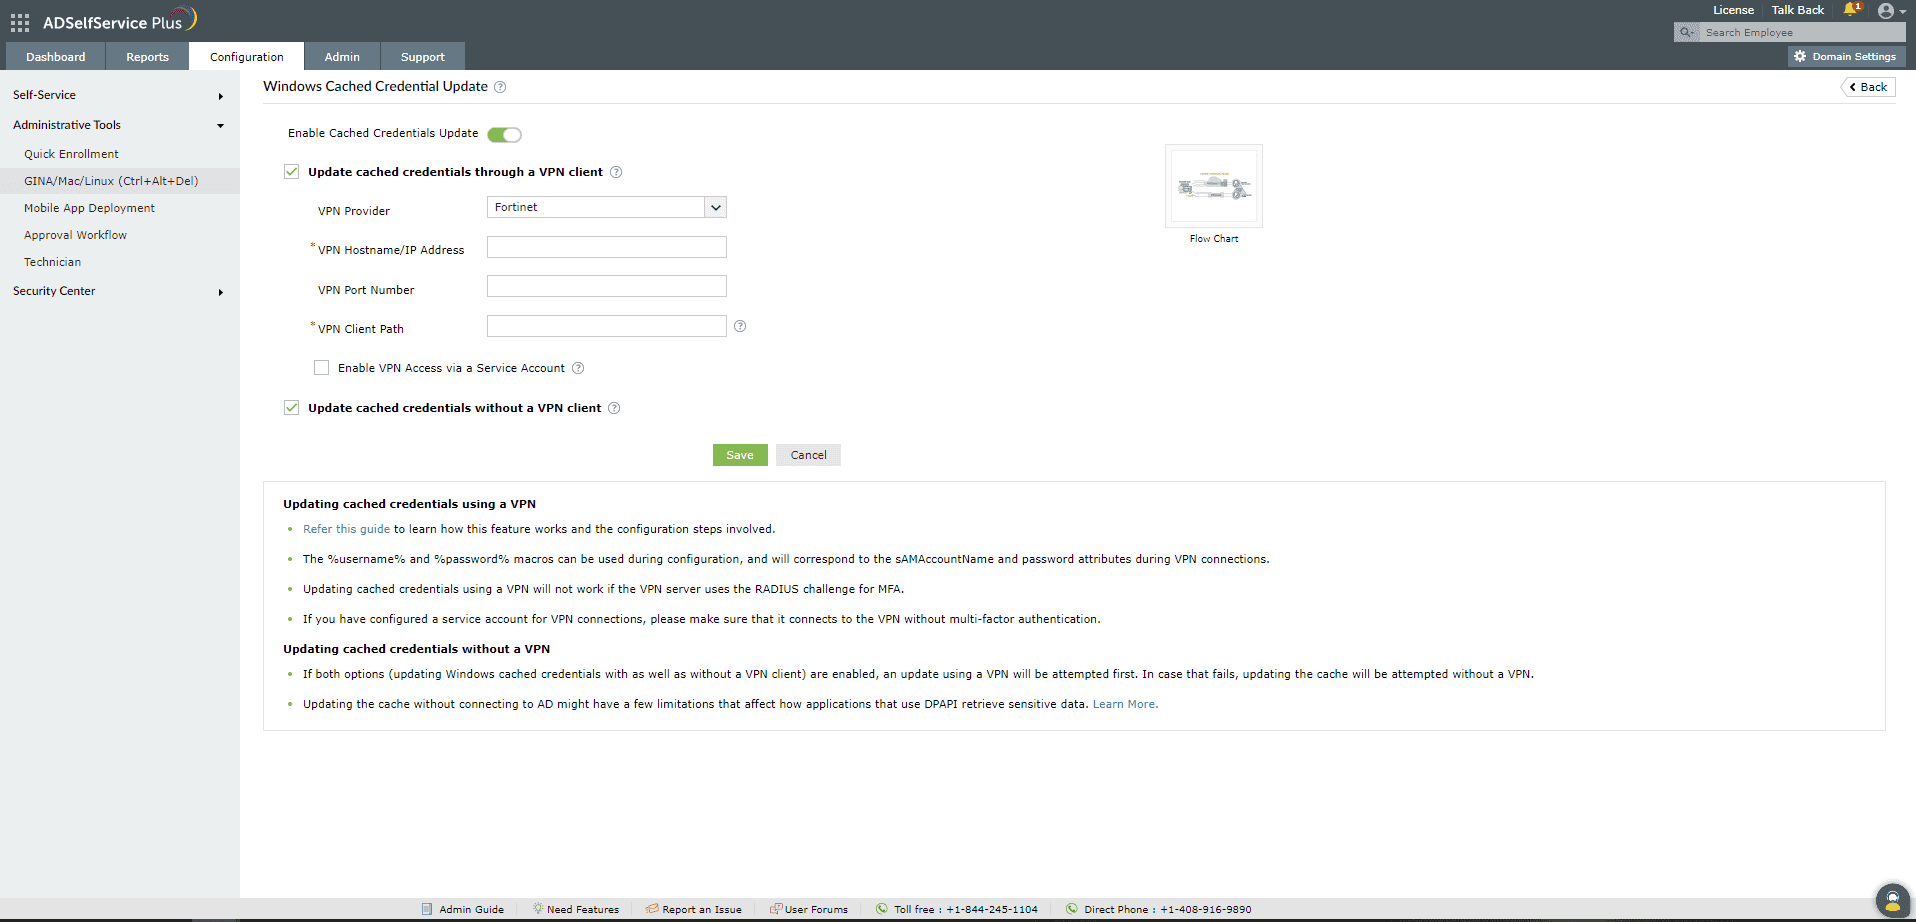
Updating the locally cached credentials on Windows machines using ADSelfService Plus can be achieved:
Organizations that have a VPN infrastructure with VPN vendors supported by ADSelfService Plus can update their remote users' cached credentials over VPN. When an organization does not have a VPN infrastructure or uses a VPN vendor not supported by ADSelfService Plus, then they can update their remote users' cached credentials without using a VPN client.
To learn more about cached credentials, their significance, and how cached credentials update works in ADSelfService Plus, click here.
ADSelfService Plus supports the following VPN providers for the cached credentials update feature:
Note: By default, VPN connections to update the local cache will be initiated with the credentials of the end user who initiated the password reset.

Here are the client locations for the VPN providers supported out of the box in ADSelfService Plus:
Cisco AnyConnect: C:\Program Files (x86)\Cisco\Cisco AnyConnect\vpncli.exe
SonicWall Global VPN: C:\Program Files (x86)\SonicWall\SonicWall Global VPN\swgvc.exe
Fortinet VPN: The appropriate version of the VPN client file (FortiSSLVPNClient.exe) must be downloaded from the Fortinet support portal and installed on users' machines. To download the VPN client file (FortiSSLVPNClient.exe), log into the Fortinet support portal and navigate to Firmware Downloads > FortiClient > select_your_VPN_version > FortinetClientTools.zip. Click on HTTPS to download the ZIP file. Unzip and extract the FortiSSLVPNClient.exe file (you can find it within the SSLVPNcmdline folder) to a location accessible to the ADSelfService Plus Windows Login Agent. The location where the FortiSSLVPNClient.exe file has been installed must be mentioned as the VPN Client Path. Example: C:\FortiClient\FortiSSLVPN\x86\FortiSSLVPNClient.exe
Check Point VPN: C:\Program Files (x86)\CheckPoint\Endpoint Connect\trac.exe
SonicWall NetExtender: C:\Program Files (x86)\Sonicwall\SSL-VPN\NetExtender\necli.exe
OpenVPN: C:\Program Files (x86)\Sophos\Sophos ssl client\bin\openvpn.exe
Cisco IPSec: C:\Program Files (x86)\Cisco\Cisco IPSec\vpnclient.exe
The VPN client location has to be uniformly maintained on all user machines. If using a custom VPN provider, please contact your VPN provider's support team to know the name of the client used for command-line interface and mention its location as the client location.
For Custom VPN, macros (%user_name%, %password%, etc.) can be used in the VPN Connect/Disconnect Command. (Note: The syntax for the VPN Connect/Disconnect Command varies depending on the VPN provider used.)
Example: connect -s adsspvpn -h %servername%:%portno% -u %user_name%:%password%
Note: If both options (updating Windows cached credentials with or without a VPN client) are enabled, an update using a VPN will be attempted first. In case that fails, update of the cached credentials will be attempted without a VPN.
Updating the cache without connecting to AD through a VPN might have a few limitations that affect how applications retrieve sensitive data using DPAPI. This includes applications that use passwords and form auto-completion data such as Internet Explorer and Google Chrome, network passwords stored in the Credential Manager, private keys for Encrypting File System (EFS), and SSL/TLS in Internet Information Services.
For instance, passwords that are saved on the Chrome browser are stored and retrieved using DPAPI, which requires the client to have connected to AD while updating the cached password. If the cache is updated without a VPN connection to AD, Chrome will not be able to retrieve the stored user information until next time the machine connects to AD.
We recommend that you choose the Update cached credentials without a VPN client option only if your organization does not have a VPN provider supported by ADSelfService Plus for cached credential update.
Updating Cached Credentials without a VPN is supported only on Windows servers running Windows Server 2008 R2 or later, and on Windows clients running Windows 7 or later.
If the cached credentials are not updated for a client machine during self-service password reset after the feature is enabled, ensure the following:
Go to HKEY_LOCAL_MACHINE\SOFTWARE\ZOHO Corp\ADSelfService Plus Client Software and ensure that the following registry entries are present:
This can be confirmed by executing the following commands in Command Prompt depending on the VPN provider used.
Cisco IPSec:
vpnclient.exe connect <profile name> user %user_name% pwd %password%
Cisco AnyConnect:
pncli.exe -s < %tempFile%
(or)
vpncli.exe connect %servername%
%user_name%
%password%
Fortinet:
connect -s adsspvpn -h %servername%:%portno% -u %user_name%:%password%
In case a custom VPN provider is used, the following command line must be used pstools..psexec.exe -s -i
Need further assistance? Fill this form, and we'll contact you rightaway.
Allow Active Directory users to self-service their password resets and account unlock tasks, freeing them from lengthy help desk calls.
Get seamless one-click access to 100+ cloud applications. With enterprise single sign-on, users can access all their cloud applications using their Active Directory credentials.
Intimate Active Directory users of their impending password and account expiry via email and SMS notifications.
Synchronize Windows Active Directory user passwords and account changes across multiple systems automatically, including Microsoft 365, Google Workspace, IBM iSeries, and more.
Strong passwords resist various hacking threats. Enforce Active Directory users to adhere to compliant passwords by displaying password complexity requirements.
Enable Active Directory users to update their latest information themselves. Quick search features help admins scout for information using search keys like contact numbers.