A DNS zone is comprised of several DNS nodes housing domain-related information. RecoveryManager Plus can backup DNS nodes in a particular DNS zone and restore them to any previously backed-up state. This guide provides a step-by-step approach to restoring the backed-up DNS nodes using RecoveryManager Plus.
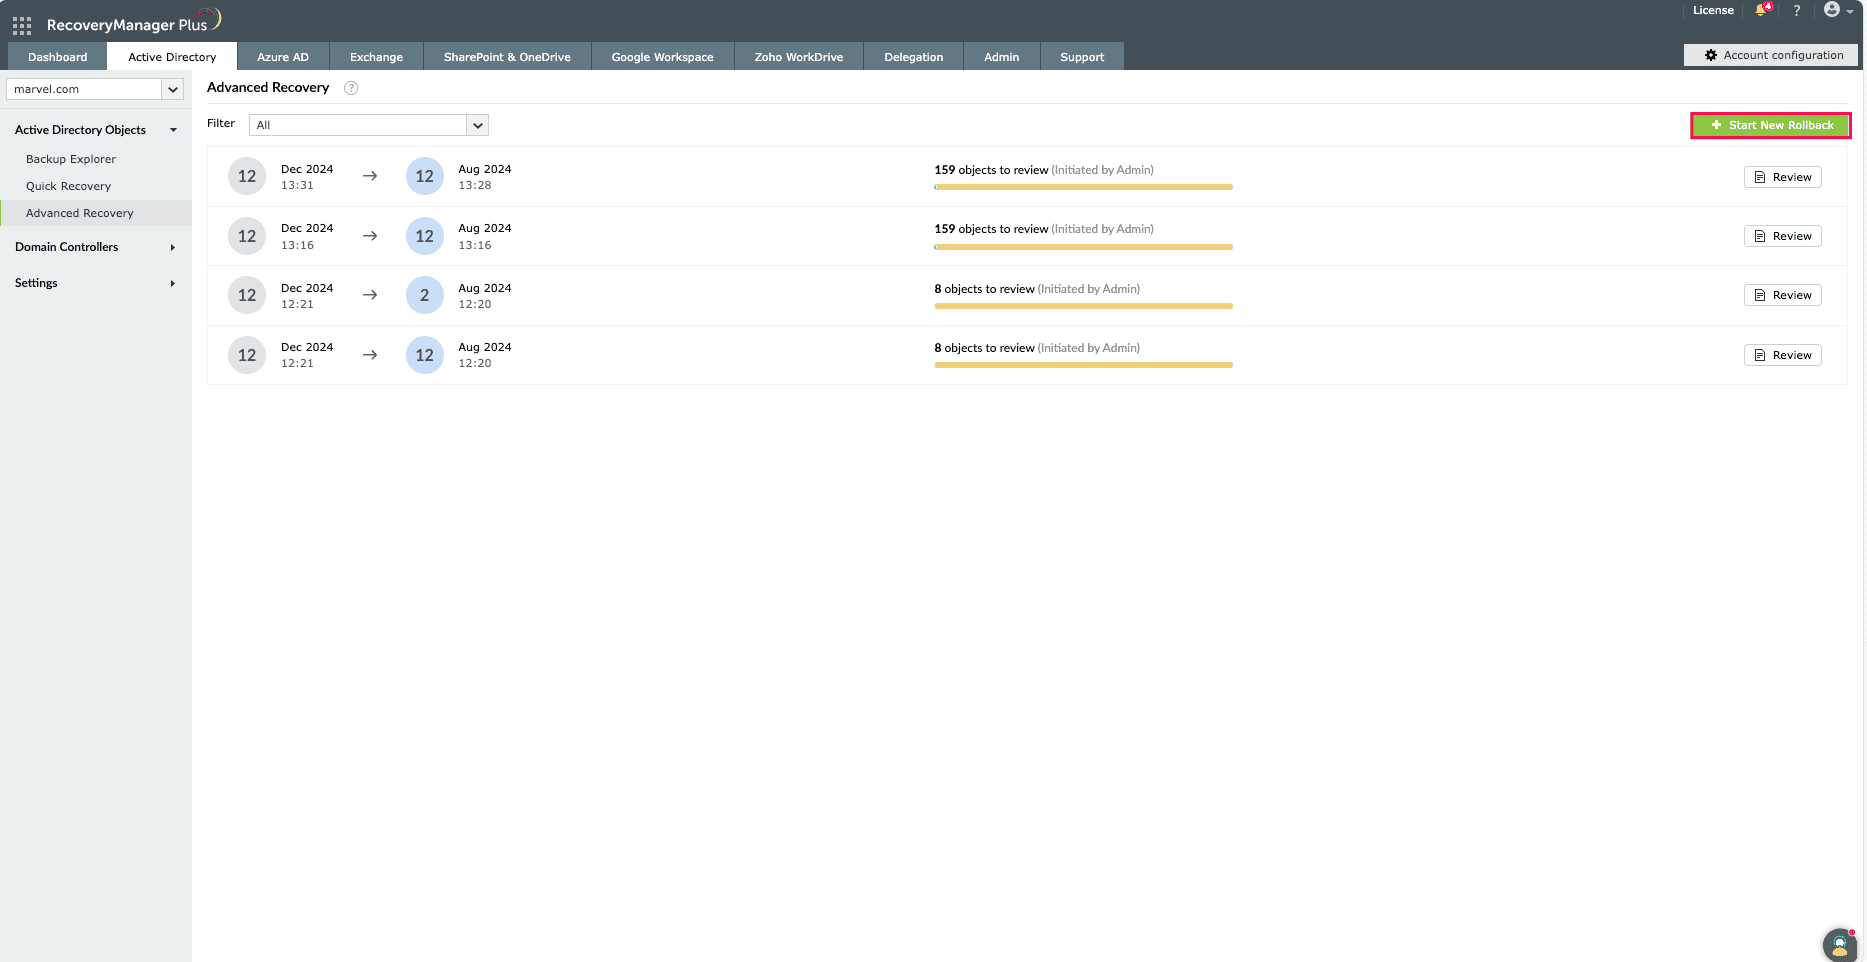
Figure 1: Starting the rollback process to restore DNS nodes using. RecoveryManager Plus
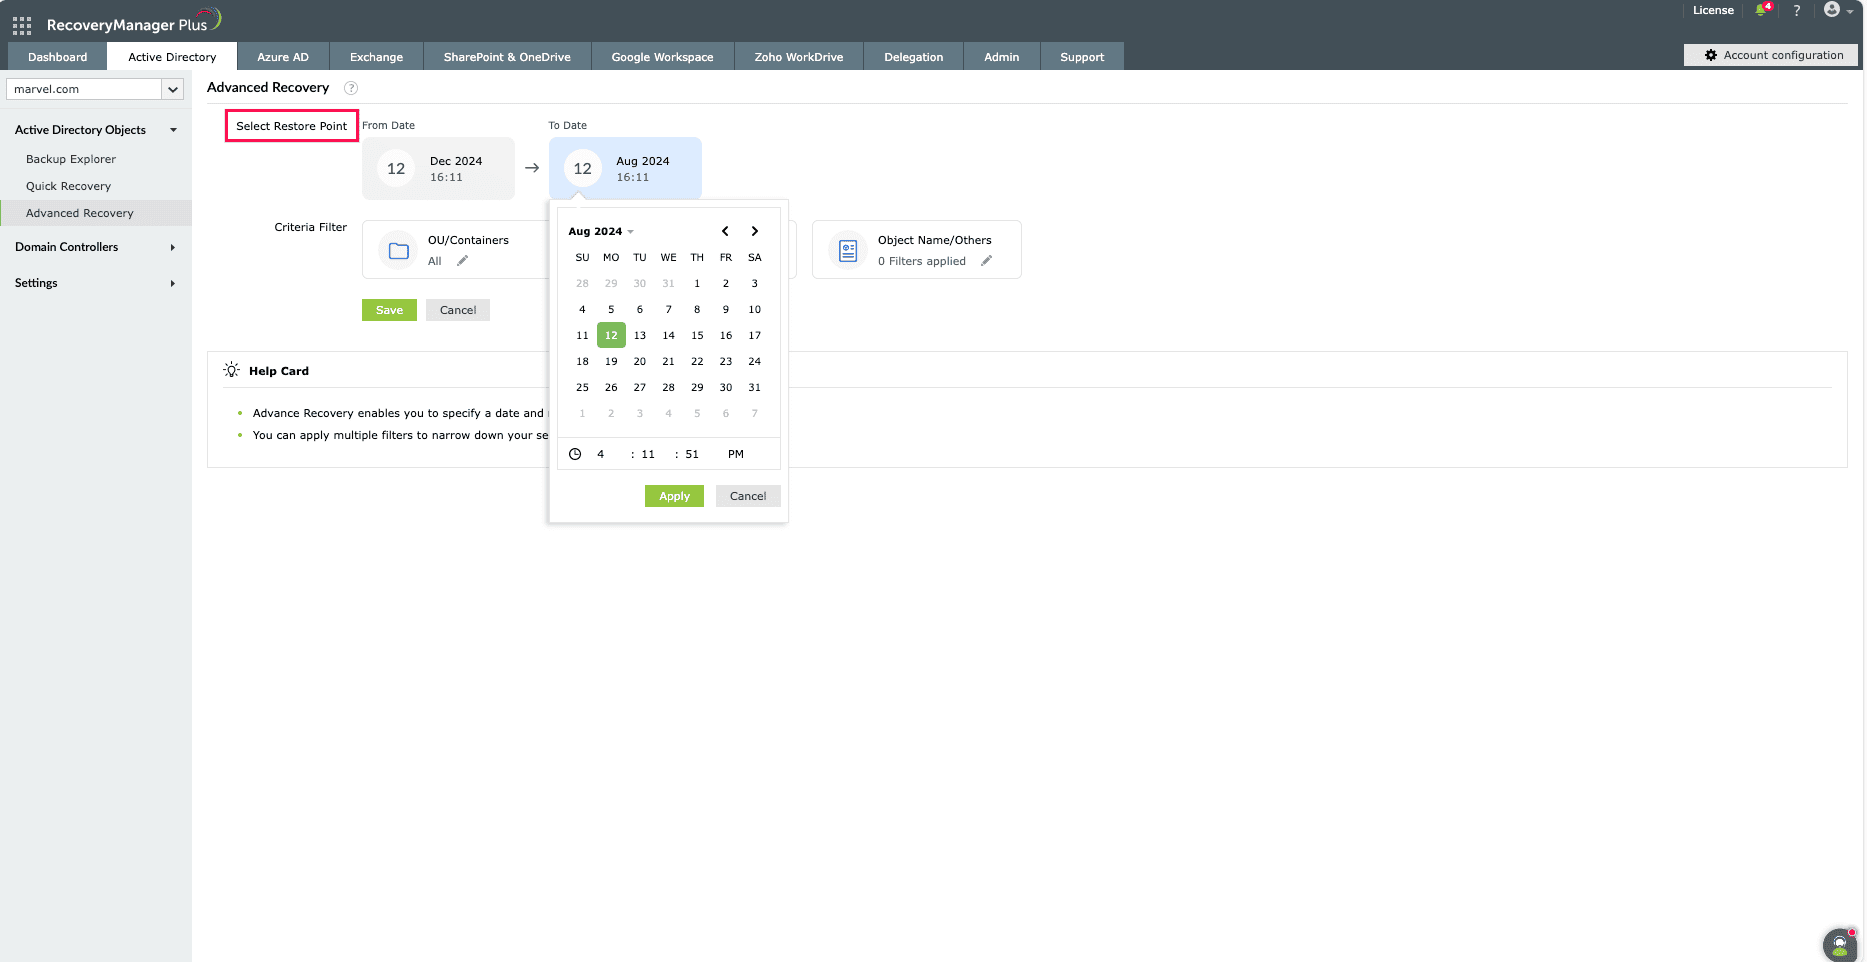
Figure 2: Selecting a restore point to rollback in RecoveryManager Plus.
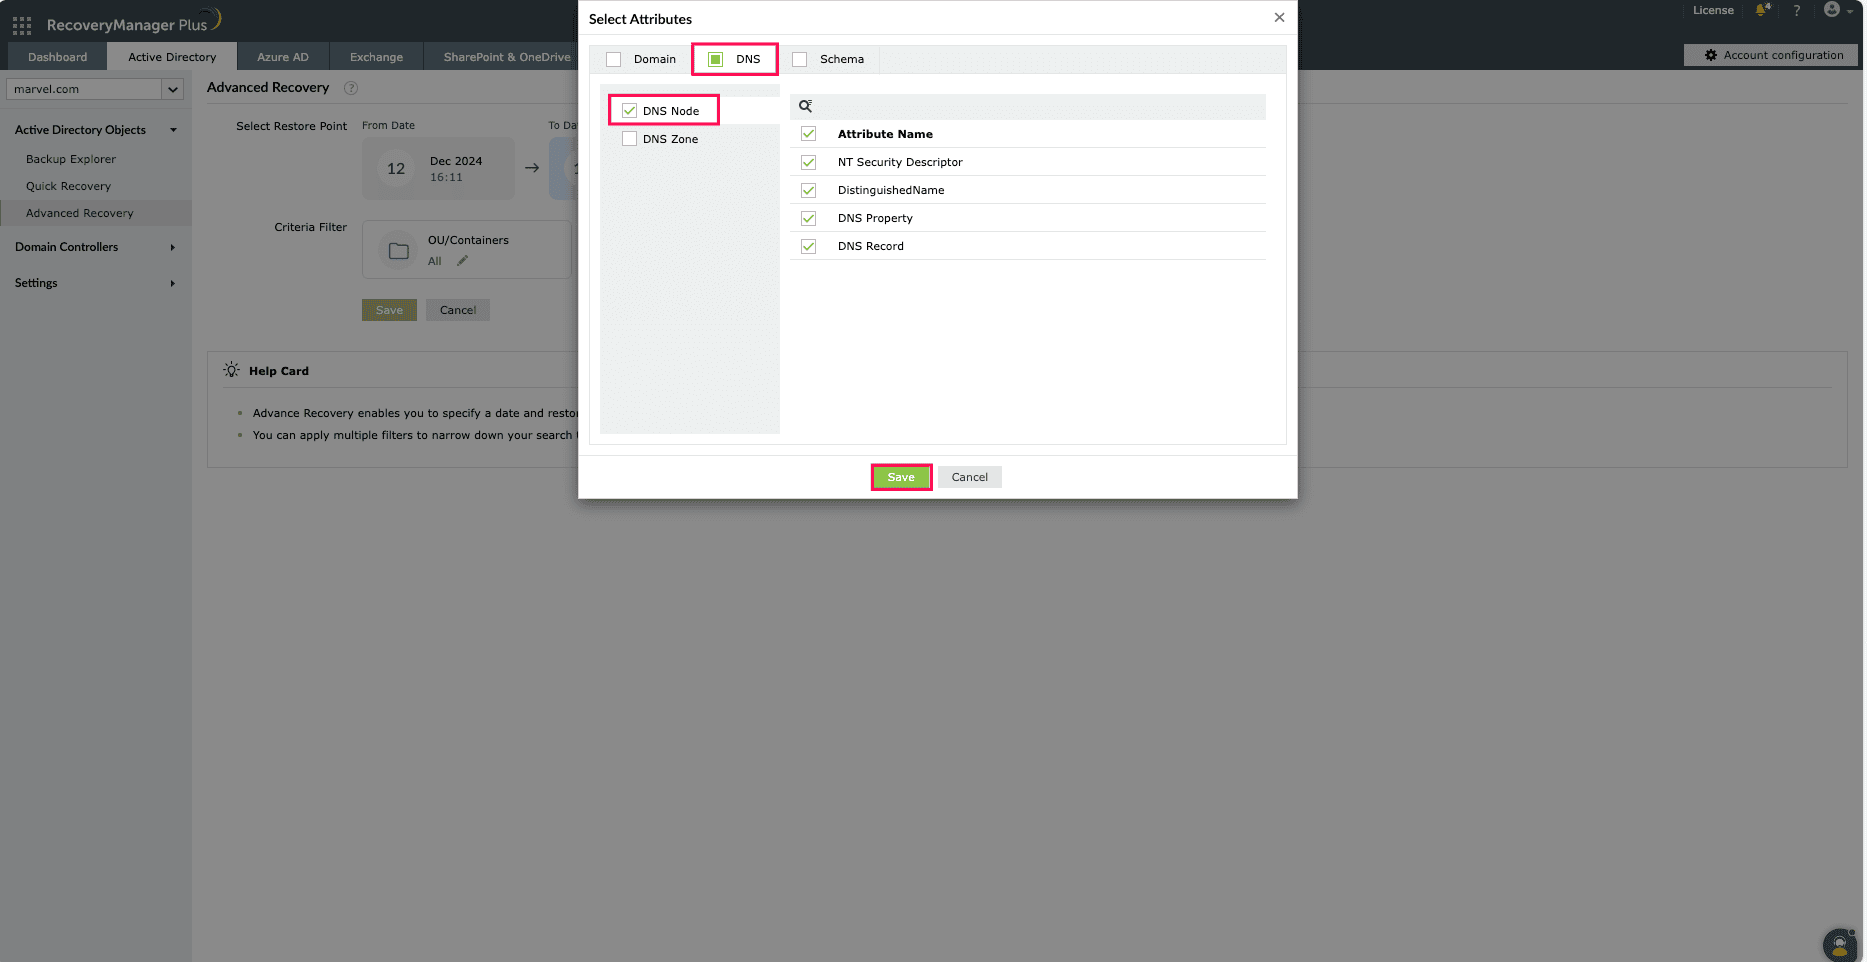
Figure 3: Selecting DNS nodes to restore.
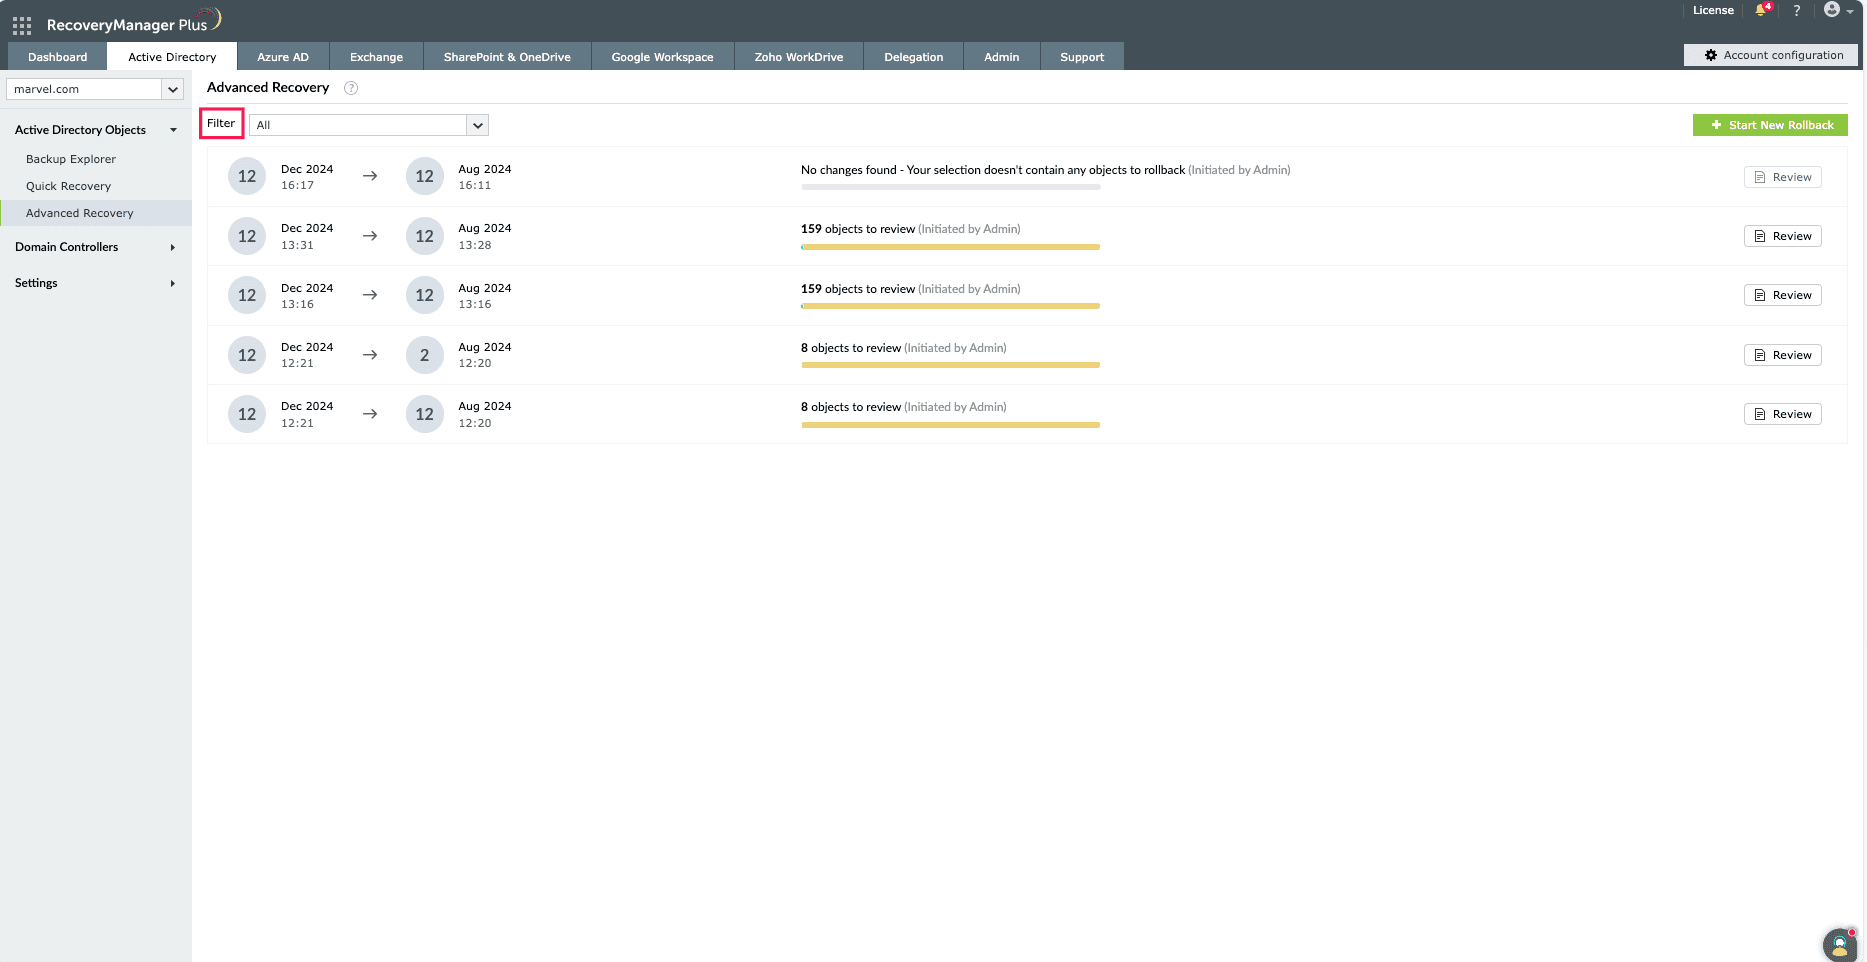
Figure 4: Filtering rollback actions in RecoveryManager Plus
The DNS nodes will now be restored to the selected restore point.
In addition to restoring DNS nodes, RecoveryManager Plus can also:
Fill this form, and we'll contact you rightaway.
Our technical support team will get in touch with you at the earliest."
