How to manually remove an update in SCCM
Description
In this Knowledge Base article, we show you the steps involved in manually removing any third-party update from SCCM, using a Powershell script to run on the WSUS-installed machine. Each step is explained in detail below
Steps Involved
Step 1: Download the required Powershell script here UpdatesRemovalScript.zip
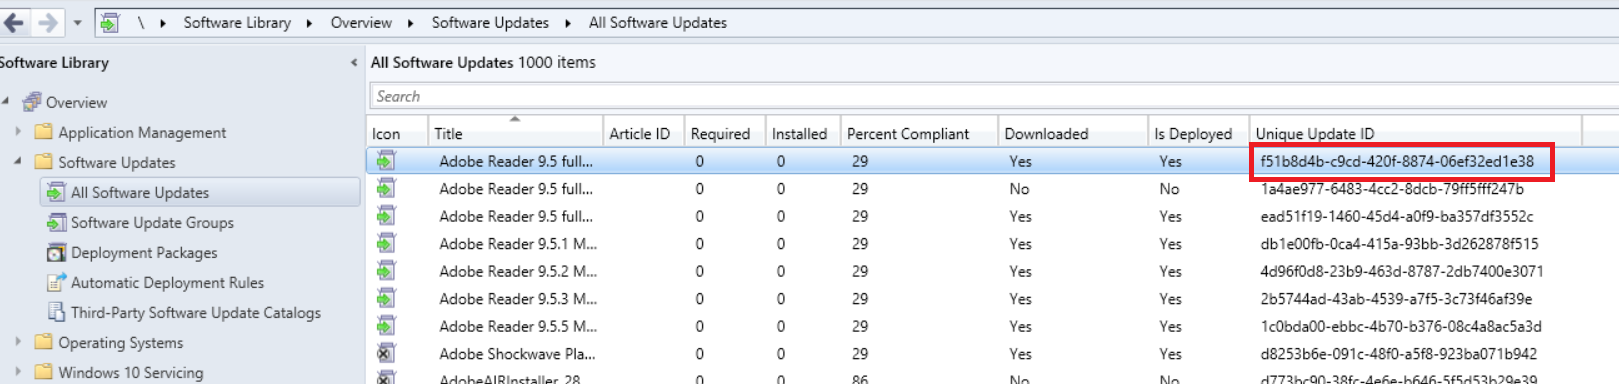
Step 2: Copy the unique update GUID from SCCM, as shown below.
Step 3: Replace the example GUID given in the downloaded Powershell script with the specific Update GUID, that you just copied from SCCM.You can also find the example Powershell script below.

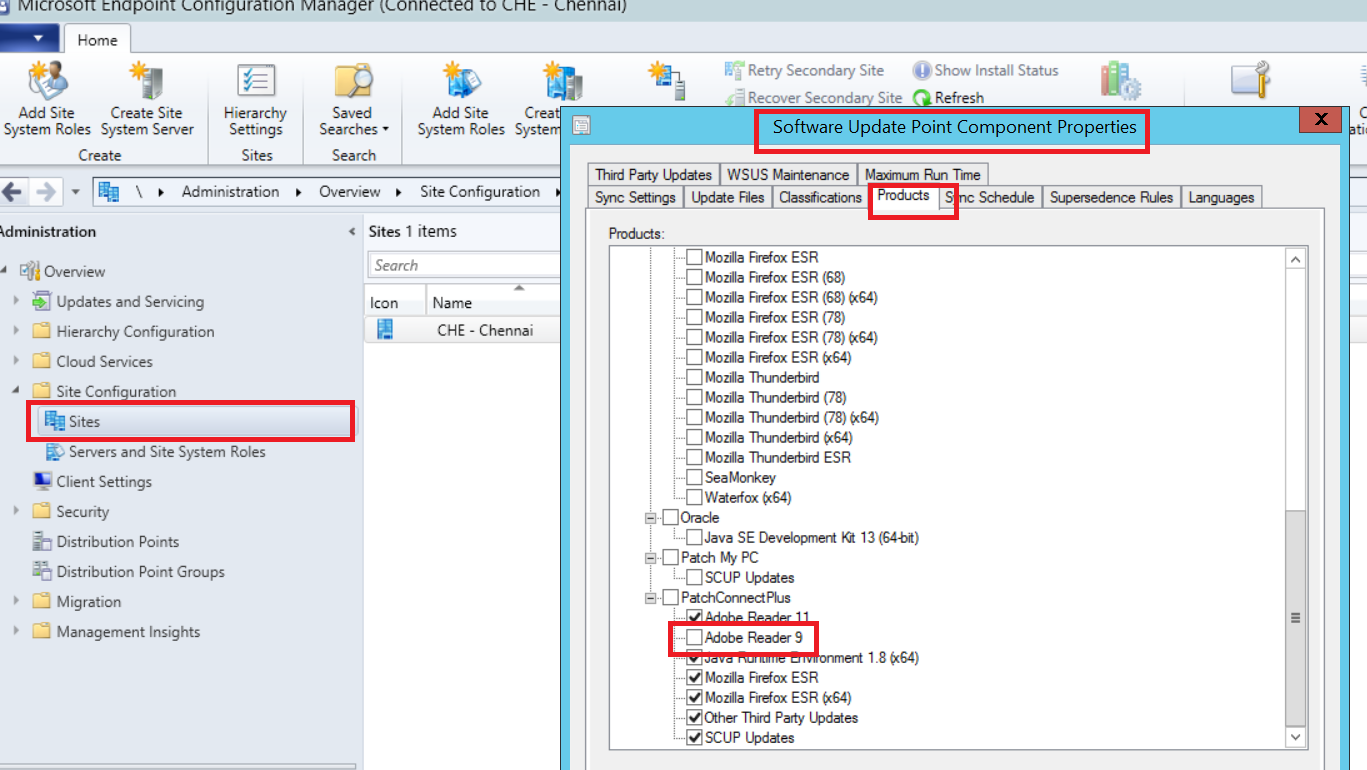
Step 4: Now navigate to the Software Update Point, within SCCM as shown in the screenshot below to make sure you un-check the required product for which you want to remove the update for.
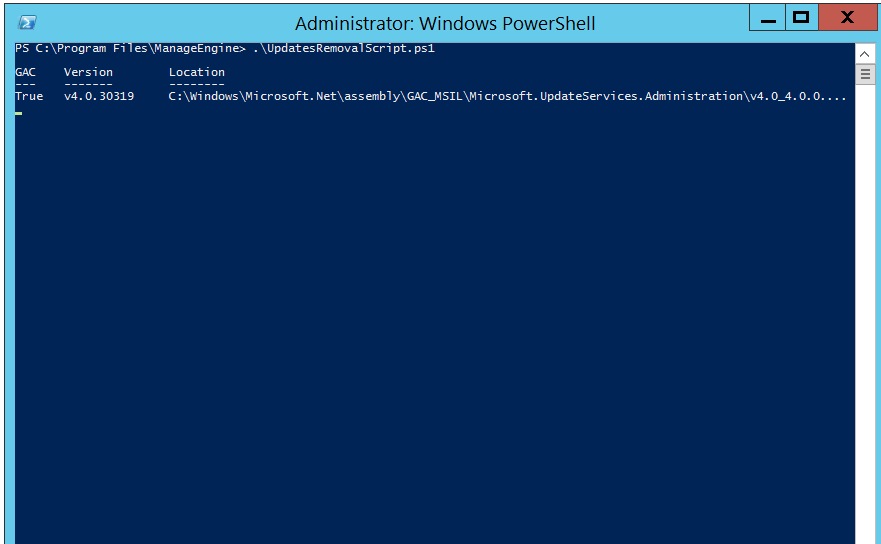
Step 5: Once the above steps have been completed, go to the Windows machine where WSUS server is installed and then Run the Powershell script.
Step 6: Now that you have run the modified Powershell script, all that is left to do is to initiate a synchronization at the Software Update Point. A screenshot for your reference can be found below.
