Migrating configurations from standalone Log360 to Unified Log360
Last updated on:
In this page
Overview
- It applies to standalone Log360 deployments, including those integrated to any one or more child components and must not be integrated with EventLog Analyzer.
- This migration is supported only for Log360 builds below 13000.
This page explains how to migrate data from a standalone Log360 installation to Unified Log360.
The migration is initiated by applying the latest PPM to the existing Log360 instance, and the existing Log360 data and supported configurations are migrated to Unified Log360.
This migration is applicable to standalone Log360 deployments, including those integrated with the following child components/ ManageEngine applications:
- ADAudit Plus
- Cloud Security Plus
- Exchange Reporter Plus
- DataSecurity Plus
- Log360 UEBA
- ADManager Plus
- M365 Manager Plus
- PAM360
Configuration changes must be reviewed before proceeding with the migration process.
Pre-requisites
Before migrating from a standalone Log360 installation to Unified Log360, ensure the following prerequisites are met:
- Ensure that the existing Log360 installation is updated to the latest PPM before initiating the migration.
- Verify that the server meets the required system requirements for Unified Log360.
- It is recommended to ensure that all child components are up and running before initiating migration to avoid synchronization issues.
- Ensure that the reverse proxy and web ports of existing Log360 and Unified Log360 are allowed bidirectionally to support remote migration.
- If components are integrated remotely, ensure that the necessary component and web ports are allowed to integrate them with Unified Log360.
- Before proceeding with the migration, ensure that all files in the <Log360-Product-location>\Export folder are backed up to a separate location. After the migration is completed and verified, the source files will be removed to optimize disk space. In case of any discrepancies after migration, recovery will only be possible using the backup.
- Ensure a valid Log360 license is available before migration. If not, contact support at support@log360.com to retrieve the license file. If a new license is required, reach out to sales at sales@manageengine.com or request via the Get Quote page.
Configuration changes during migration
During migration, certain configurations from Log360 are automatically merged.
| Feature | What happens during migration |
|---|---|
| Dashboard | Dashboard tabs and their respective widgets from Log360 will be migrated. Custom tabs from Log360 will be added to Unified Log360. Tab names will remain unchanged and the tab order will follow Log360 tabs. |
| Captcha and Block User Settings | Log360 configuration will be migrated automatically. |
| SSO Settings (NTLM) | Log360 SSO configuration will be migrated if configured. The Jespa JAR will also be migrated but will only take effect in Unified Log360 after a restart. |
| Smart Card Authentication | Log360 configuration will be migrated automatically. |
| Two-Factor Authentication | Log360 configuration will be migrated by default. User enrollment data from Log360 will not be migrated if Two-Factor Authentication is disabled in Log360. Duo authentication settings are not migrated. |
| Integration Settings | Log360 configuration will be migrated automatically. |
| Allowed/Restricted IPs | Log360 configuration will be migrated automatically. |
| Reverse Proxy | Log360 settings will be migrated automatically. |
| Personalize(Language, Time Zone, Date/Time Format) | Log360 settings will be retained after migration, Time Zone settings Will be not be migrated |
| Rebranding (Product Logo, Browser Favicon, Browser Title) | Log360 configuration will be migrated automatically. |
| Connection Settings | Log360 configuration will be migrated automatically. |
| Product Notification | Log360 configuration will be migrated automatically. |
| Compliance and Risk Posture | Log360 configuration will be migrated automatically. |
| Security Hardening | Log360 configuration will be migrated. |
| Notification Settings | Log360 configuration for both mail and SMS servers will be migrated automatically. |
| Port Configuration | The port and protocol configured in Log360 will be retained after migration. |
| AppsPane and JumpTo |
|
| Scheduled Export Files | Log360 export files will be available in history and can be downloaded if needed. |
| Database Backup Configuration | Backup Configuration:
|
| Manage Technicians | Log360 configuration will be migrated automatically. |
Settings to review after migration
Existing configurations will be migrated to Unified Log360, except for certain configurations that must be reviewed post-migration. After completing the migration, administrators should review the following configurations to ensure the setup functions as expected:
- Device Allocation Management - This feature in ADAudit Plus has been discontinued in this edition. This capability is available as a built-in feature in ADAudit Plus. Existing auto-allocation policies will not be migrated and must be manually reconfigured in ADAudit Plus.
- Database configuration (MSSQL to PostgreSQL): If MSSQL was configured as the backend database for existing Log360, it will be replaced with the default PostgreSQL (PGSQL) database during migration to Unified Log360 setup, retaining the existing configuration. Admins can continue using PostgreSQL or migrate to MSSQL if required.
- Folder permissions: Post migration, verify the folder permissions of the installation directory and ensure that the required users have access to it.
- Duo authentication: Duo authentication settings are not migrated. They must be reconfigured after migration.
- Database backup configuration: Only the database backup configuration (such as backup frequency and backup location) is migrated to Unified Log360. Existing backup files are not migrated as part of this process.
- In Log360 to Unified Log360 migration, the configured backup location is retained based on the conditions of the database settings module.
- Existing backup files will remain available in their original location if accessible.
- Database backup files of older Log360 installations will not be compatible with Unified Log360 and cannot be restored.
- For other integrated components, database backup files are stored in their respective configured locations and remain unchanged during migration.
- The license will not be applied during migration. If you have a valid Log360 license, you must apply it after migration.
- Auto Update: This feature has been discontinued in this version.
- Log360 Report Management: Viewing other component(s) product reports within the integrated Log360 console is no longer supported.
- Compliance Configuration: Additional settings configured in the Edit Compliance page will not be migrated for both predefined and custom compliances. The enabled or disabled status for each compliance will also not be migrated from Log360 and must be reviewed and reconfigured after migration.
- Risk Posture: The daily schedule configured for Risk Posture will not be migrated.
- Technician Management: The following technician accounts require review post-migration:
- Technicians under Product Authentication and those under AD Authentication who have an Operator role will be migrated in a disabled state with no roles and delegations. These accounts must be manually updated and enabled after migration. These accounts must be manually updated and enabled after migration.
- AD Authentication technicians with an Admin role will be migrated with the Administrator role and granted all delegations. Their status will be retained from Log360.
Steps to migrate data
- After installing the latest PPM, start Log360. A migration pop-up is displayed indicating that the existing Log360 installation can be migrated to Unified Log360. Click Next to continue.
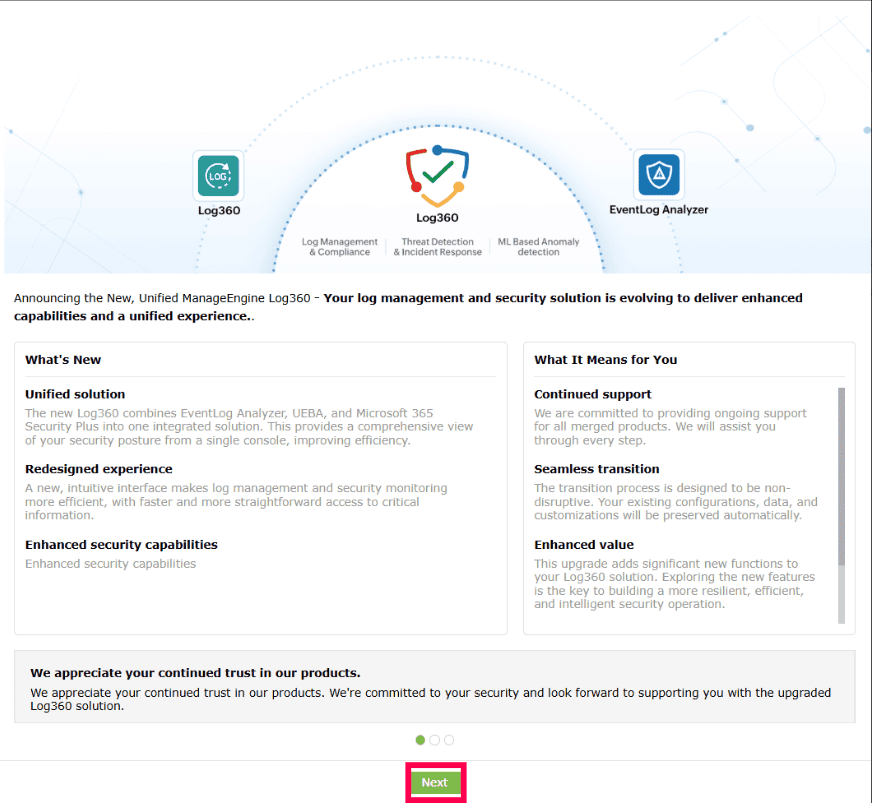
Figure 1: Migrating data - The Steps to Migrate window displays the actions required to migrate the existing Log360 installation. Click Download Log360 to download the Unified Log360 build.
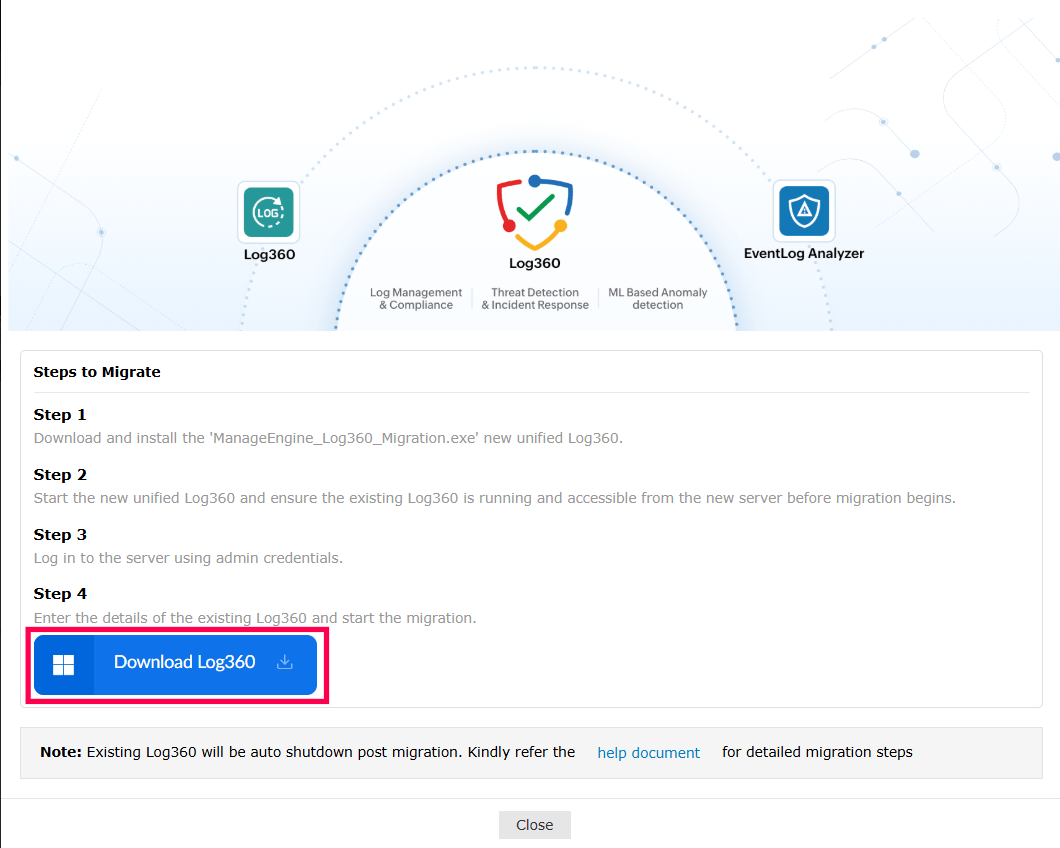
Figure 2: Downloading Log360 - After downloading the Unified Log360 build, run the Log360 Unified installer (.exe).
- The InstallShield Wizard welcome screen appears. Click Next to continue.
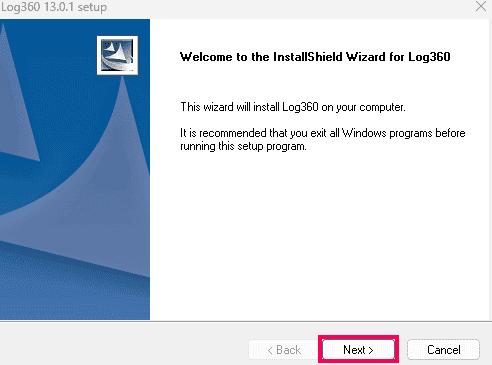
Figure 3: Launching InstallShield Wizard - Read the License Agreement and click Yes to accept the terms and proceed with the installation.
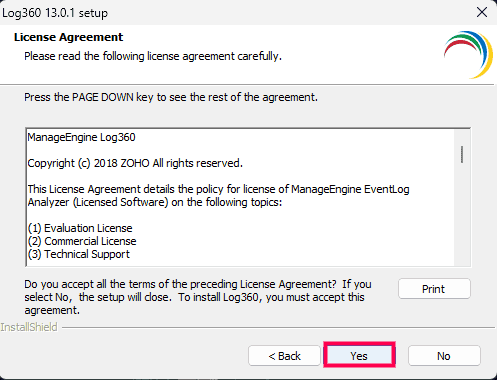
Figure 4: License Agreement - In the Destination Folder window, select the directory where Unified Log360 will be installed. Click Browse and select a new installation directory and click OK to confirm the folder selection.
NOTE Install Unified Log360 in a new installation directory. Installing it in the same directory as the existing Log360 installation is not supported.

Figure 5: Installing in a different folder 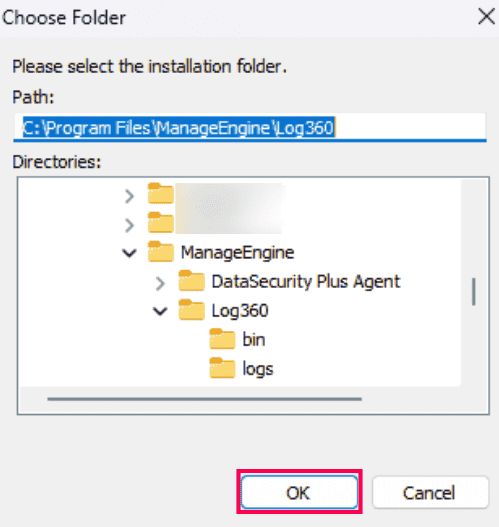
Figure 6: Installing in different folder - After selecting the installation folder, click Next to proceed with the installation.
- A prompt appears recommending that you exclude the Log360 installation directory from antivirus scans to prevent interference with database operations. Click OK to continue.
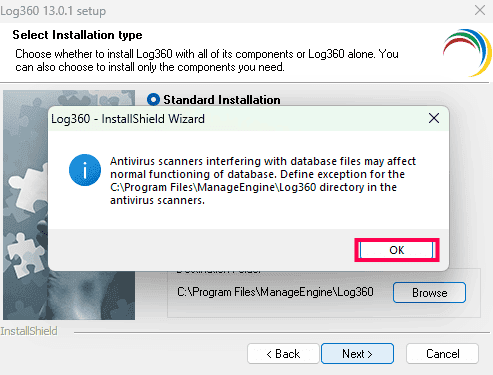
Figure 7: Antivirus scan - Review the installation summary. Click Back to modify any settings, or click Next to begin the installation.
NOTE If port 8095 is already in use, port 8106 will be used. If 8106 is also unavailable, the port will be assigned dynamically. You can view the port number used by Unified Log360 in the current settings.
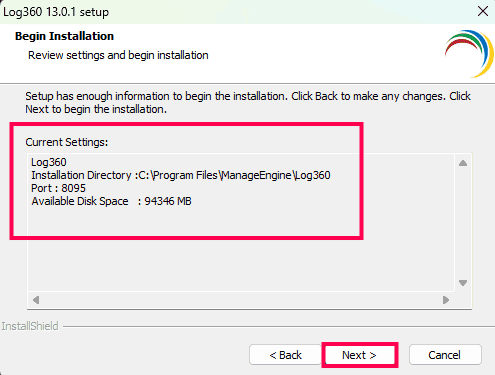
Figure 8: Installing the product - Once the installation completes, you can register for technical support or skip this step.
- In the installation wizard, select the checkbox next to Start Log360 in console mode to start the application after installation and click Finish.
NOTE If the Start Log360 in console mode option is not selected, you can install Log360 as a service and start it later. For more information, refer to Steps to install Log360 as a service.
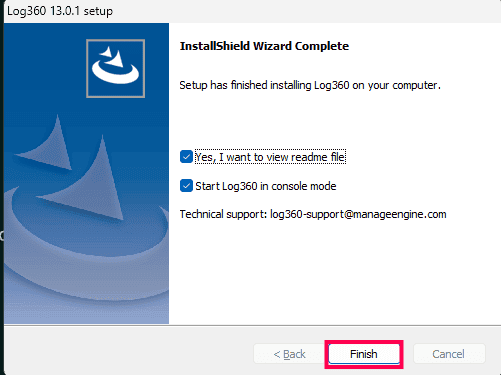
Figure 9: Installing the product - After installation, start the product. Once the product starts, the Migrate Existing Log360 window is displayed.
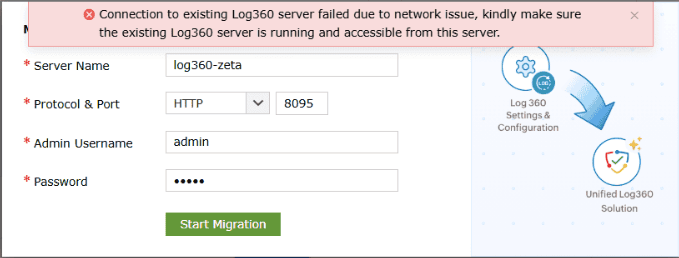
- In the Server Name field, enter the hostname or IP address of the existing Log360 server.
- Next to Protocol and Port, select the required protocol, HTTP or HTTPS from the drop-down and enter the corresponding port number used by the existing Log360 installation.
- Enter the Admin Username and Password with admin credentials of the existing Log360 instance.
- Click Start Migration to proceed.

Figure 10: Starting migration - The migration may take a few moments. It is highly recommended not to shut down the product or make any changes in the product settings during the migration process.
Figure 11: Migration in progress - After the migration completes, Unified Log360 becomes available with the migrated configurations applied. Click Get Started to continue using the product, or click Restart Now to restart the server and apply all changes.
NOTE Upon successful migration, the existing Log360 instance is automatically shut down. Some configuration changes, such as port updates, take effect only after a restart.
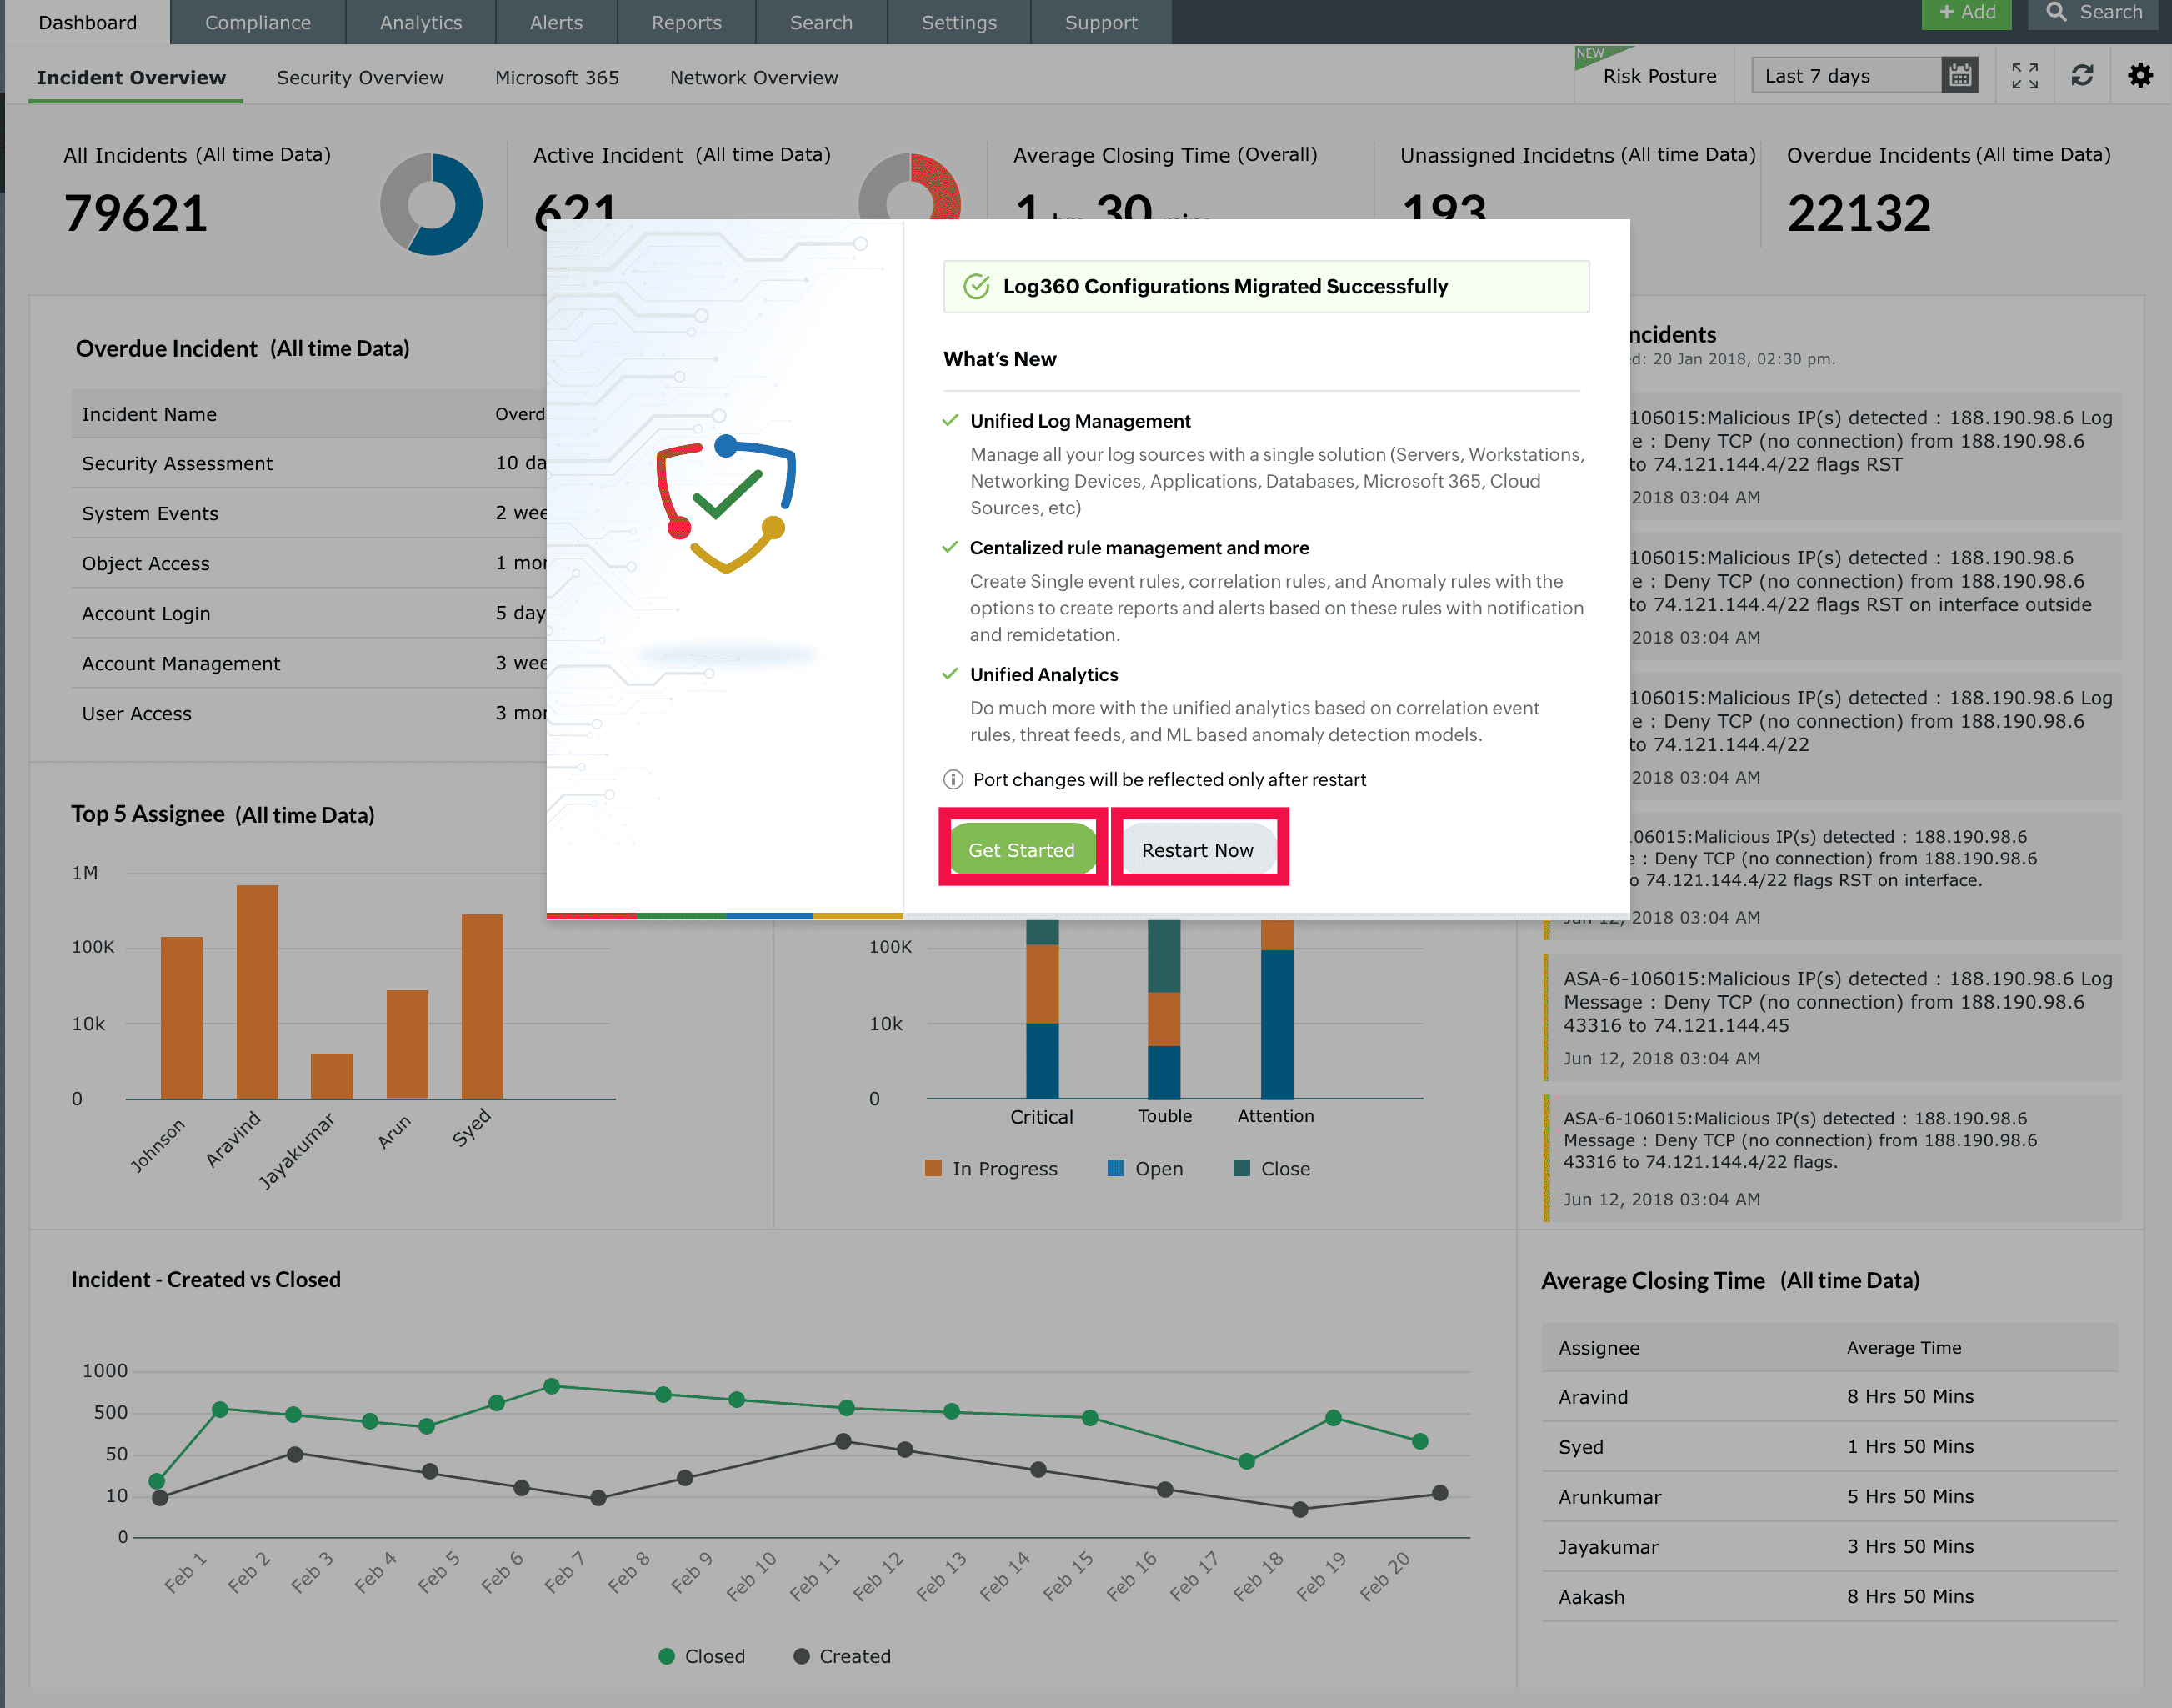
Figure 12: Migration completed - After restarting the product, navigate to the Settings tab and select Admin Settings. Under Integrations, click Log360 Integration. For each component integrated with Log360, click Modify, review the settings if required, and then click Update Settings to complete the integration update.
- Apply the Log360 license file if available. If you do not have a license, you can contact the sales team at sales@manageengine.com or use the Get Quote option to purchase one.
NOTE Log360 can also be used as a Free Edition with limited features.
- The migration process is now complete. Review the migrated configurations.
- After the migration is completed, please remove the ManageEngine Log360 service from the machine.
Troubleshooting tips
1. Migration failure due to connectivity issues
Error message:
Connection to existing Log360 server failed due to network issue. Kindly make sure the existing Log360 server is running and accessible from this server.
When this occurs:
This occurs while starting the migration, when the product is unable to establish a connection with the existing Log360 instance.
Solution:
Ensure that the connection is stable and that both products are up and running. After verifying connectivity, click Try Again.
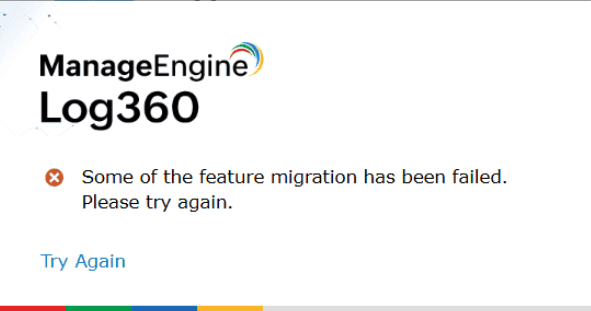
2. Migration failure
Error message:
Some of the feature migration has been failed. Please try again
When this occurs:
This occurs while the migration is in process, when the product is unable to establish a connection with the existing Log360 instance.
Solution:Ensure that the connection is stable and that both products are up and running. After verifying connectivity, click Try Again.
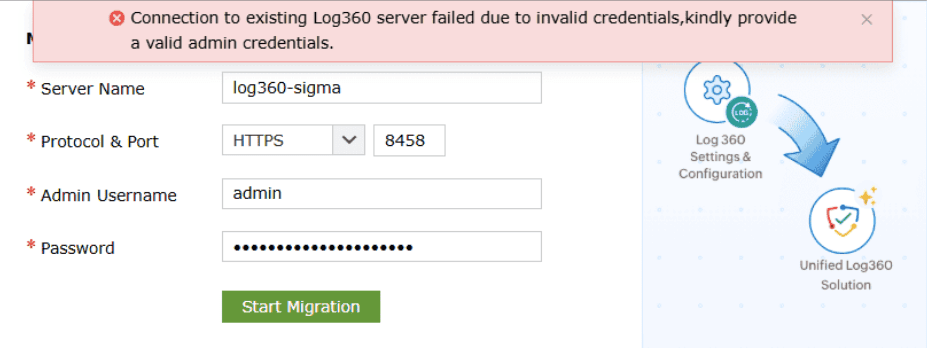
3. Invalid credentials
Error message:
Connection to existing Log360 server failed due to invalid credentials, kindly provide valid admin credentials.
When this occurs:
This error occurs during the migration process when the provided admin credentials for the existing Log360 instance are incorrect or invalid.
Solution:
- Verify that the admin username and password are correct.
- Re-enter the credentials and retry the connection.
- After updating the details, click Start Migration to proceed.
Frequently asked questions (FAQs)
1) What can be done to the existing product folder?
If the previous Log360 installation is no longer required, you can remove the existing product folder. Before deleting it, it is recommended to create a ZIP backup of the installation directory for future reference or recovery purposes.
2) What can be done to the existing product services?
If the services associated with the previous installation are no longer required, they can be removed manually.
Windows
- Open Command Prompt as Administrator.
- List all services to identify the service you want to remove:
sc query type=all state=all
- Stop the service:
sc stop "<servicename>"
- Delete the service:
sc delete "<servicename>"
- Verify that the service has been removed:
sc query "<servicename>"
Linux
- Open a Terminal with sudo privileges.
- List all services to identify the service you want to remove:
systemctl list-units --type=service --all
- Stop and disable the service:
								sudo systemctl stop <servicename>

sudo systemctl disable <servicename> - Delete the service file:
sudo rm /etc/systemd/system/<servicename>.service
- Reload systemd to apply the changes:
sudo systemctl daemon-reload && sudo systemctl reset-failed
- Verify that the service has been removed:
systemctl status <servicename>
Read also
This page explained how to migrate data from a standalone Log360 installation to Unified Log360. To learn how to migrate data from EventLog Analyzer to unified Log360, refer to the following page: