Network traffic from Azure resources can be filtered in an Azure virtual network using a network security group. A network security group contains security rules that allow or deny network traffic from Azure resources.
Getting Network Security Group Logs:
Get network security group (NSG) location.
Login to your Azure portal and search for network security groups.
Note down the location of the network security group which will be used.
Enable network watcher in the network security group location.
Enter network watcher in the search bar.
After opening, click on the regions drop down button.
Enable network watcher for the location previously noted.If already enabled, then continue.
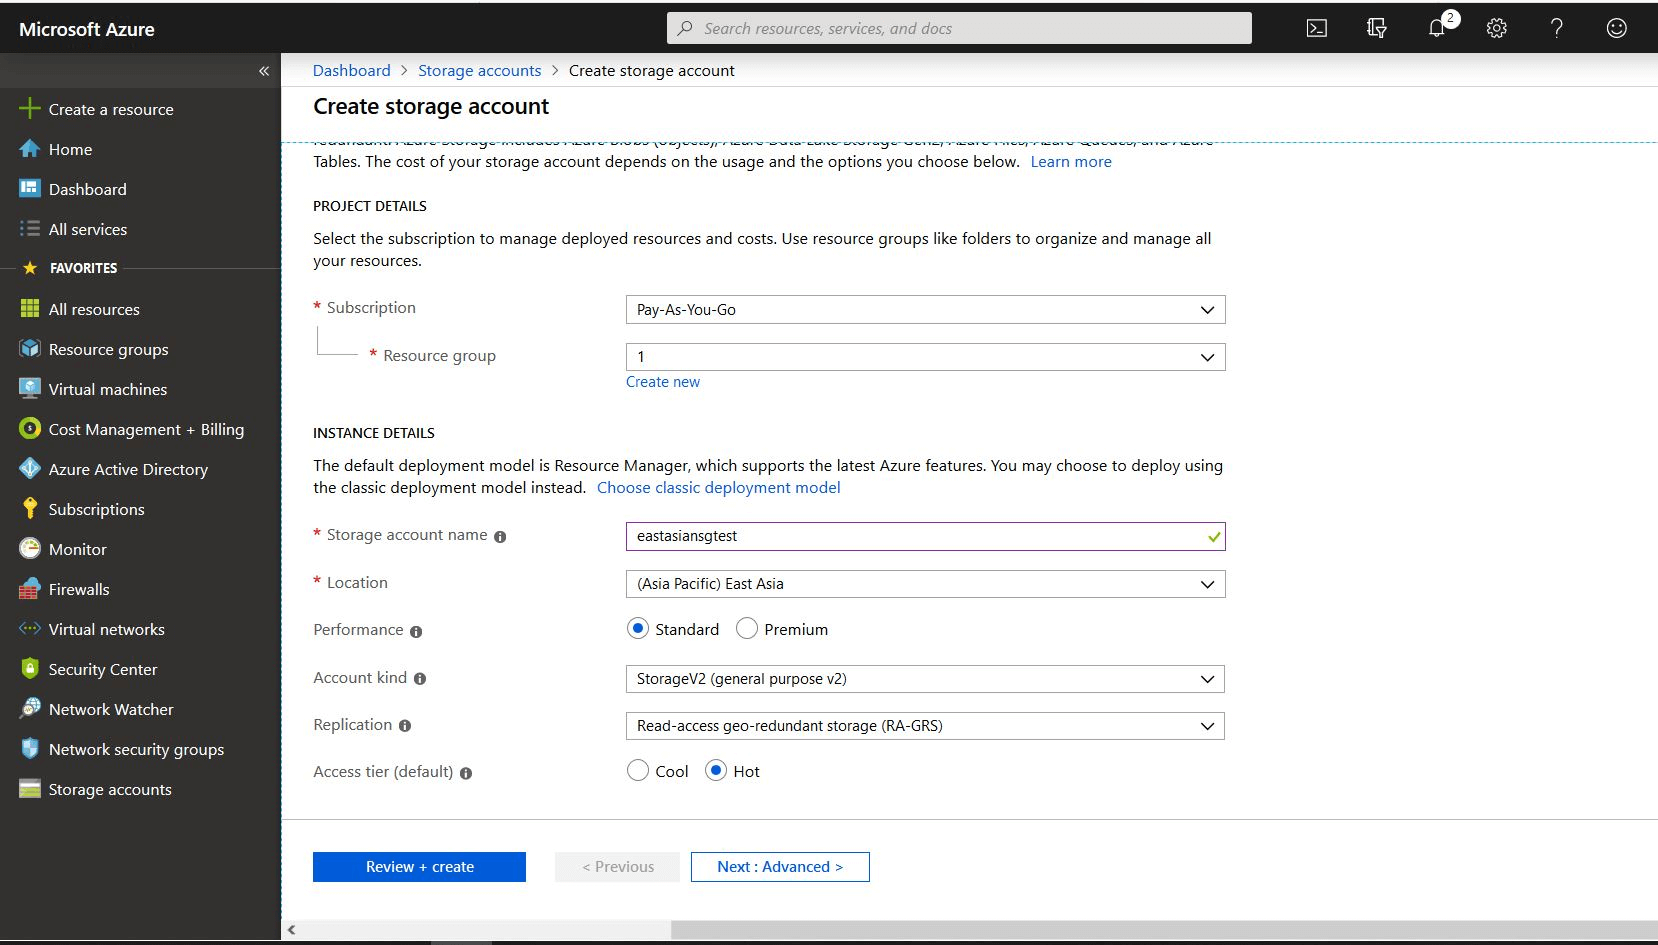
Create a storage account in the network storage group location.
Enter storage accounts in the search bar.
Click on +Add.
Select a subscription and select an existing resource group or create a new resource group.
Enter a storage name.
Select the location previously noted (the rest of the options need not be changed).
Click on Review +Create.
Click on Create.
Enable flow logs.
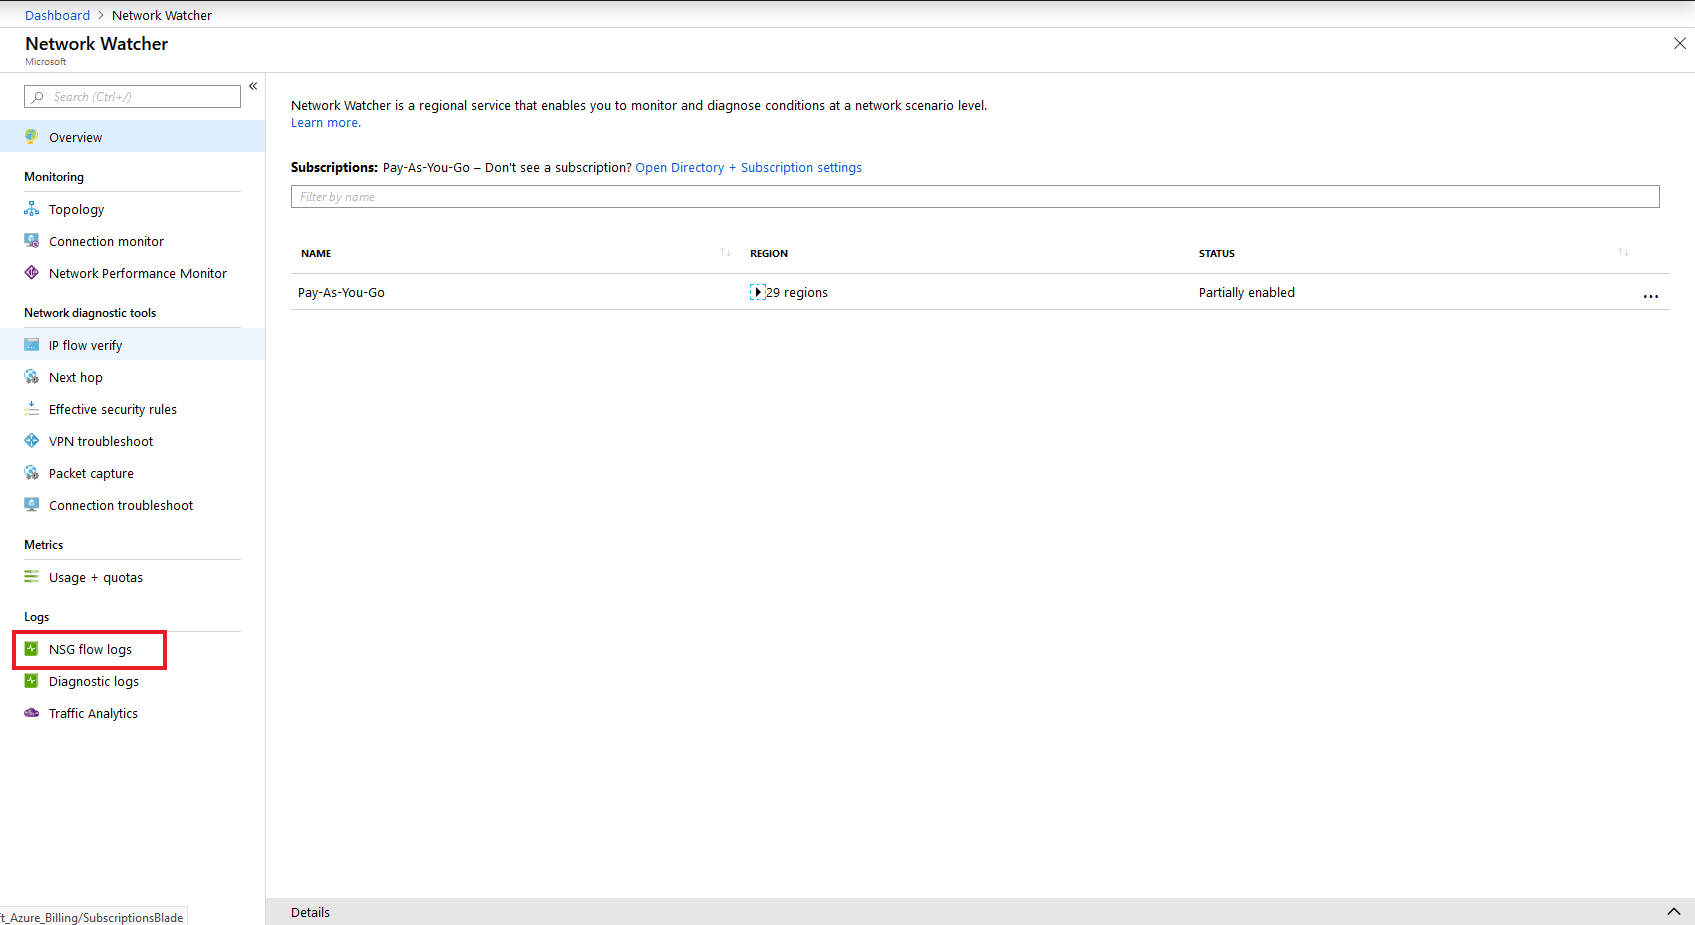
Search for network watcher in the search bar.
Click on NSG Flow Logs under the Logs pane.
Select the NSG for which you would like to configure flow logs.
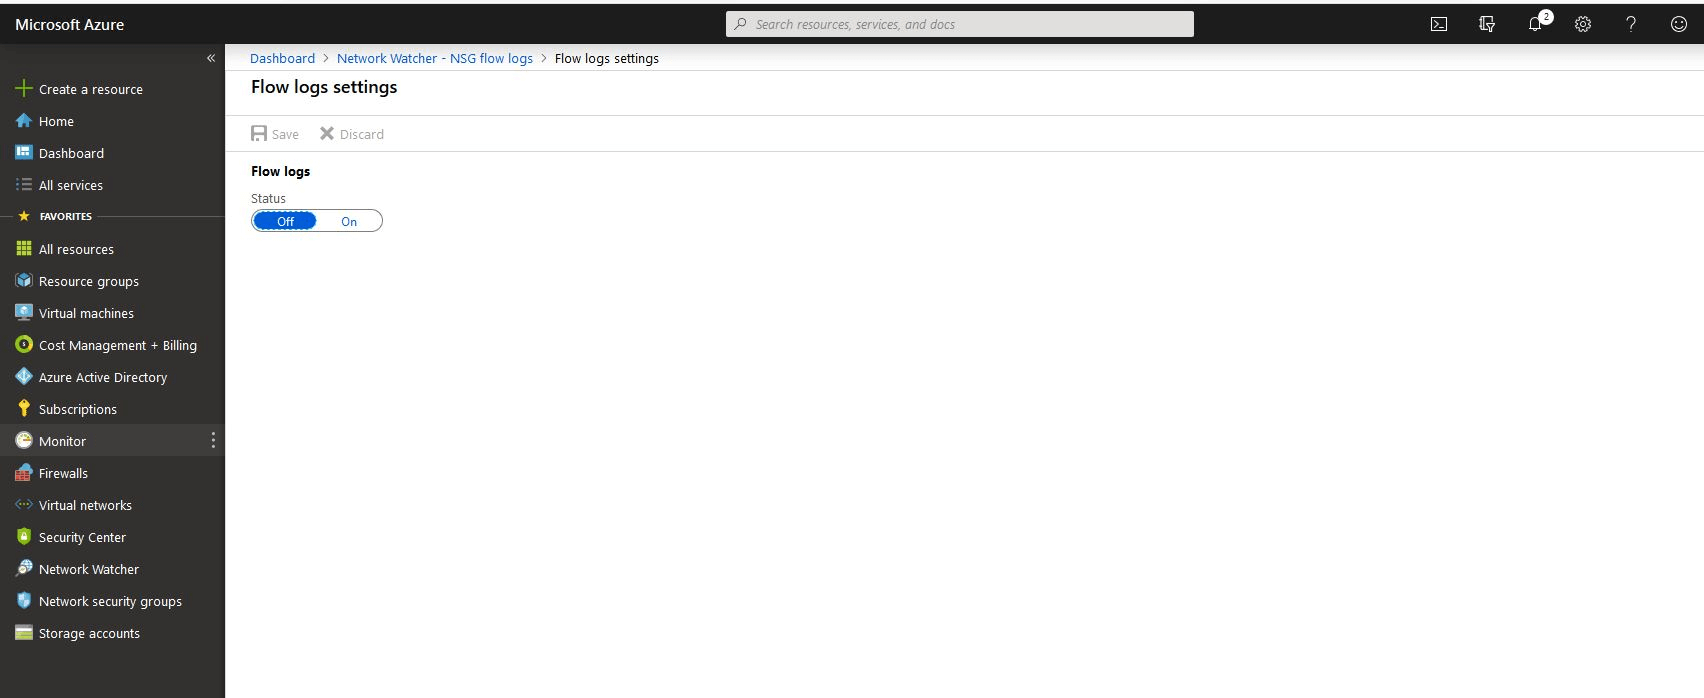
Click the On button to enable NSG flow logs.
Select any of the NSG log versions (version 2 is recommended) and click on configure a storage account.
Select the subscription account and select the storage account which was created in the previous step.
Click on OK
Keep the number of retention days as 1 or higher.
Click on Save. (The rest of the settings in the page need not be changed)
Check the NSG Flow logs:
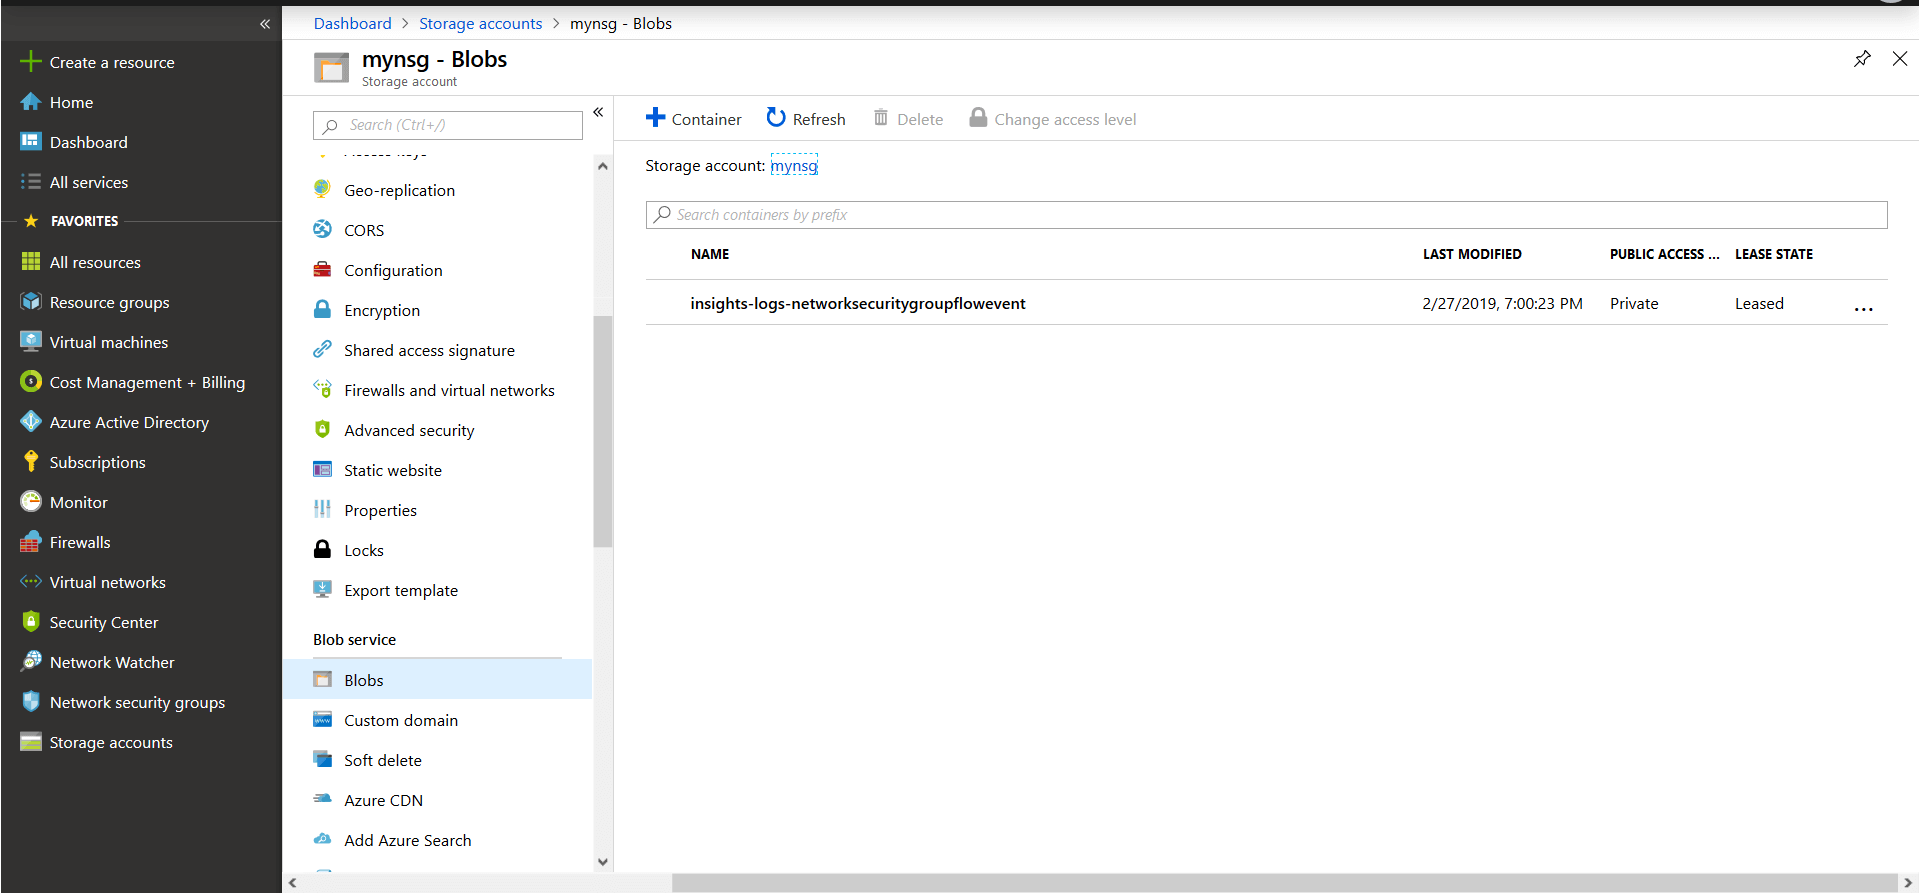
Enter storage accounts in the search bar.
Select the storage account to be configured for NSG Flow logs.
Click on Blobs under the blob service pane.
Check for a container with the name insights-logs-networksecuritygroupflowevent.
If it is not found, wait for some time or, click on refresh.
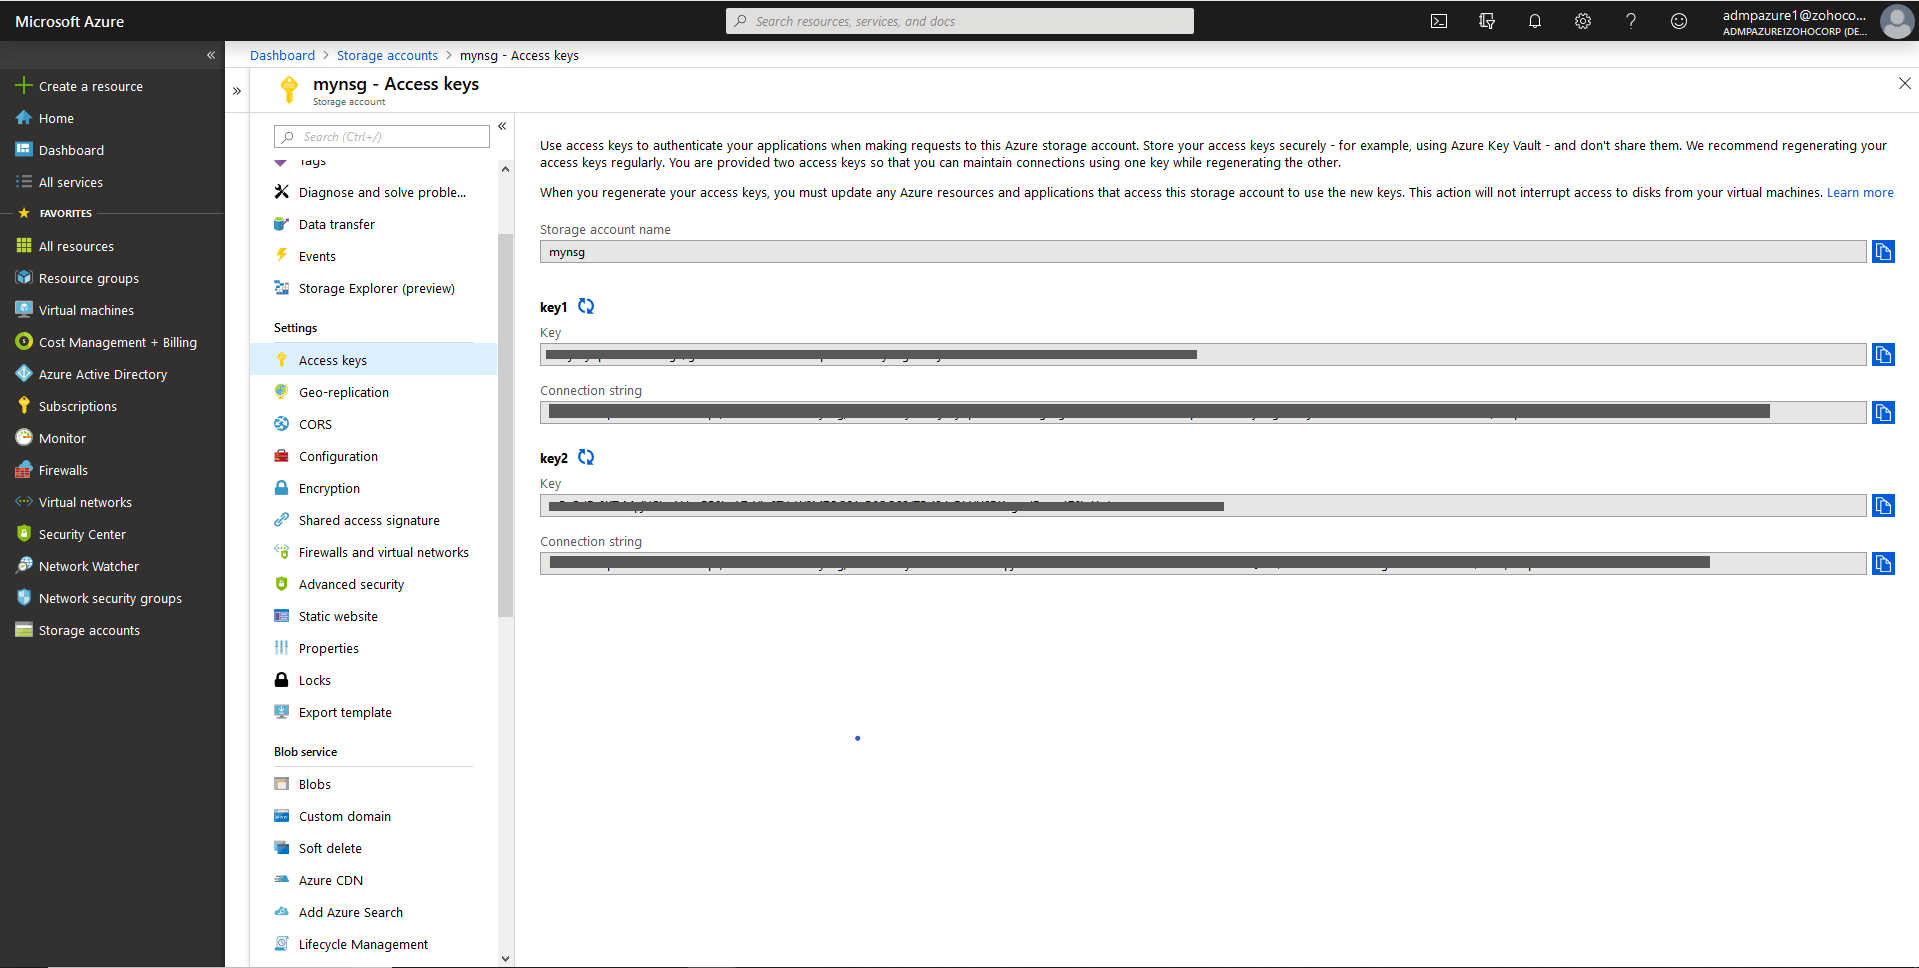
Get storage name and storage key:
Navigate to storage accounts from the menu.
Click on storage accounts and copy the Storage name (this is required to configure NSG Flow logs in Cloud Security Plus).
Click on the storage account and search for access keys under settings.
Copy any one of the 2 keys provided. This is the storage key which is required to configure NSG Flow logs in CSP.
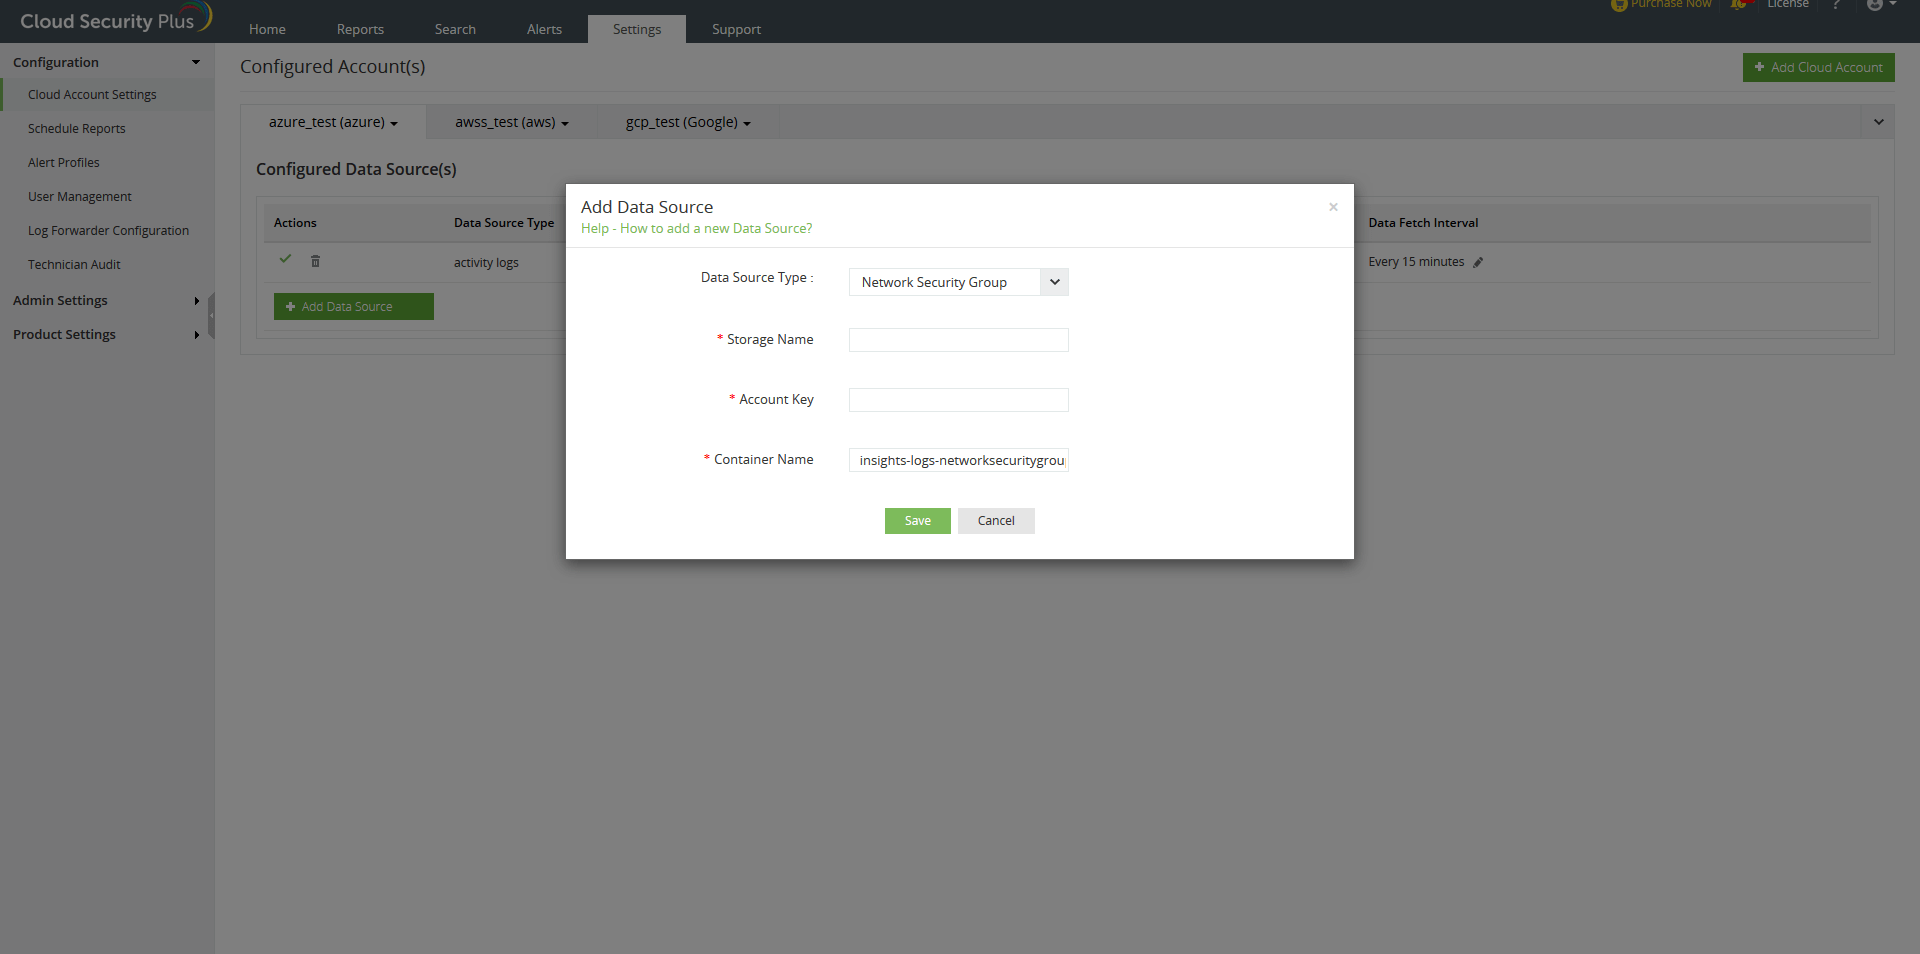
Add network security groups to Cloud Security Plus:
To add a network security group to Cloud Security Plus, open Cloud Security Plus, click on Settings → Azure account → Add Data Source.
Select Network Security Groups.
Add the storage account name and storage key in the provided fields.
Click on save.
The network security group will be added to Cloud Security Plus.