Notification settings
Log360 Cloud notifies users about important events in their network via both email and SMS. The email and SMS settings can be configured according to your environment's requirements.
Note: Log360 Cloud uses Zoho MTS (Mobile Transaction Service) to act as an intermediate between Zoho services and tele providers to send SMS.
Alert limit reached
To configure notifications for alert limit saturation,
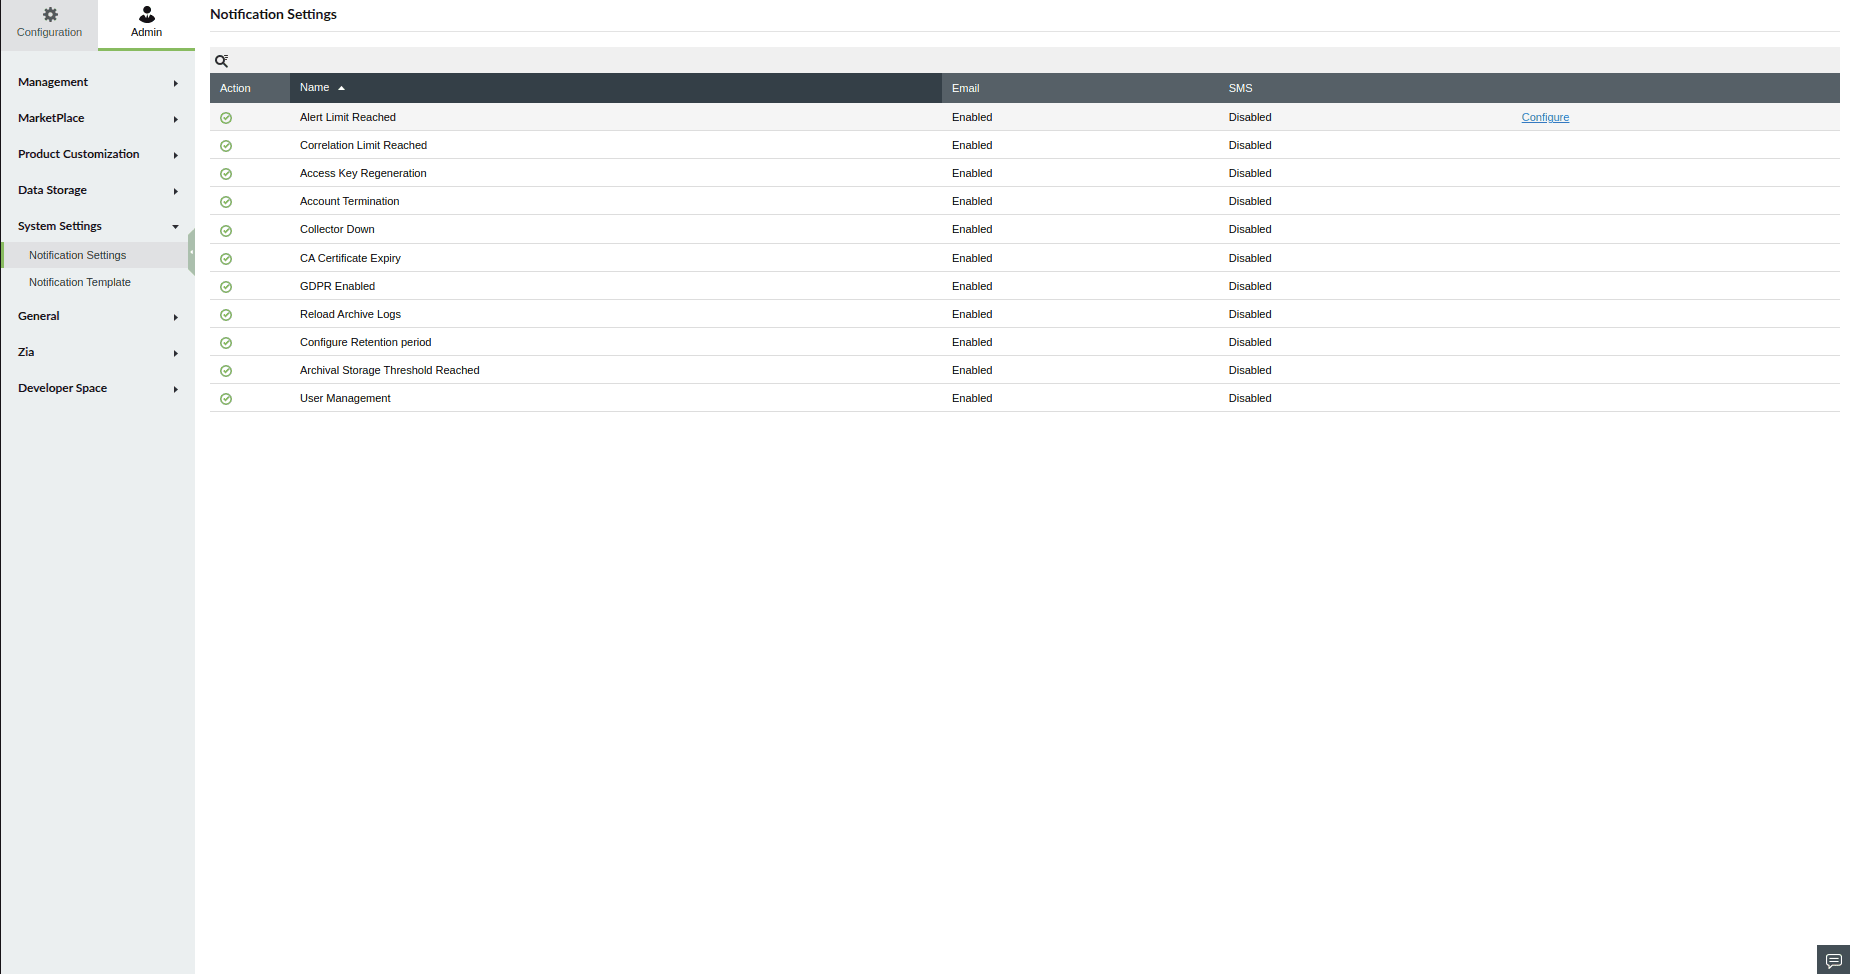
- Click Configure present against Alert Limit Reached in the Notification Settings page.
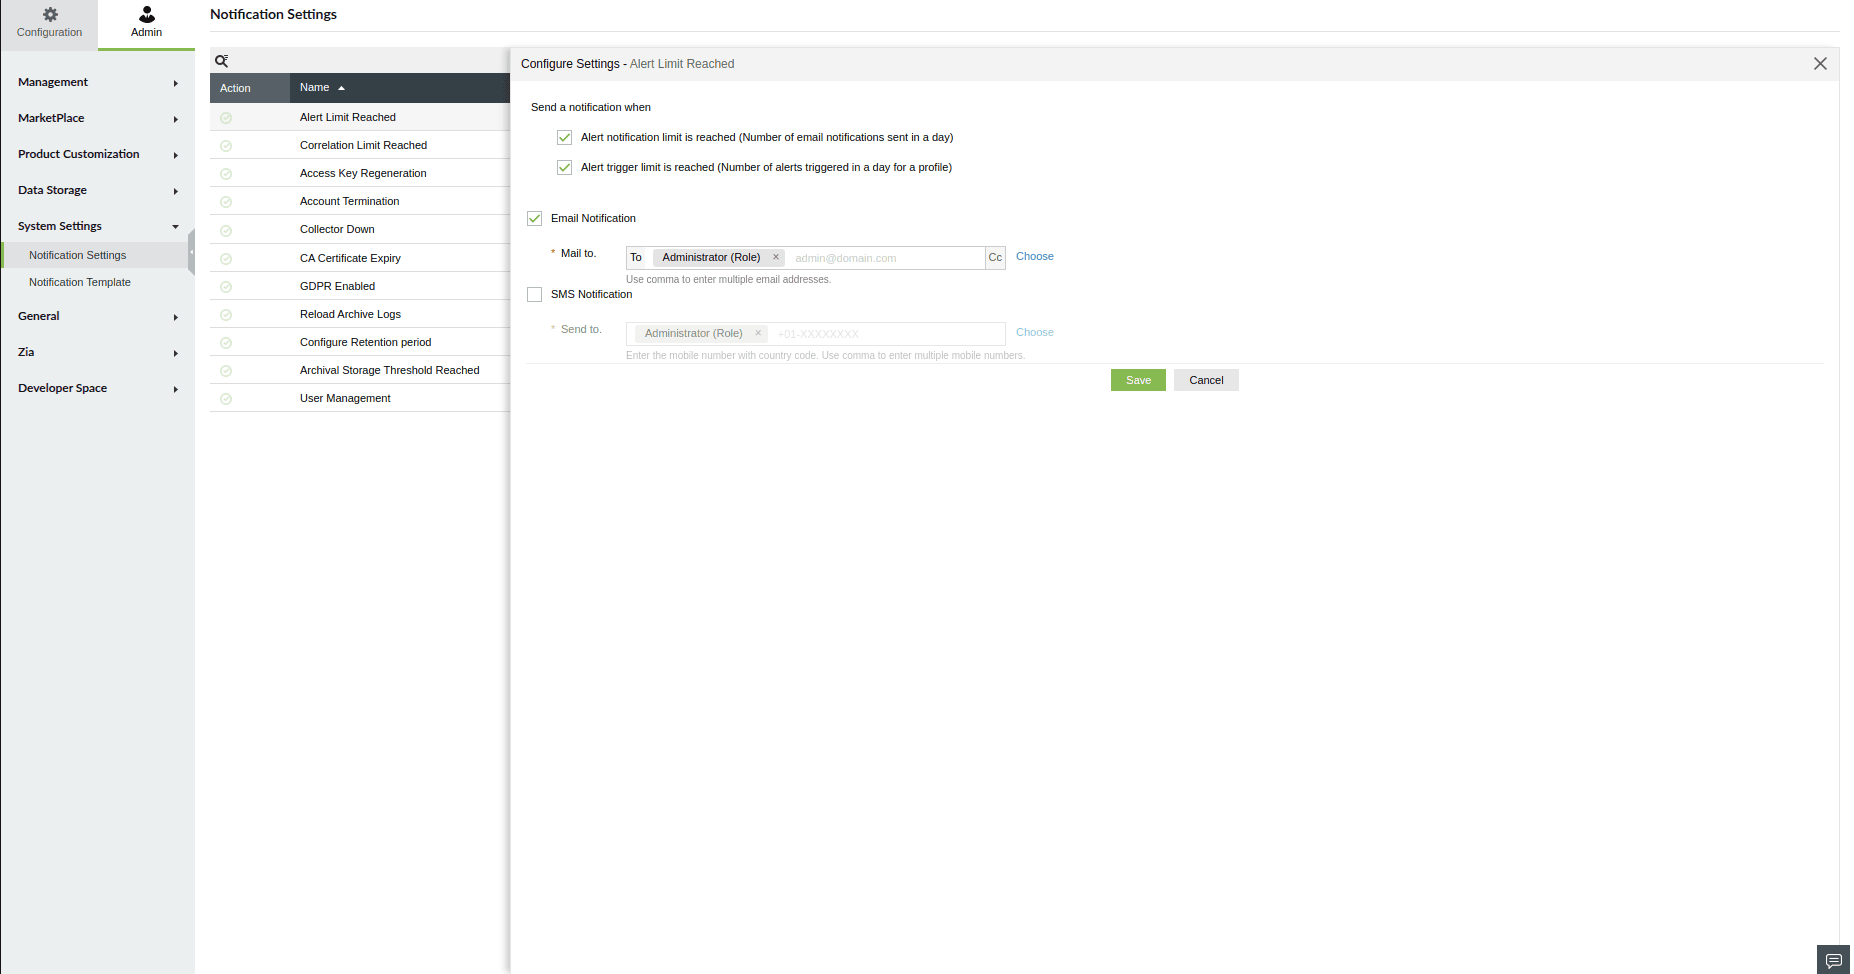
- You can select any or both of the below criteria for which you want to be notified:
- Alert notification limit is reached (Number of email notifications sent in a day)
- Alert trigger limit is reached (Number if alerts triggered in a day for a profile)
- You can enable email and SMS notifications. Select the Email Notification and SMS Notification checkboxes to enable email and SMS notifications.
- Enter the email address and phone number to receive notifications. If you have multiple email addresses or phone numbers, please make sure to separate them using commas.
- Click Choose to select the contacts from the existing list of contacts and click Add.
- Click Save.
To configure or change notification settings
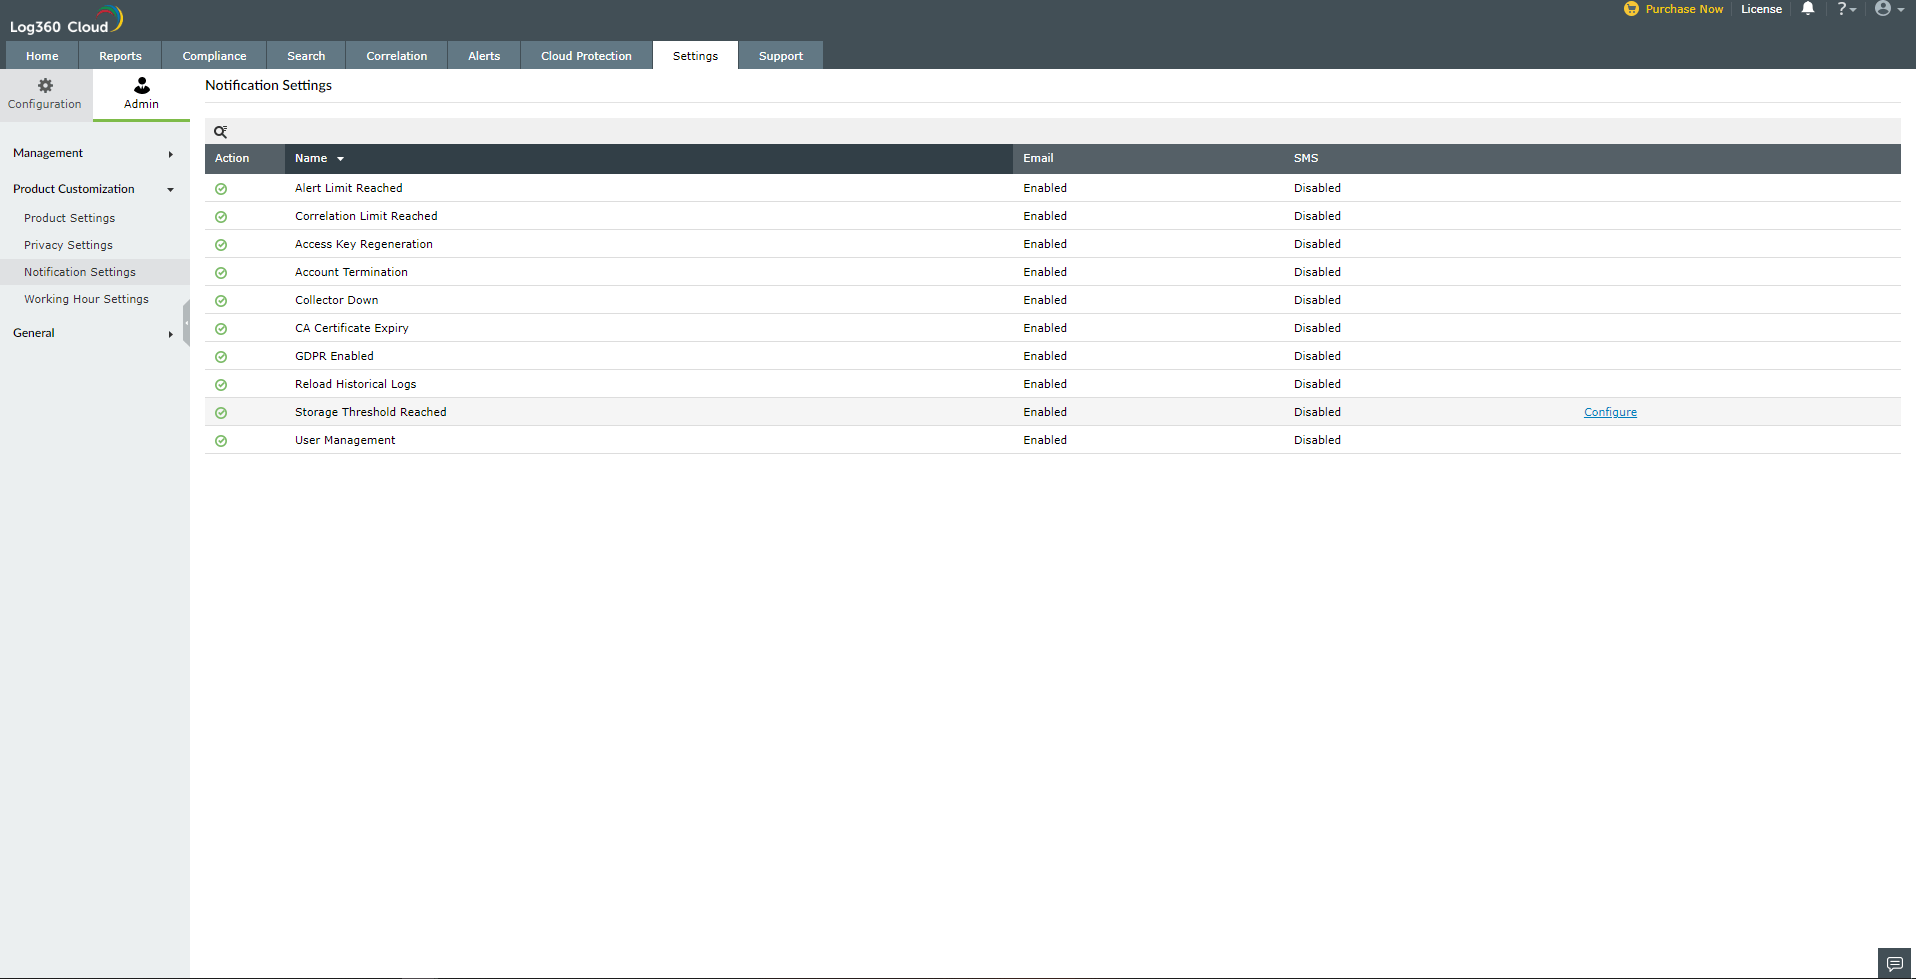
Open the product console, navigate to Settings → Admin → System Settings → Notification Settings.
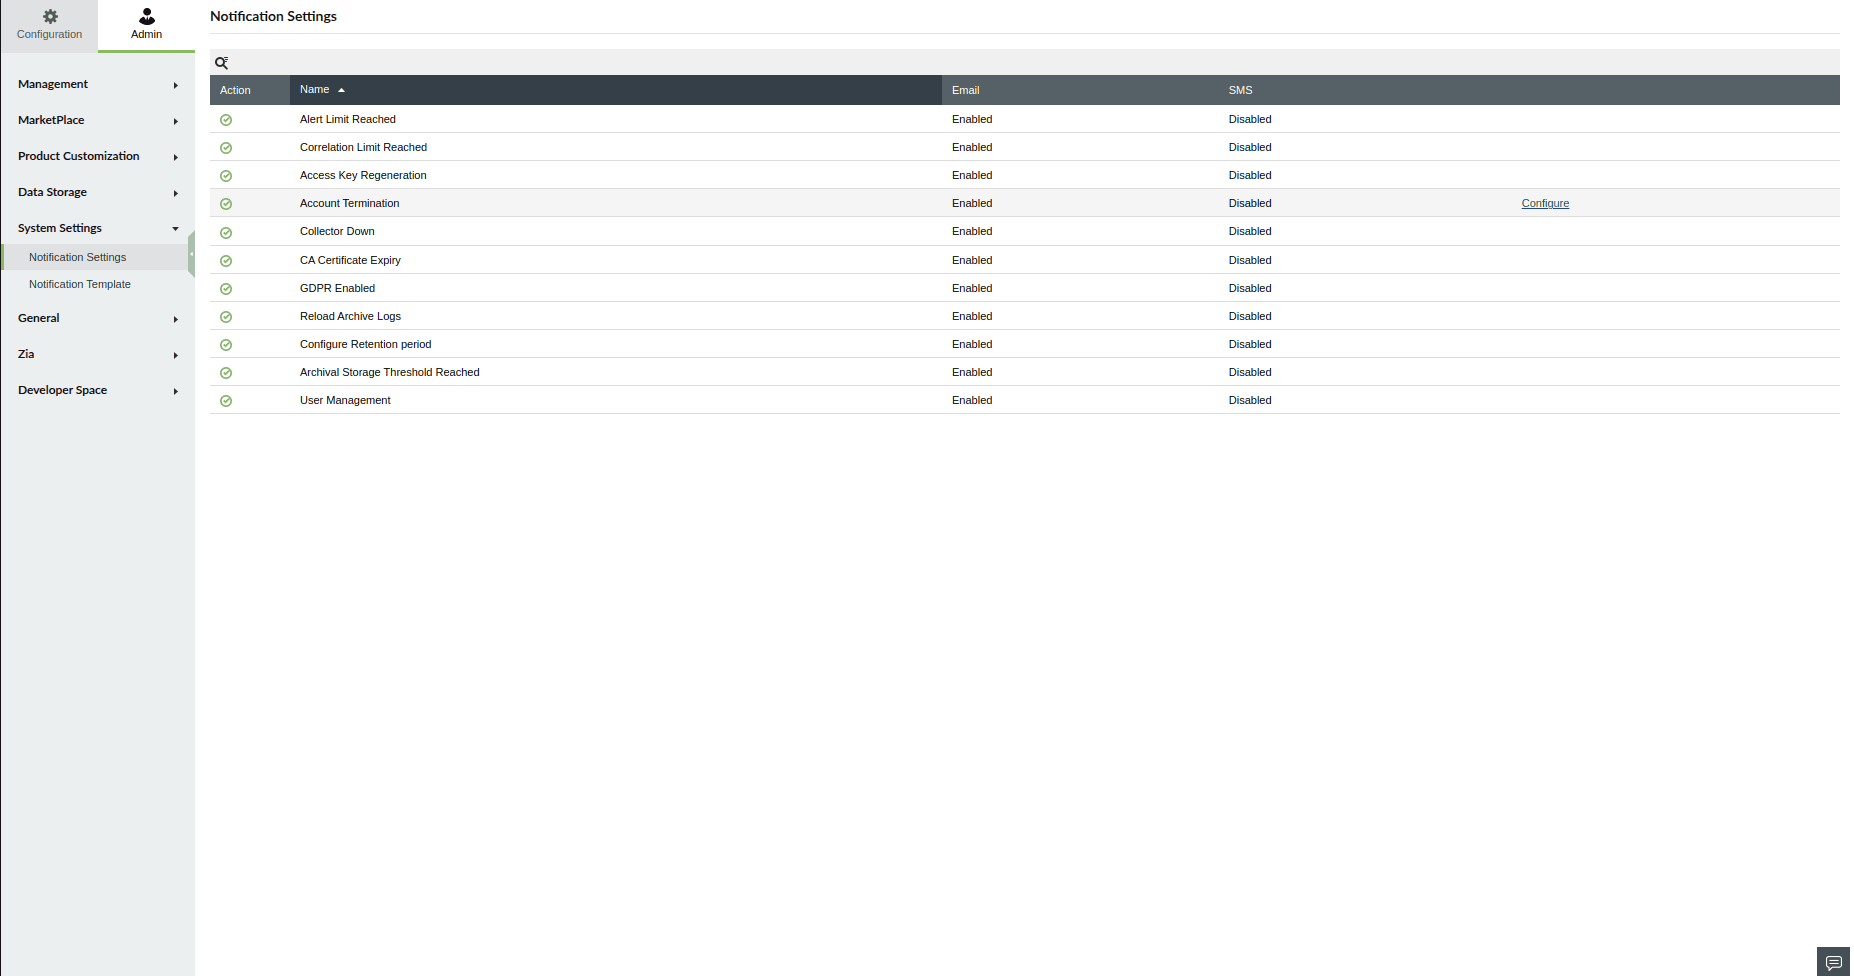
To configure notification settings for Access Key Regeneration, Account Termination, GDPR Enabled and Reload Historical Logs:
- Click Configure.
- To receive notifications via Email and SMS, select both Email Notification and SMS Notification.
- Fill in the email address and phone number with the country code to which you would like to receive notifications in the respective boxes.
- Click Choose to select the contacts from the list. Click Add.
- Click Save.
Collector Down Notification Settings
To configure notifications,
- In the Settings tab, go to Admin > System Settings > Notifications Settings.
- Click configure
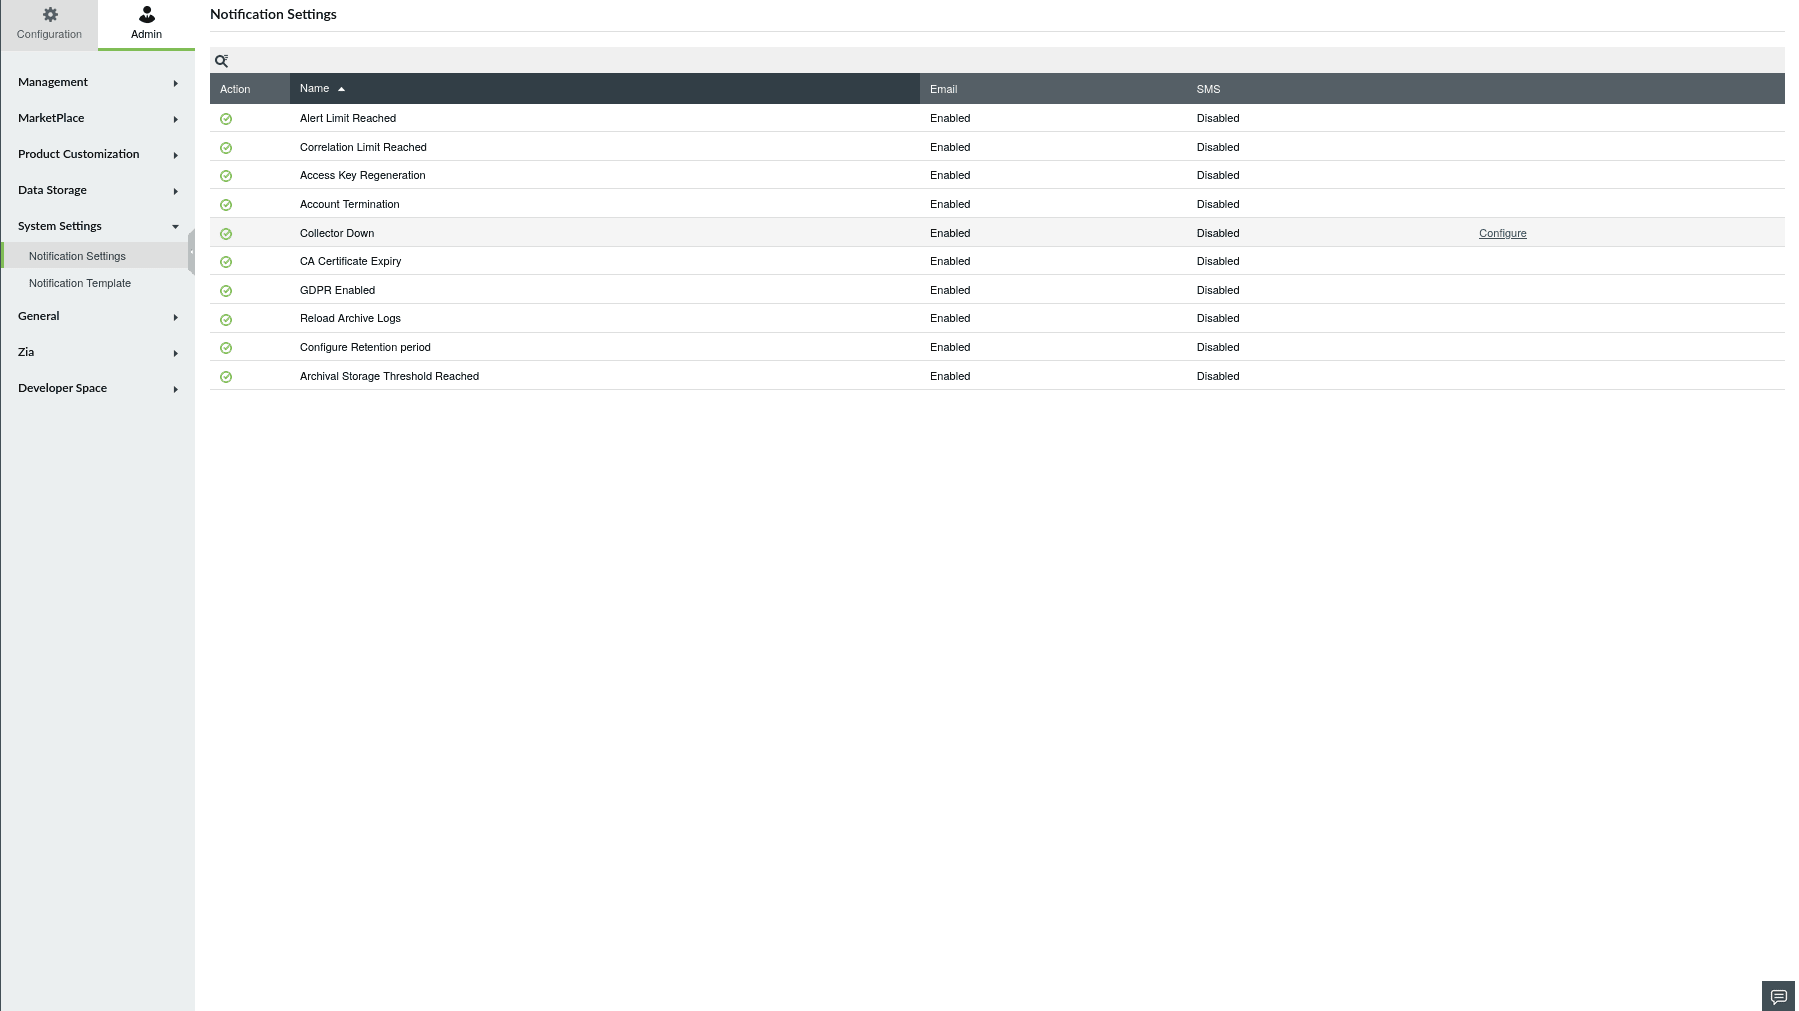
- To receive notifications via Email and SMS, select both Email Notification and SMS Notification.
- Fill in the email address and phone number with the country code to which you would like to receive notifications in the respective boxes.
- Select Choose to select the contacts and email from the list.
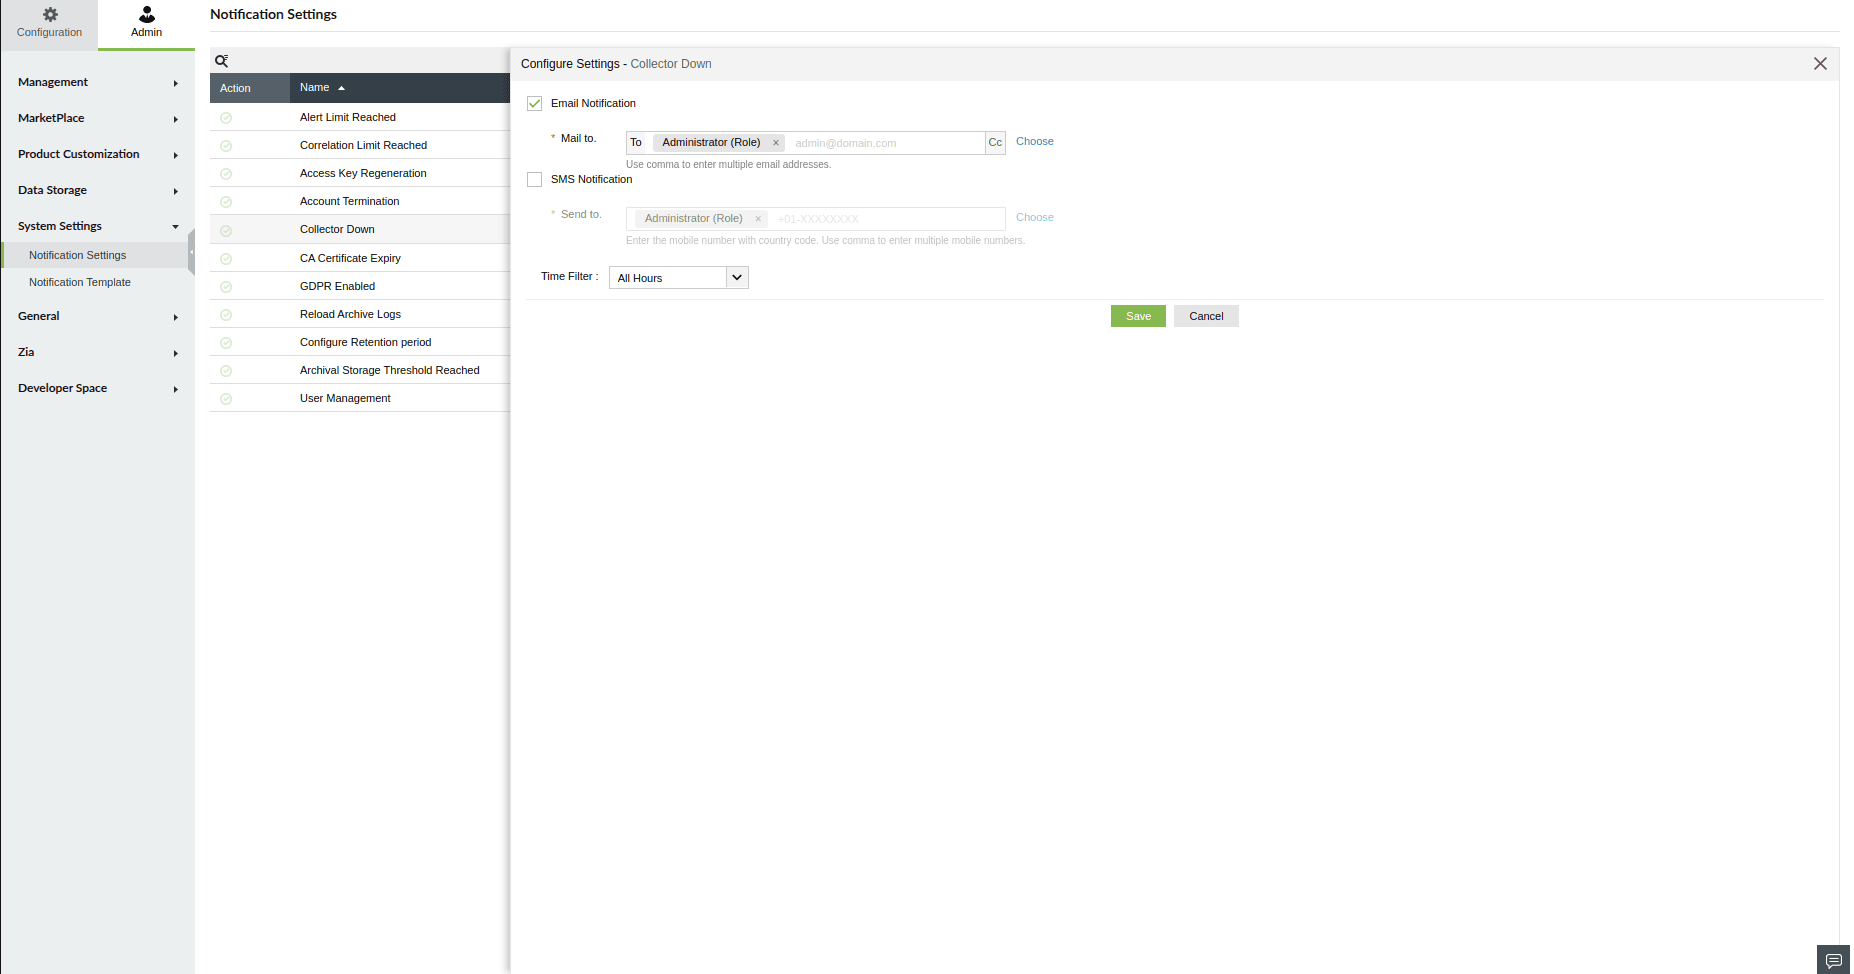
- You can configure Working Hours and Non-Working Hours which were previously configured in the Working Hours Settings tab
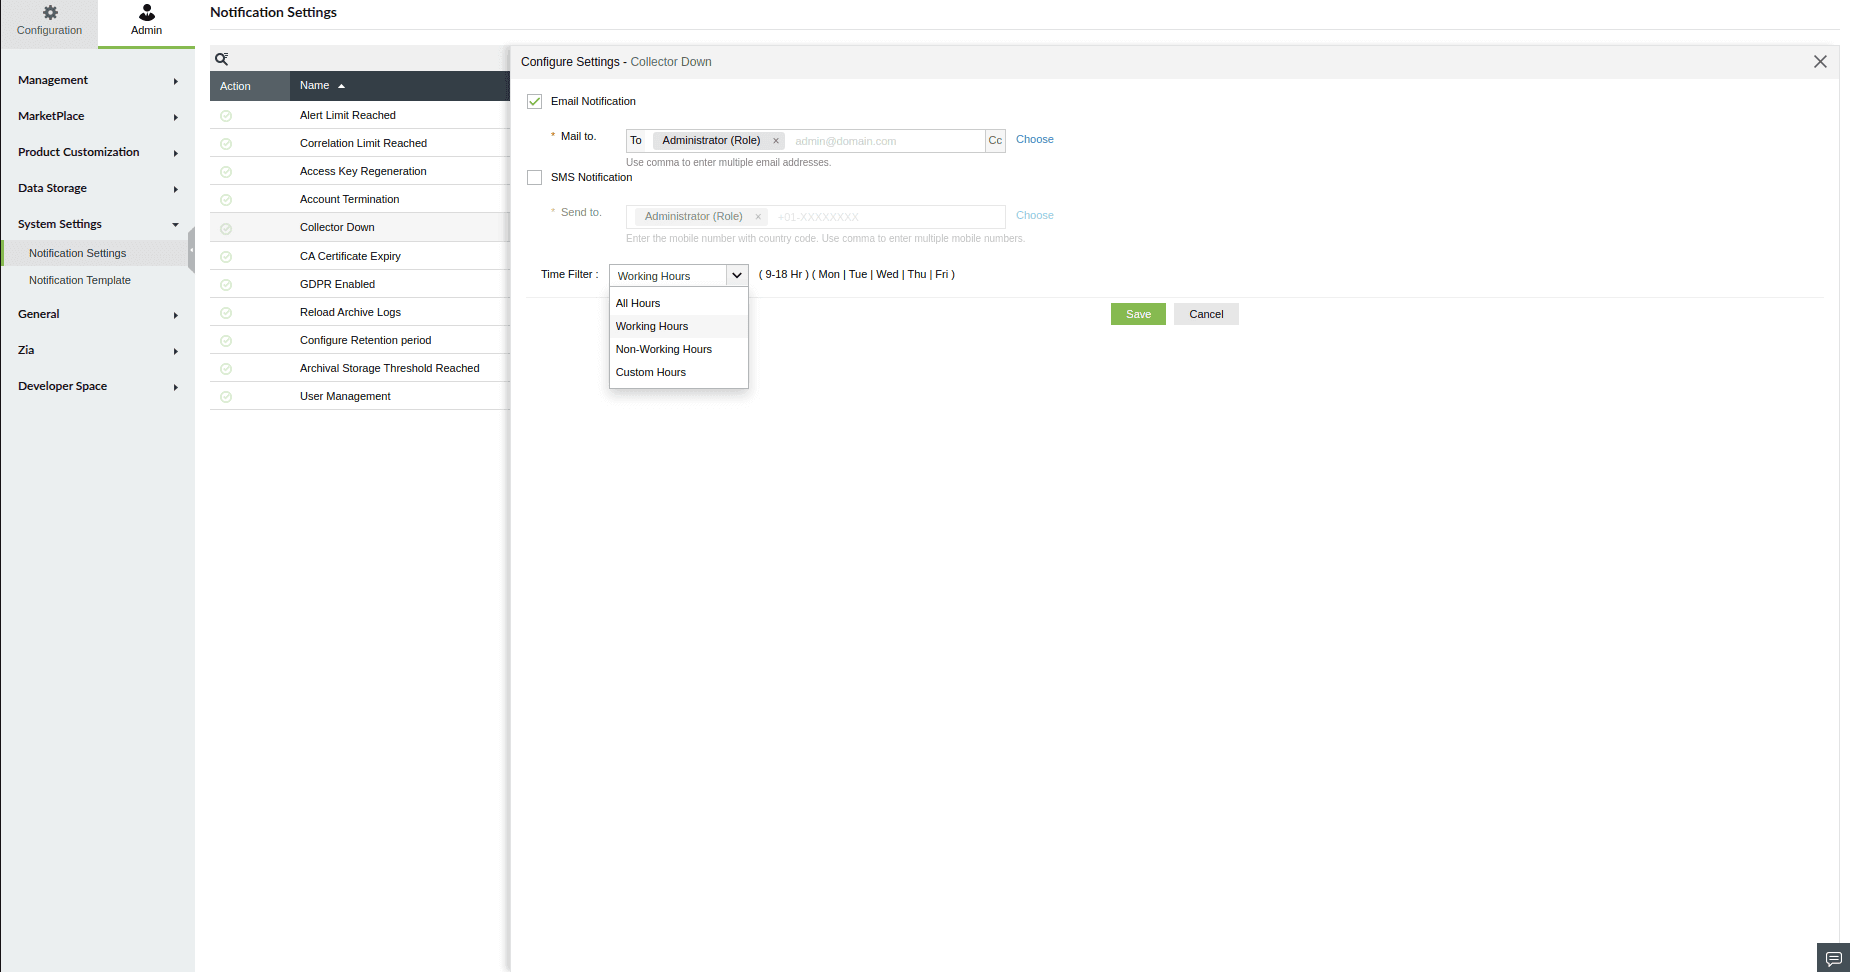
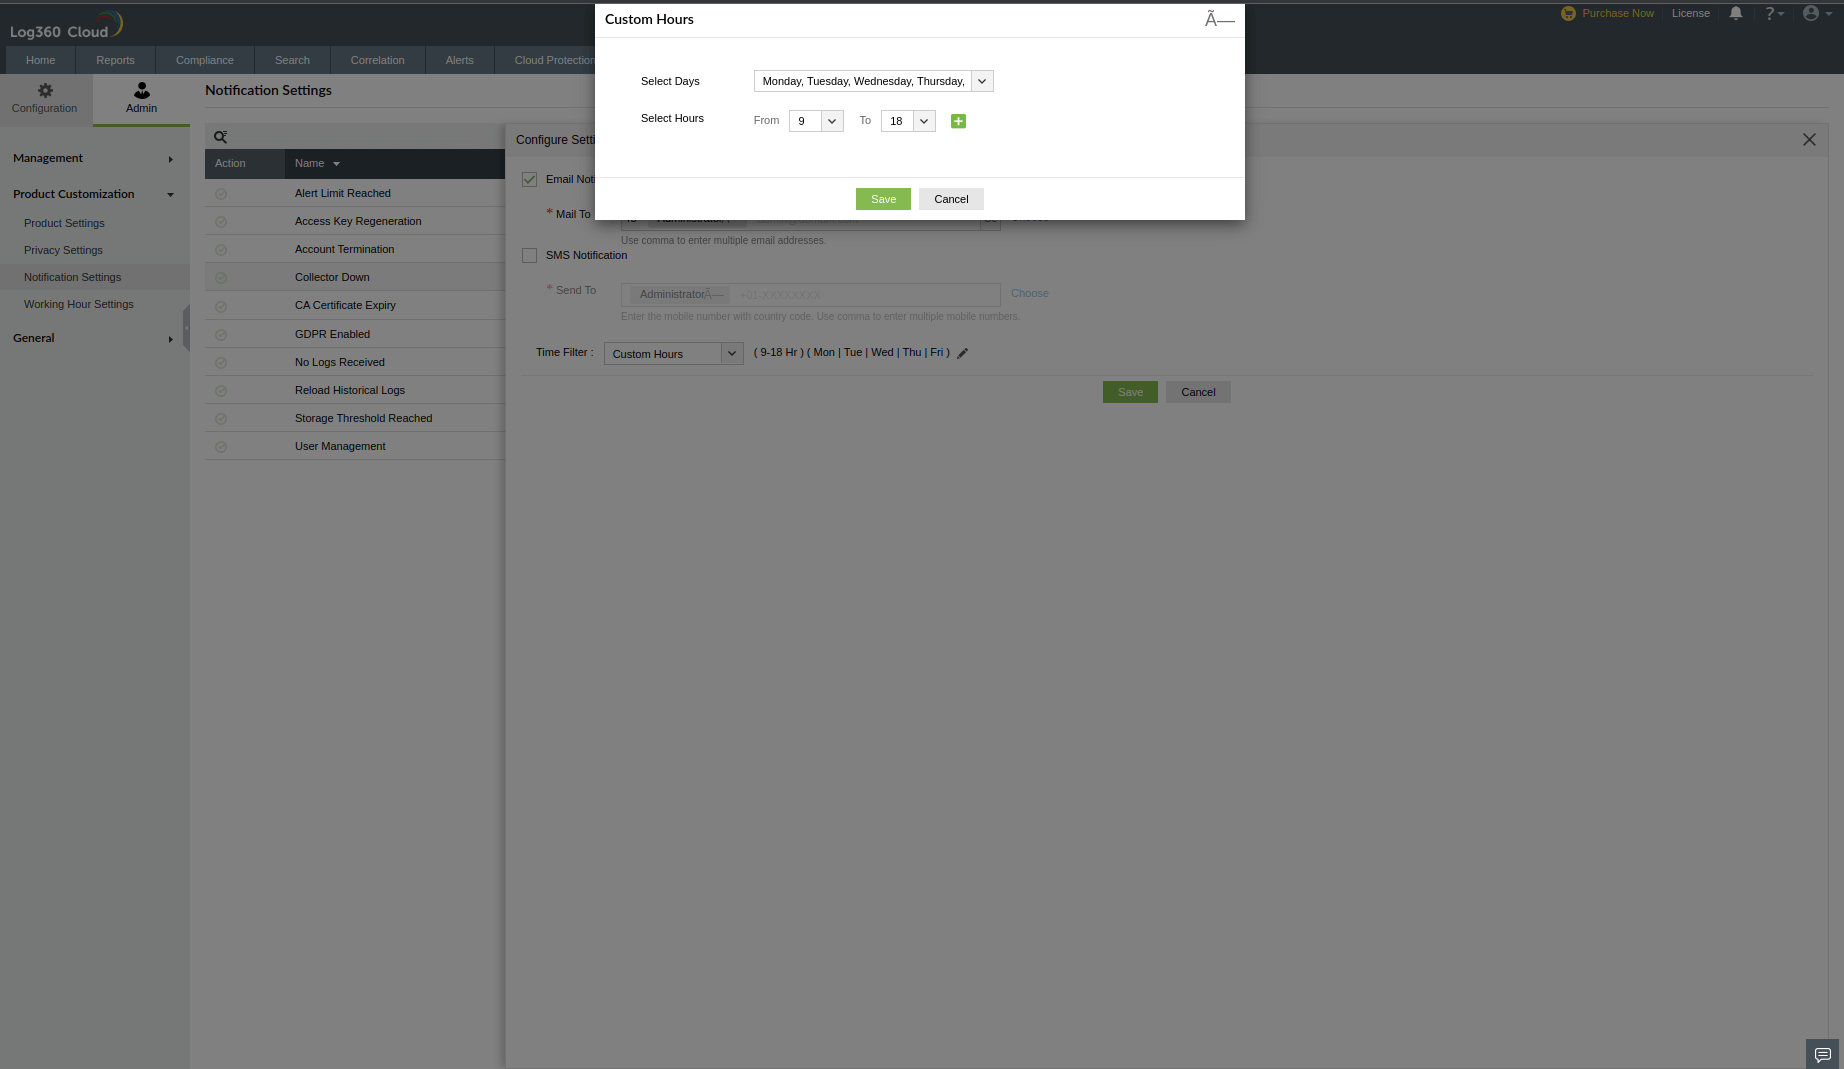
- Under Time Filter, you can select Custom Hours to set your custom days and hours.
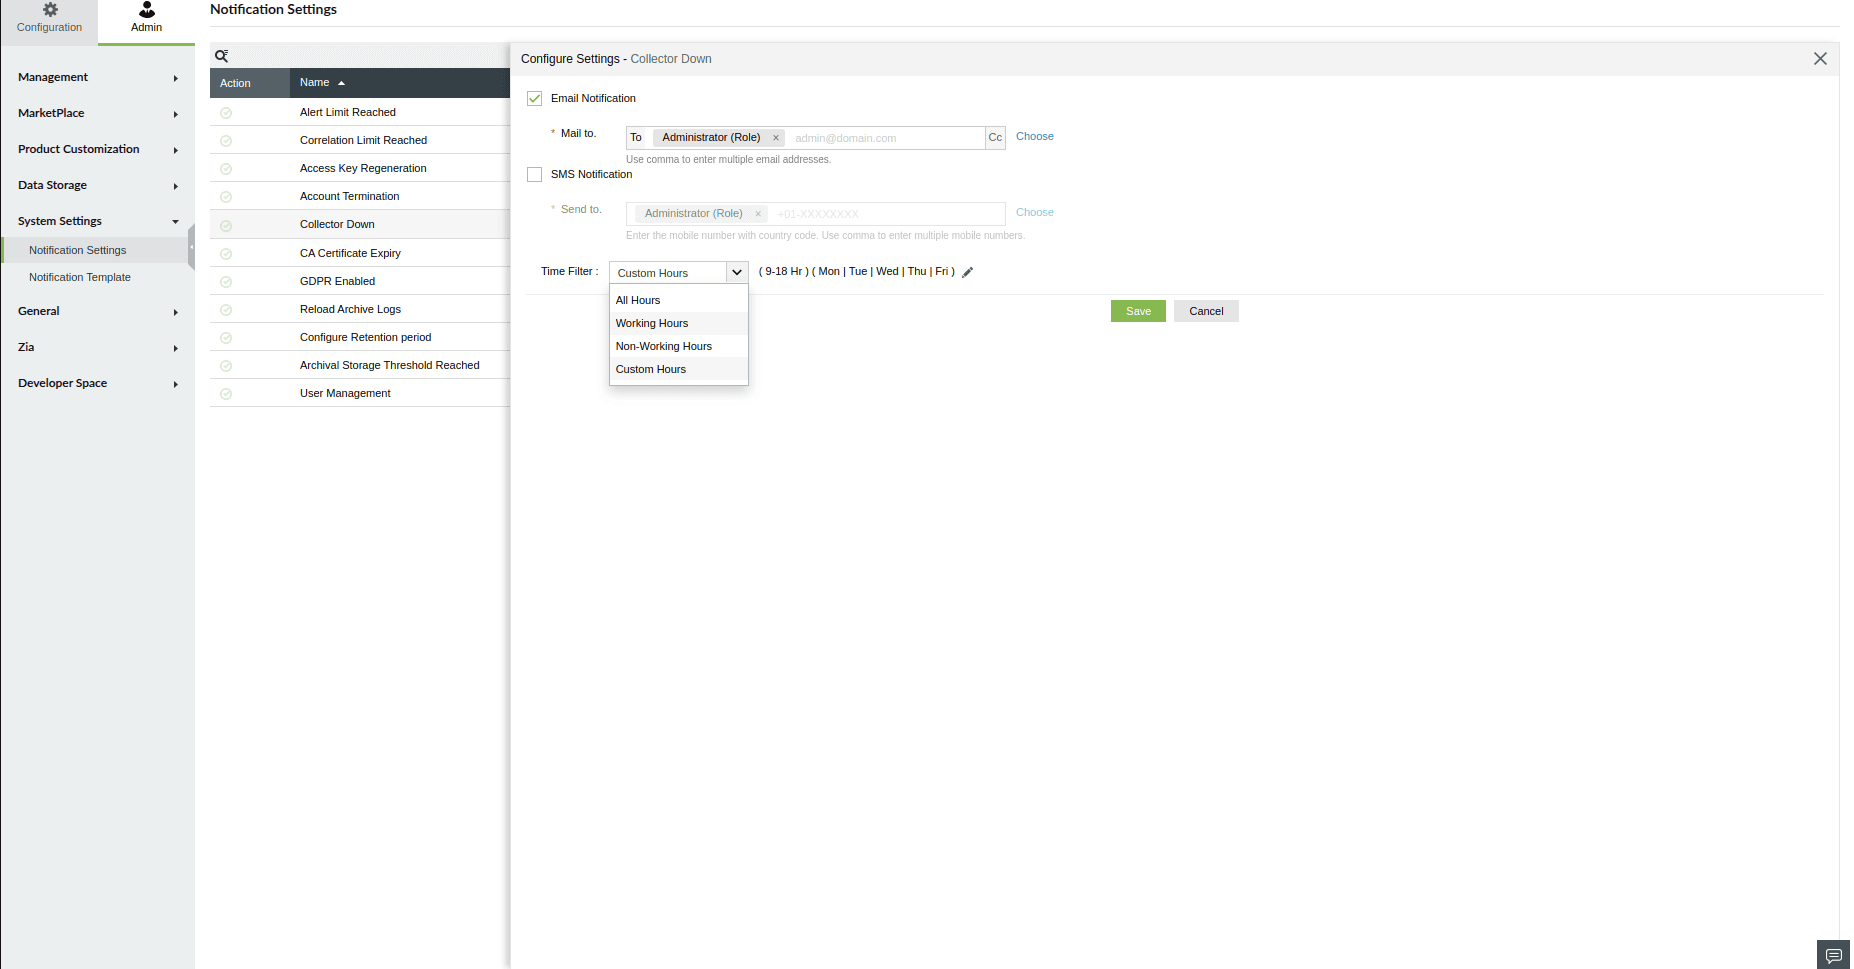
- Choose the edit icon to customize your preferred days and hours.

- Once the custom hours have been selected, click Save.
Note: Notification will be triggered according to the configured notification setting. Notifications outside the configured time period will be blocked. For example, if you configure notifications between (9hrs-18hrs) for (Monday-Tuesday), notifications will be triggered for (Monday-Tuesday) between (9.00AM-17.59PM). Notifications will not be triggered outside this time frame.
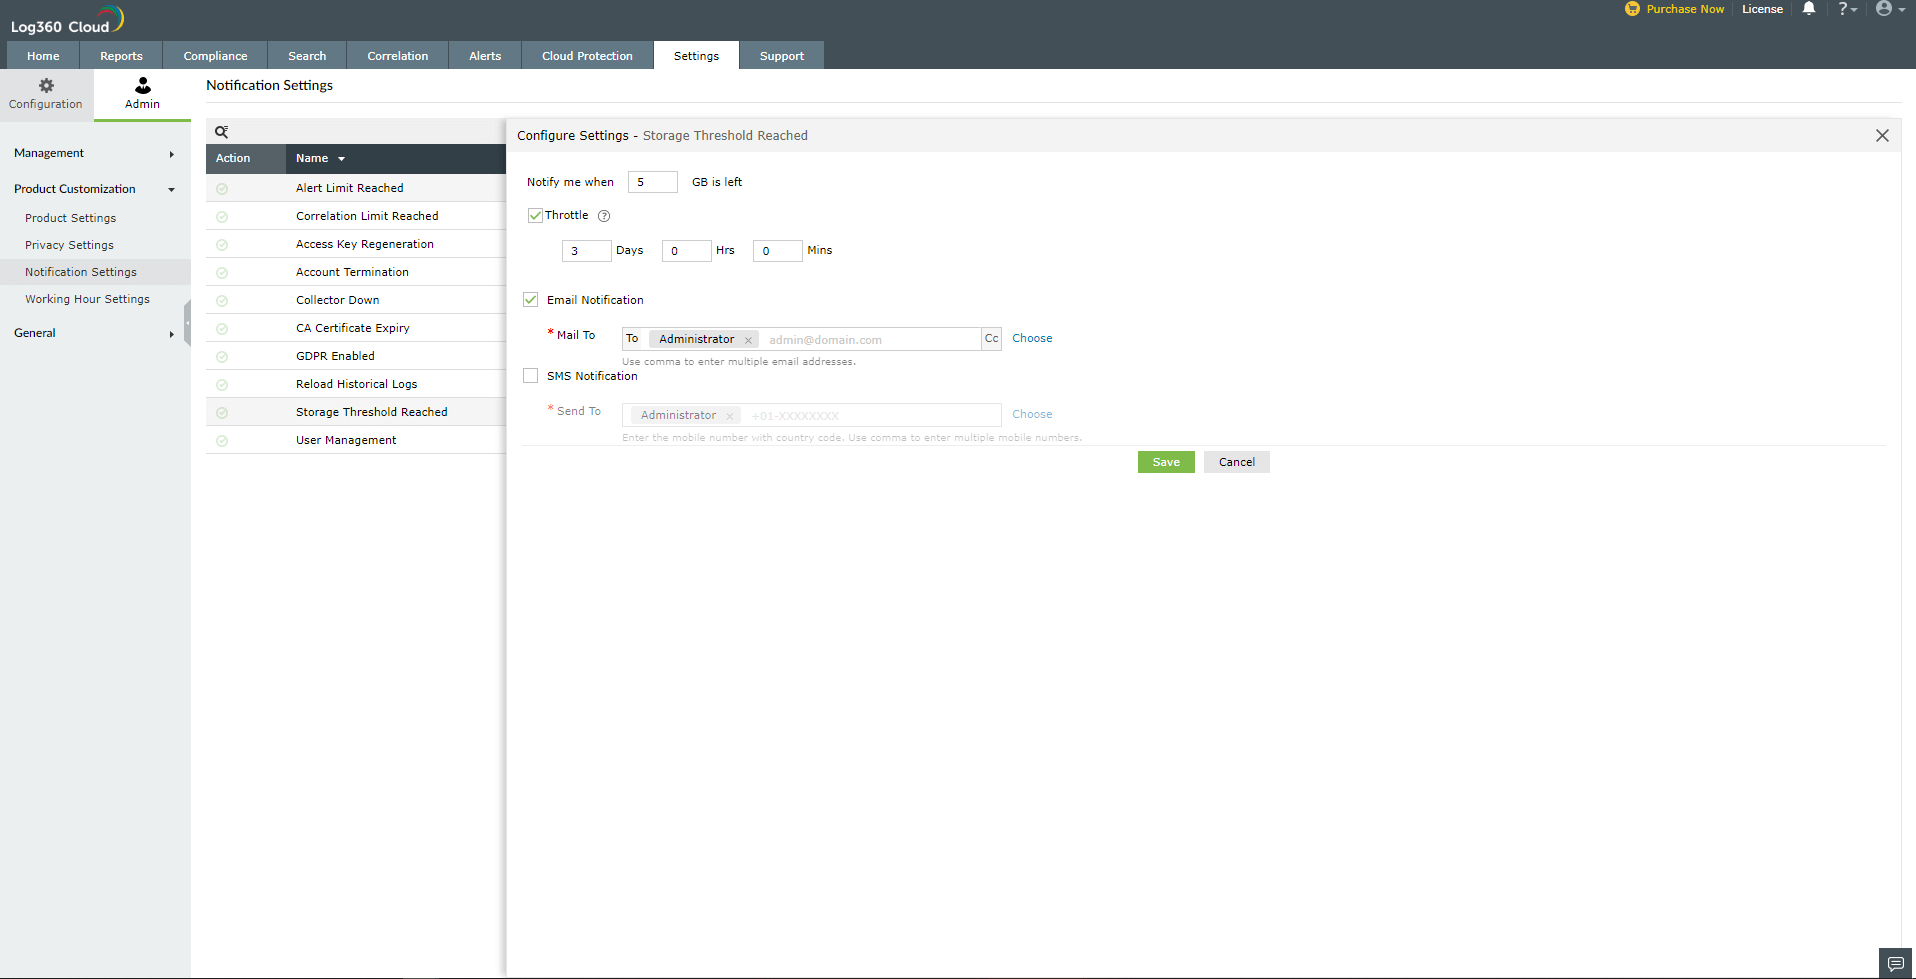
Storage Threshold Reached
To configure notification settings,
- Click Configure.
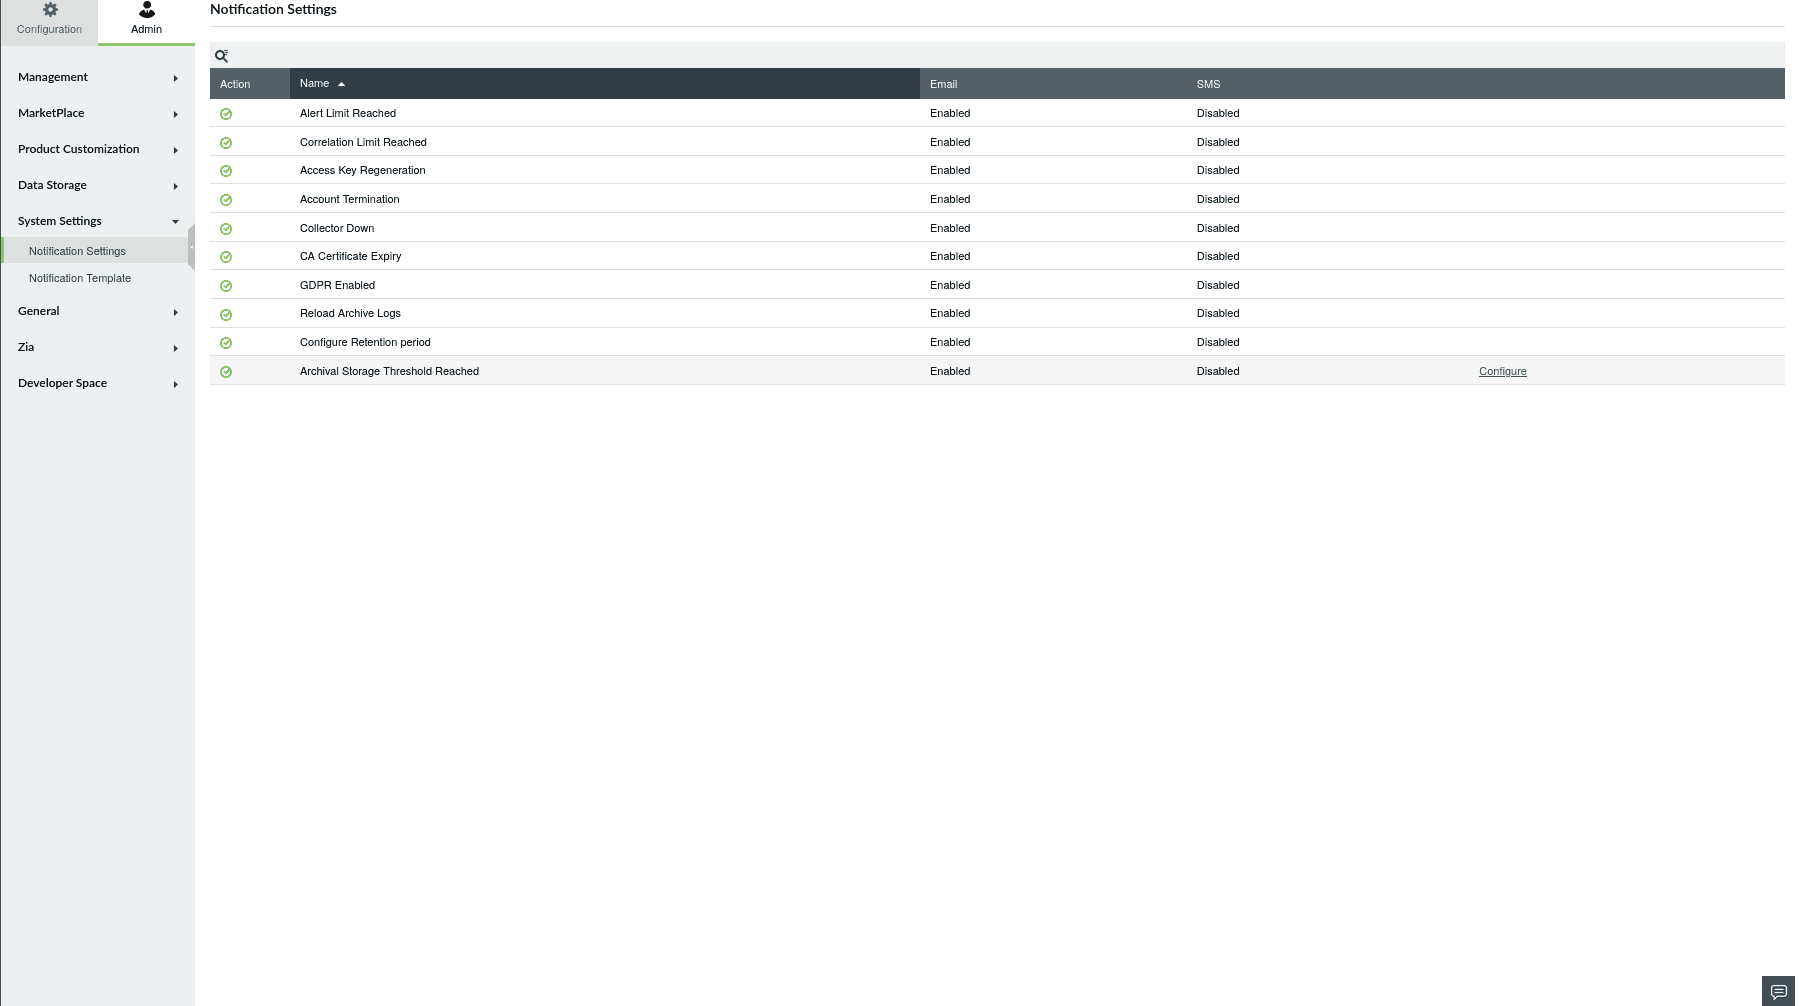
- Enter the minimum storage threshold (in GB), at which you would like to get notified.
- Under Throttle, enter the time period after which you would like to receive the subsequent notification.
- To receive notifications via Email and SMS, select both Email Notification and SMS Notification.
- Fill in the email address and phone number with the country code to which you would like to receive notifications in the respective boxes.
- Click Choose to select the contacts from the list. Click Add.
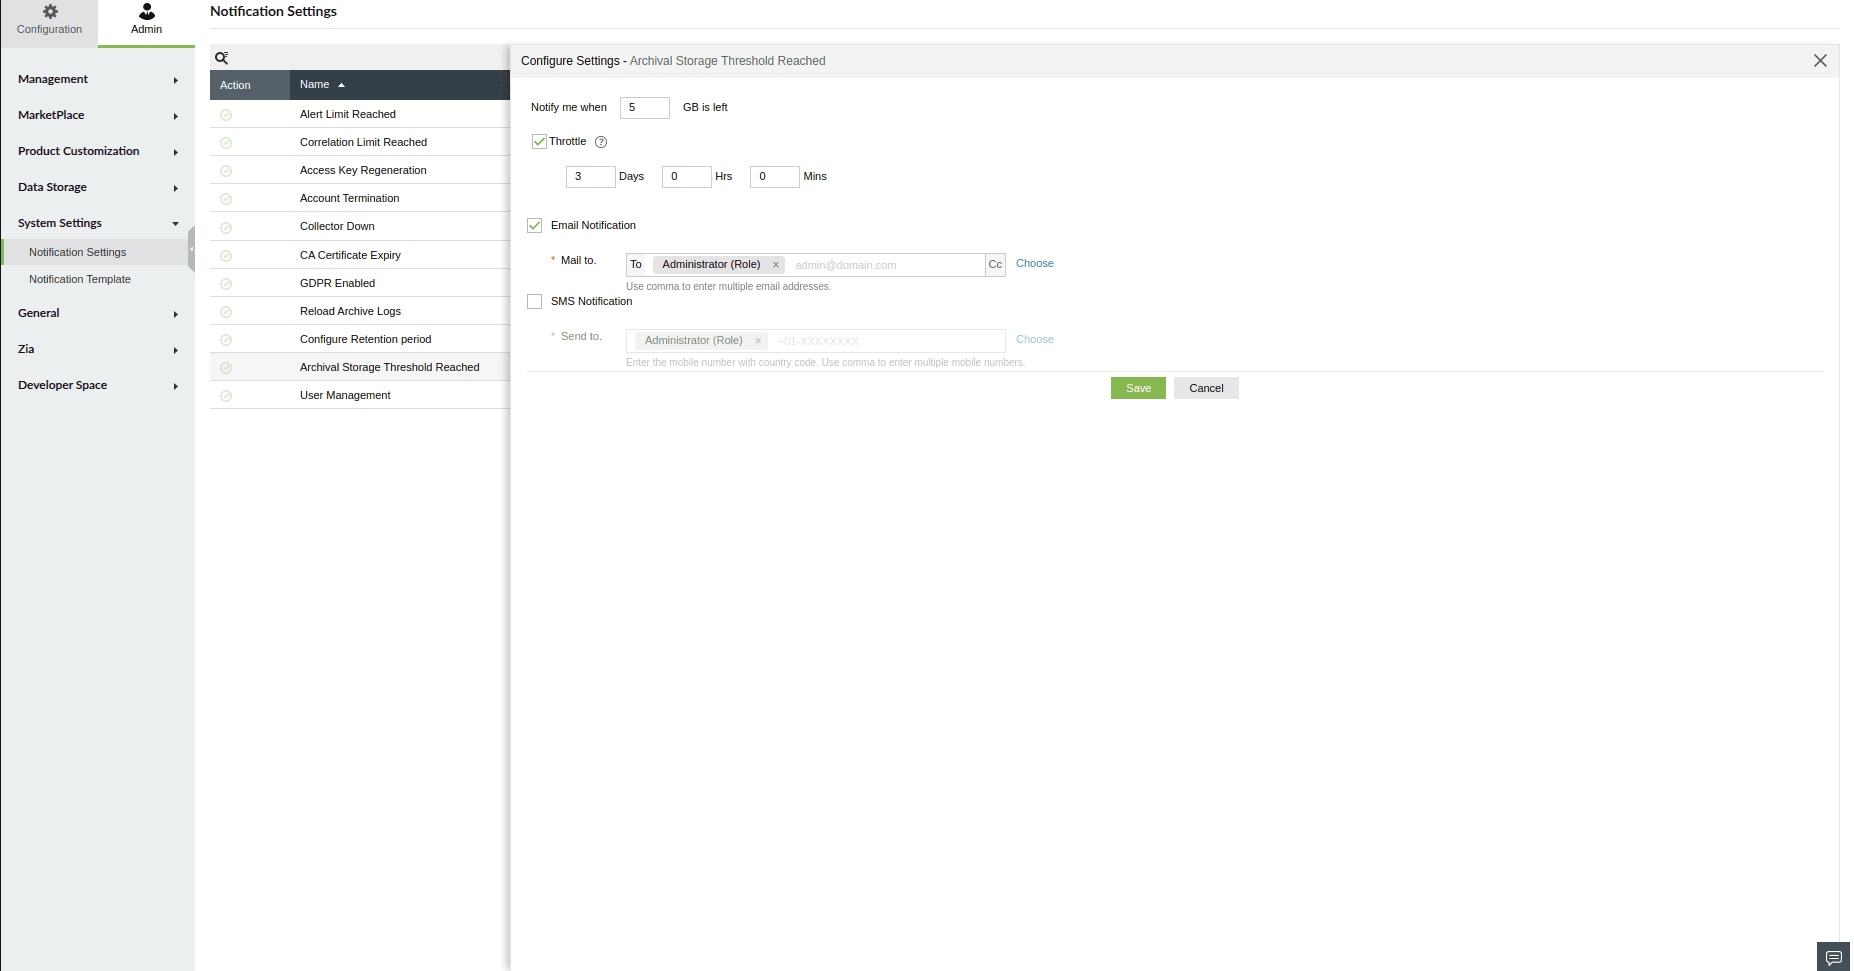
- Click Save.
User Management
To configure notification settings,
- Click Configure.
- Under Configure Settings, select from the following user actions you would like to be notified about.
- If a user adds or deletes another user
- If a user enables or disables another user and
- If a user changes the access of another user
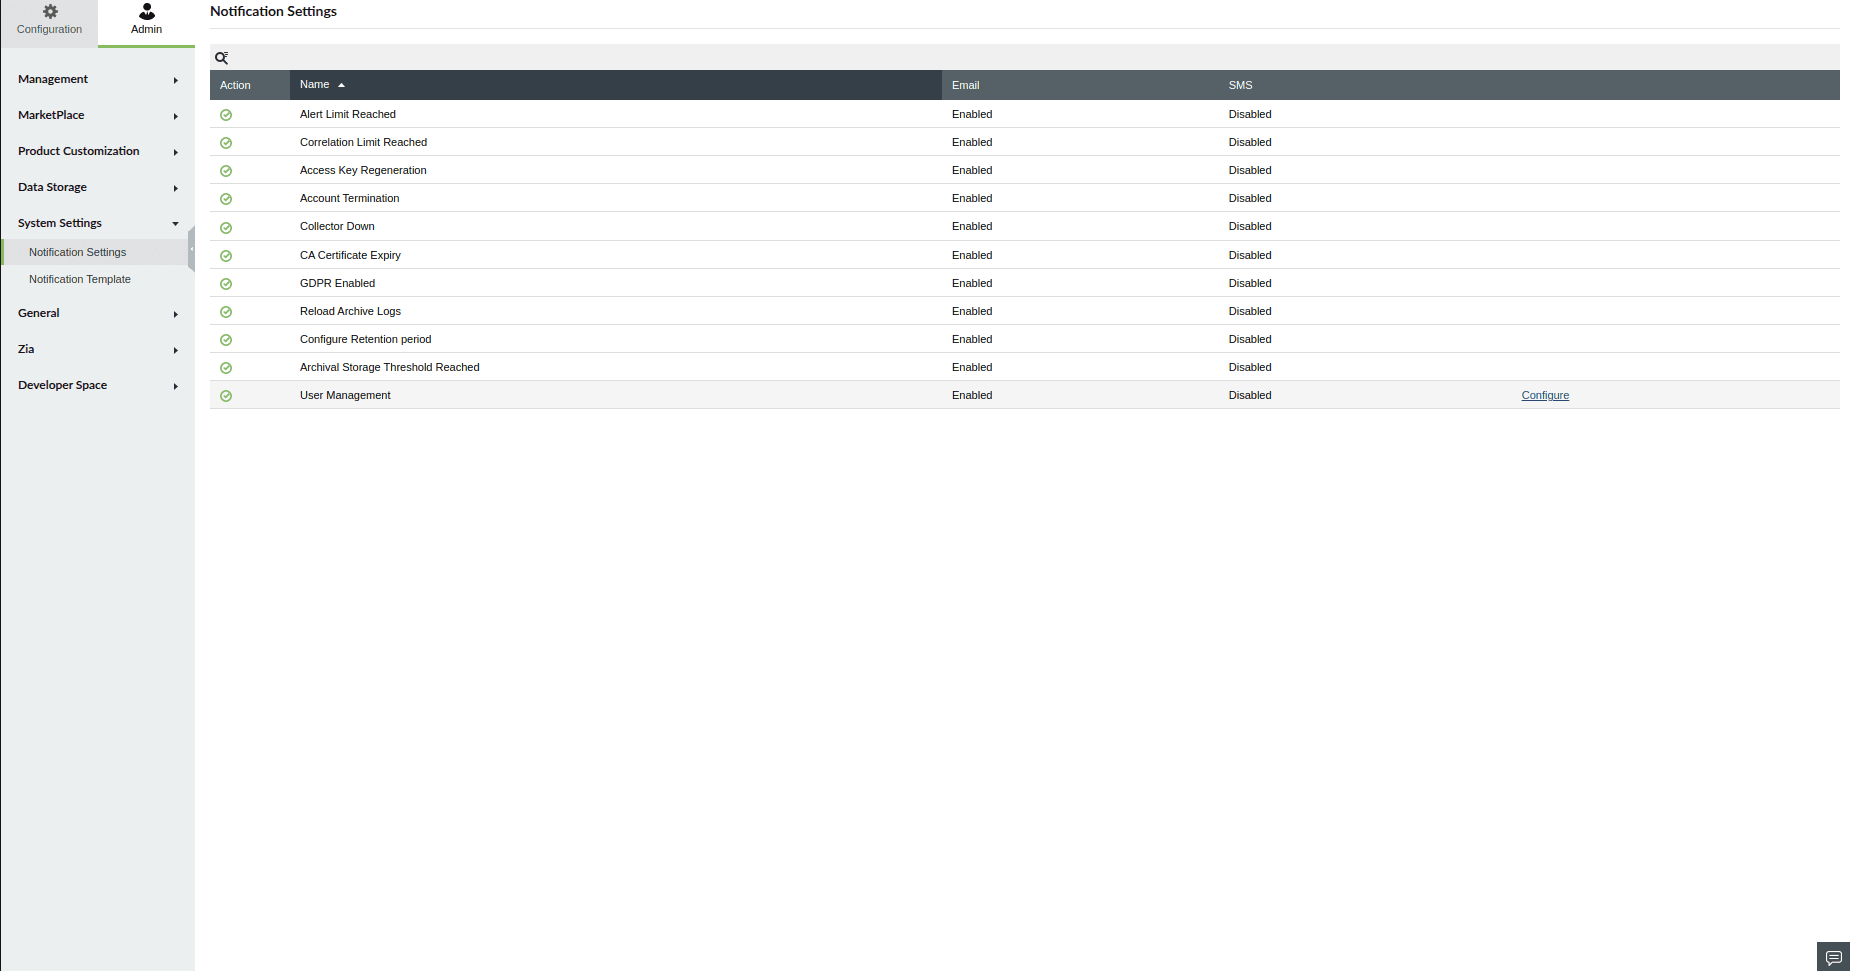
- To receive notifications via Email and SMS, select both Email Notification and SMS Notification.
- Fill in the email address and phone number with the country code to which you would like to receive notifications in the respective boxes.
- Select Choose to select the contacts from the list. Click Add.
- Click Save.


