- Log360 Cloud
- Admin Settings
- Storage Tiers
- Managing Storage Tiers
Managing Storage Tiers
In this page:
Overview
This section explains how to manage your configured Storage Tiers in ManageEngine Log360 Cloud. After creating Storage Tiers, you may need to enable, disable or modify them, view details, clear stored logs, delete tiers that are no longer needed, or adjust the priority order in which logs are matched and routed.
This ensures your storage stays structured and manageable to suit your organization's needs.
Enabling and disabling Storage Tiers
To disable an active Storage Tier:
- In the Storage Tiers page, locate the storage tier you want to disable and click the checkbox next to the tier name to select it.
- Click the
 icon.
icon.

Figure 1: Disabling a Storage Tier
- In the confirmation popup, click Proceed to confirm.

Figure 2: Disabling a Storage Tier
To enable a previously disabled Storage Tier:
- In the Storage Tiers page, select the checkbox next to the tier you want to enable.
- Click the
 icon.
icon.

Figure 3: Enabling a Storage Tier
- In the confirmation pop-up, click Proceed to confirm.

Figure 4: Enabling a Storage Tier
- The tier will be reactivated, and new logs matching its conditions will be routed to it automatically.
Viewing details of a Storage Tier
- In the Storage Tiers page, locate the tier you want to review.
- Click View Details next to that tier.

Figure 5: Viewing details of a Storage tier
- A slide-out panel will appear, displaying key configurations, such as:
- The Storage Tier name.
- Selected Log Types and Log Sources.
- Applied filter conditions (criteria pattern).
- Search Retention and Archive Retention settings.
- Any advanced configuration like daily ingestion limits.

Figure 6: Viewing details of a Storage tier
- Click Close to return to the Storage Tiers page.
NOTE: If all mapped log sources for a Storage Tier have been deleted, the Log Sources field in the details panel will display '
Deleted'. This means the tier will no longer match any incoming logs until you update its configuration with valid log sources.

Figure 7: Viewing details of a Storage tier
Modifying Storage Tiers
- In the Storage Tiers page, click the
 icon next to the tier you want to modify.

Figure 8: Modifying a Storage Tier
- Update any required fields, such as the tier name, log types, log sources, search retention, archival retention, or advanced configuration settings.
NOTE: Only the retention period can be modified for the Predefined Storage Tiers.
- Click Update to save your changes.

Figure 9: Modifying a Storage Tier
NOTE: If you reduce the retention period, only the data that exceeds the newly set retention duration will be permanently deleted. Data within the updated retention period will remain unaffected.
- Type the tier name exactly as shown in the prompt and click Proceed to confirm.

Figure 10: Modifying a Storage Tier
Clearing Logs
To clear all logs stored in a specific Storage Tier:
- In the Storage Tiers page, click the
 icon next to the Storage Tier you want to clean up.
NOTE: Clearing all logs will remove logs stored in both the search and archival storage.

Figure 11: Clearing logs from a Storage Tier
- A confirmation prompt appears. Type the Storage Tier name exactly as displayed to confirm the action.
- Click Proceed to delete the logs.

Figure 12: Clearing logs from a Storage Tier
NOTE: This action is irreversible. All logs in the selected Storage Tier will be permanently removed, and storage space will be freed up for new logs.
Deleting Storage Tiers
- In the Storage Tiers page, click the
 icon next to the Storage Tier you want to remove.
NOTE: Default built-in tiers, such as the Default Storage Tier, Alerts Storage Tier, or Correlation Storage Tier, cannot be deleted.

Figure 13: Deleting a Storage Tier
- A confirmation prompt appears. Type the tier name exactly as displayed to confirm the action.
- Click Proceed to complete the deletion.

Figure 14: Deleting a Storage Tier
Managing Priority
- In the Storage Tiers page, click Manage Priority.
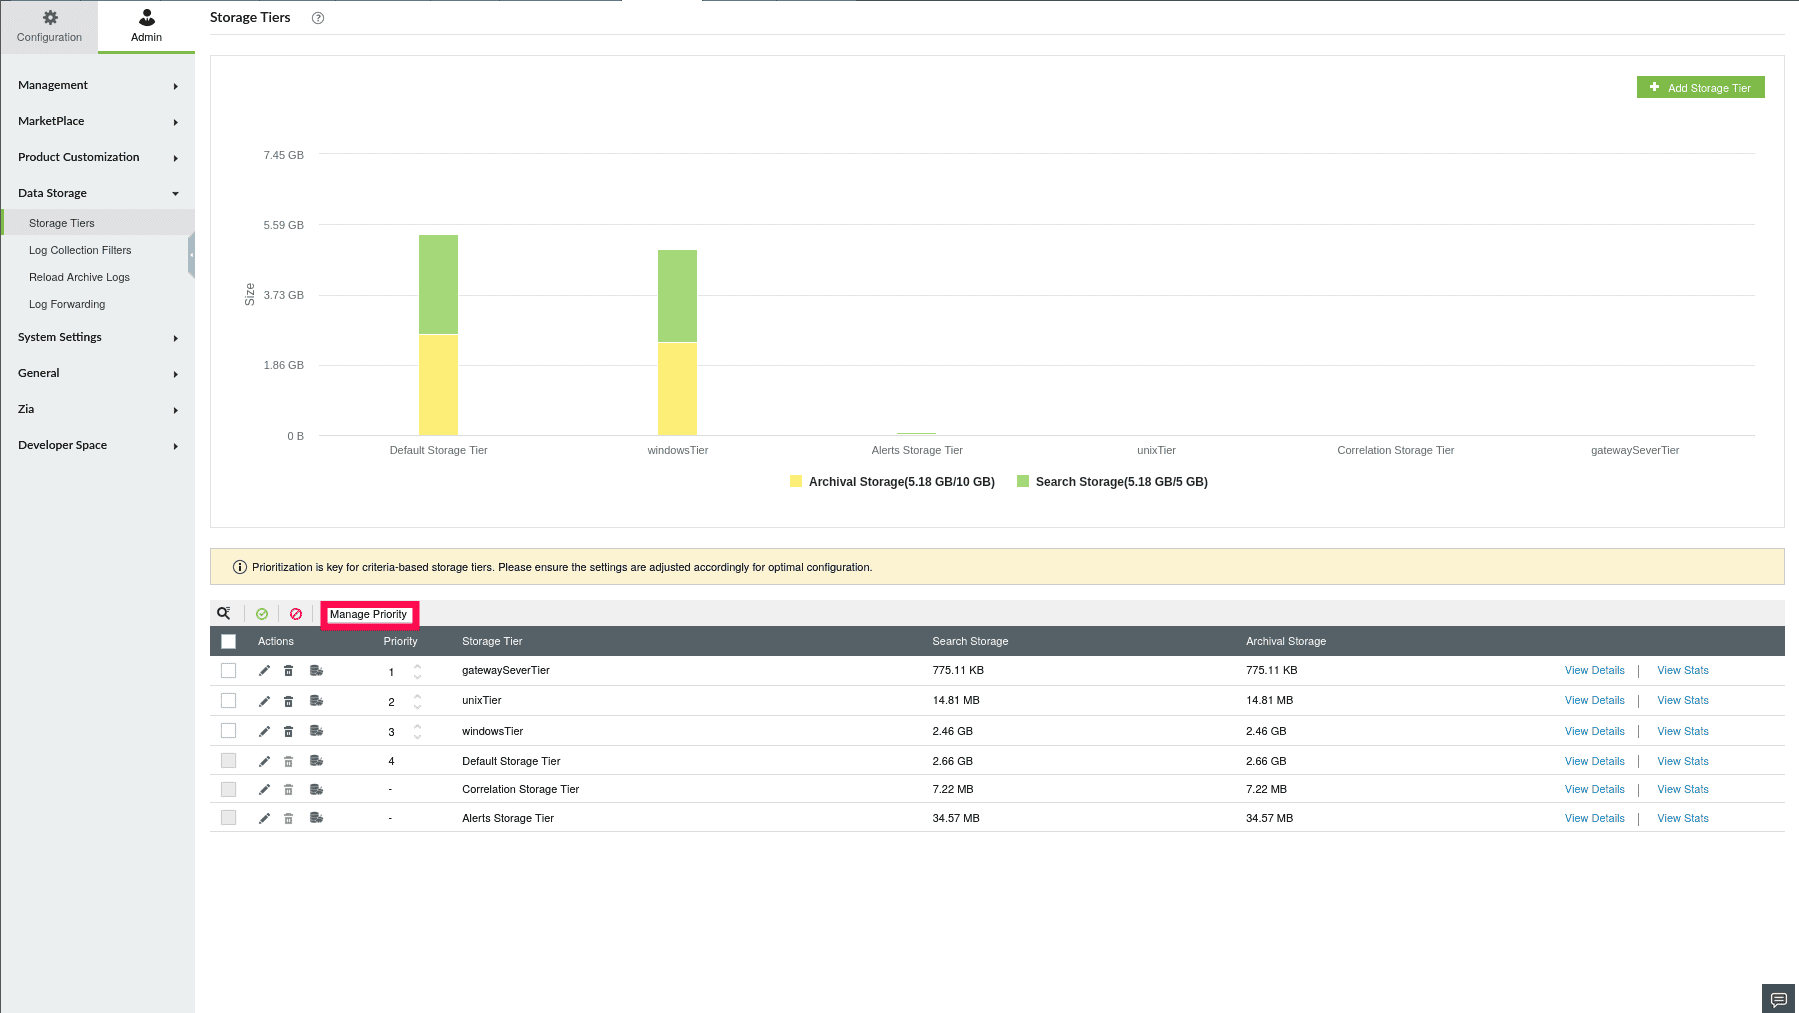
Figure 15: Managing the priority of Storage Tiers
- Use the six-dot handle next to each tier to drag and drop it into the desired order.
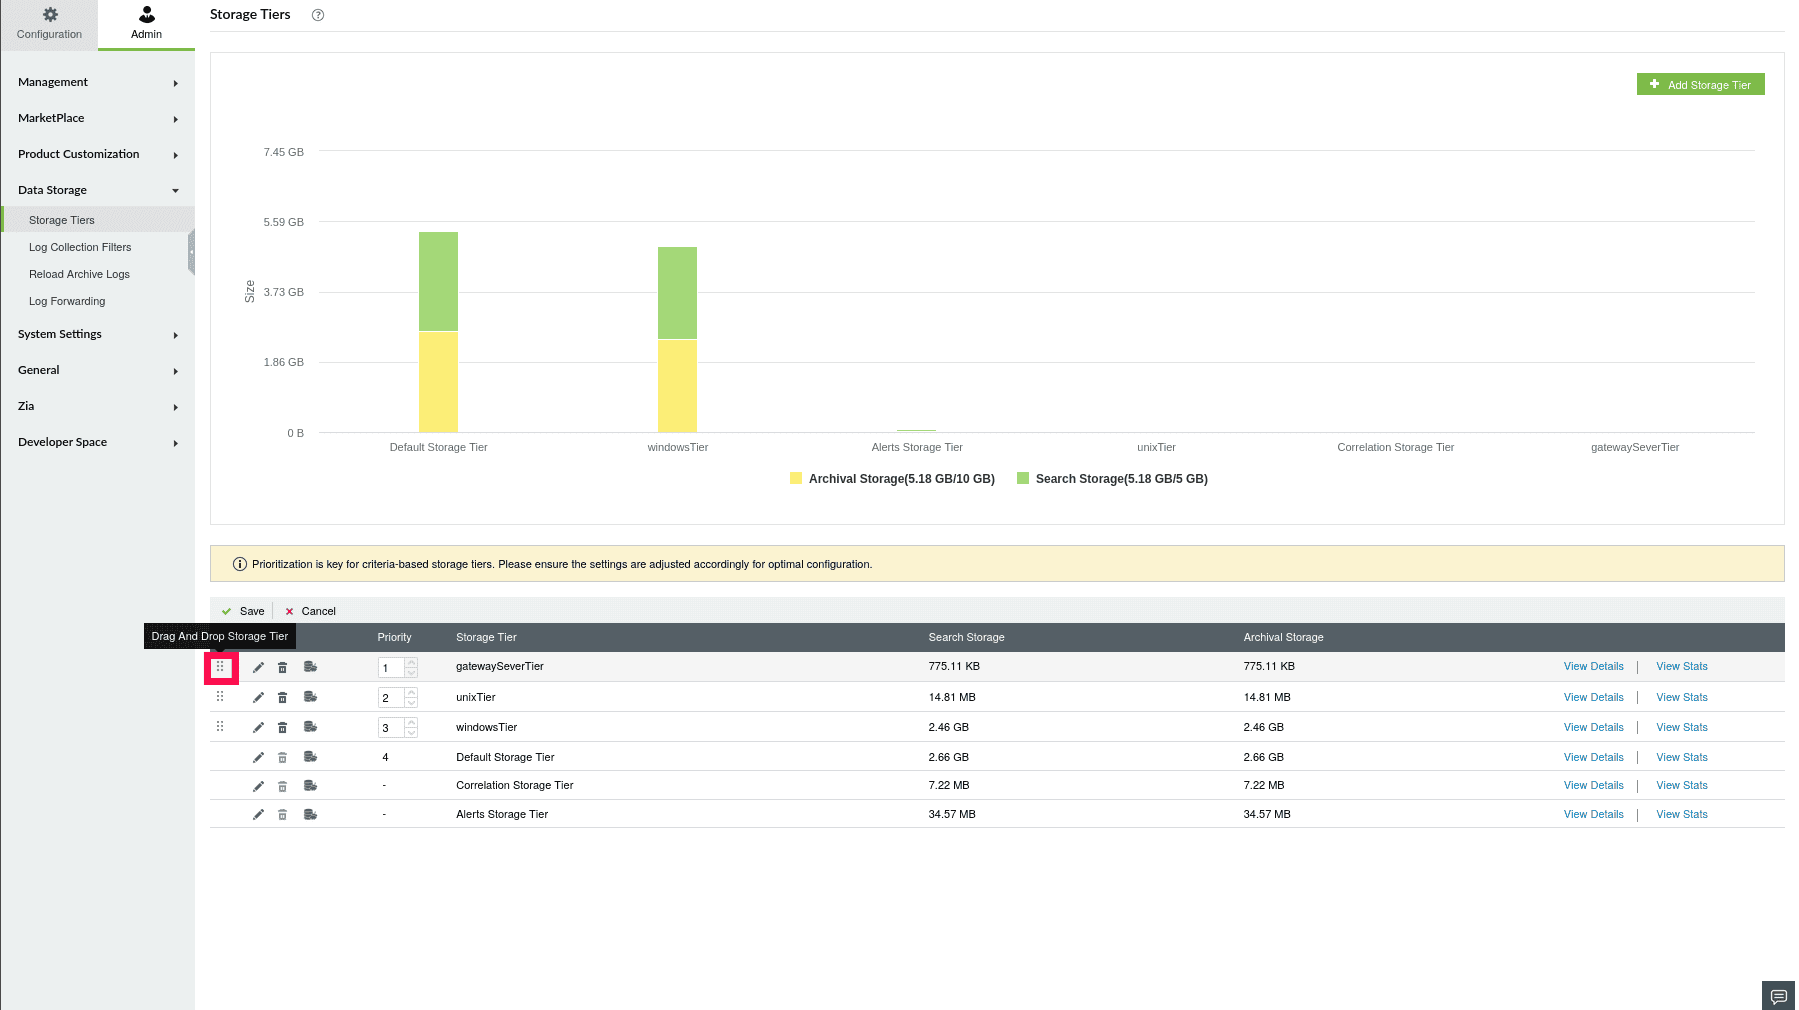
Figure 16: Managing the priority of Storage Tiers
- You can also adjust the order by clicking the up and down arrows in the Set Priority column.
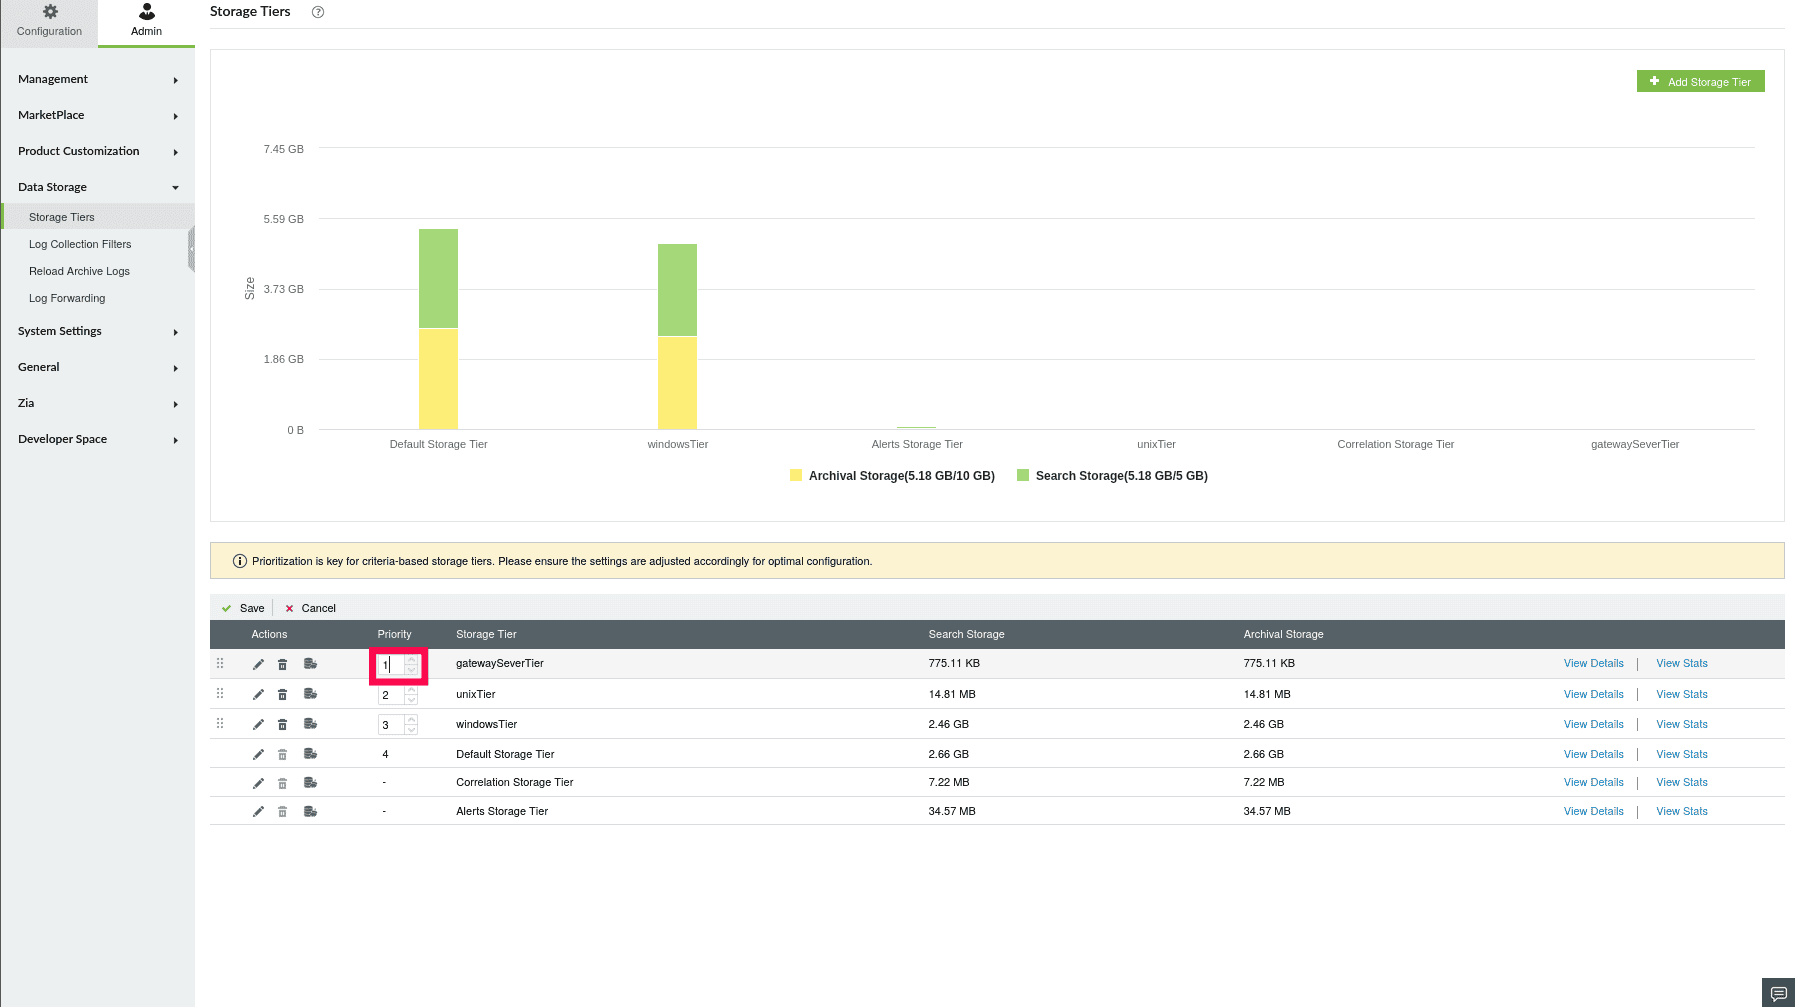
Figure 17: Managing the priority of Storage Tiers
- Click Save Changes to apply the new order, or click Cancel to discard changes.
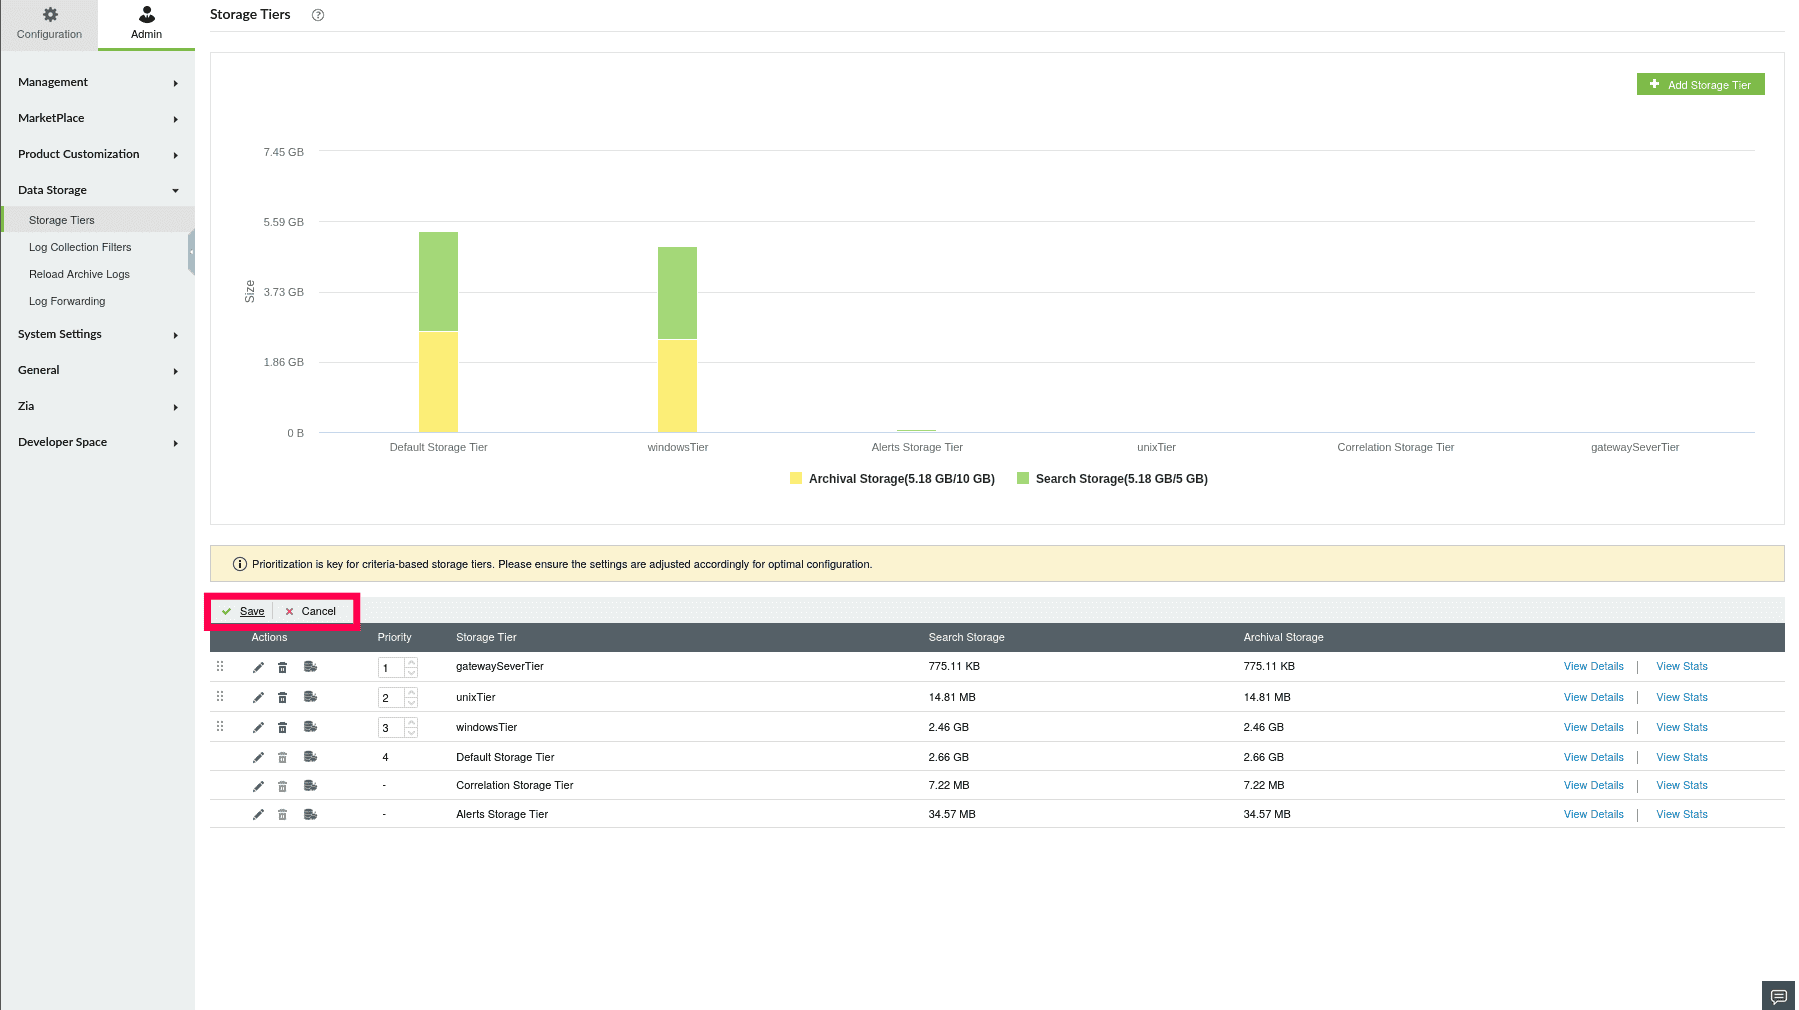
Figure 18: Managing the priority of Storage Tiers
Read also
This page explained how to manage Storage Tiers in ManageEngine Log360 Cloud. To learn how to setup Storage Tiers or analyze storage usage and trends, refer to the following articles: