How to create an Exchange Server mailbox for a user
This article lists the steps to create an Exchange mailbox using PowerShell and ADManager Plus, a unified Active Directory, Office 365 and Exchange management and reporting tool, and explains why the latter is the best option.
Windows PowerShell
To create an Exchange Server mailbox using PowerShell,
- Ensure you have the necessary permissions to perform the mailbox creation operation.
- Identify the location, OU, in which the user account and the mailbox has to be created.
- Get the values for all mandatory attributes viz.,UserPrincipalName and Name.
- Create the script with these values.
- Execute it in the PowerShell window.
A sample script to create an Exchange Server mailbox using PowerShell
Copied
New-Mailbox -Name "John Smith" -UserPrincipalName johns@example.com -Password $password -Database ExchDatabase01-FirstName John -LastName Smith -OrganizationalUnit Users
Click to copy entire script
ADManager Plus
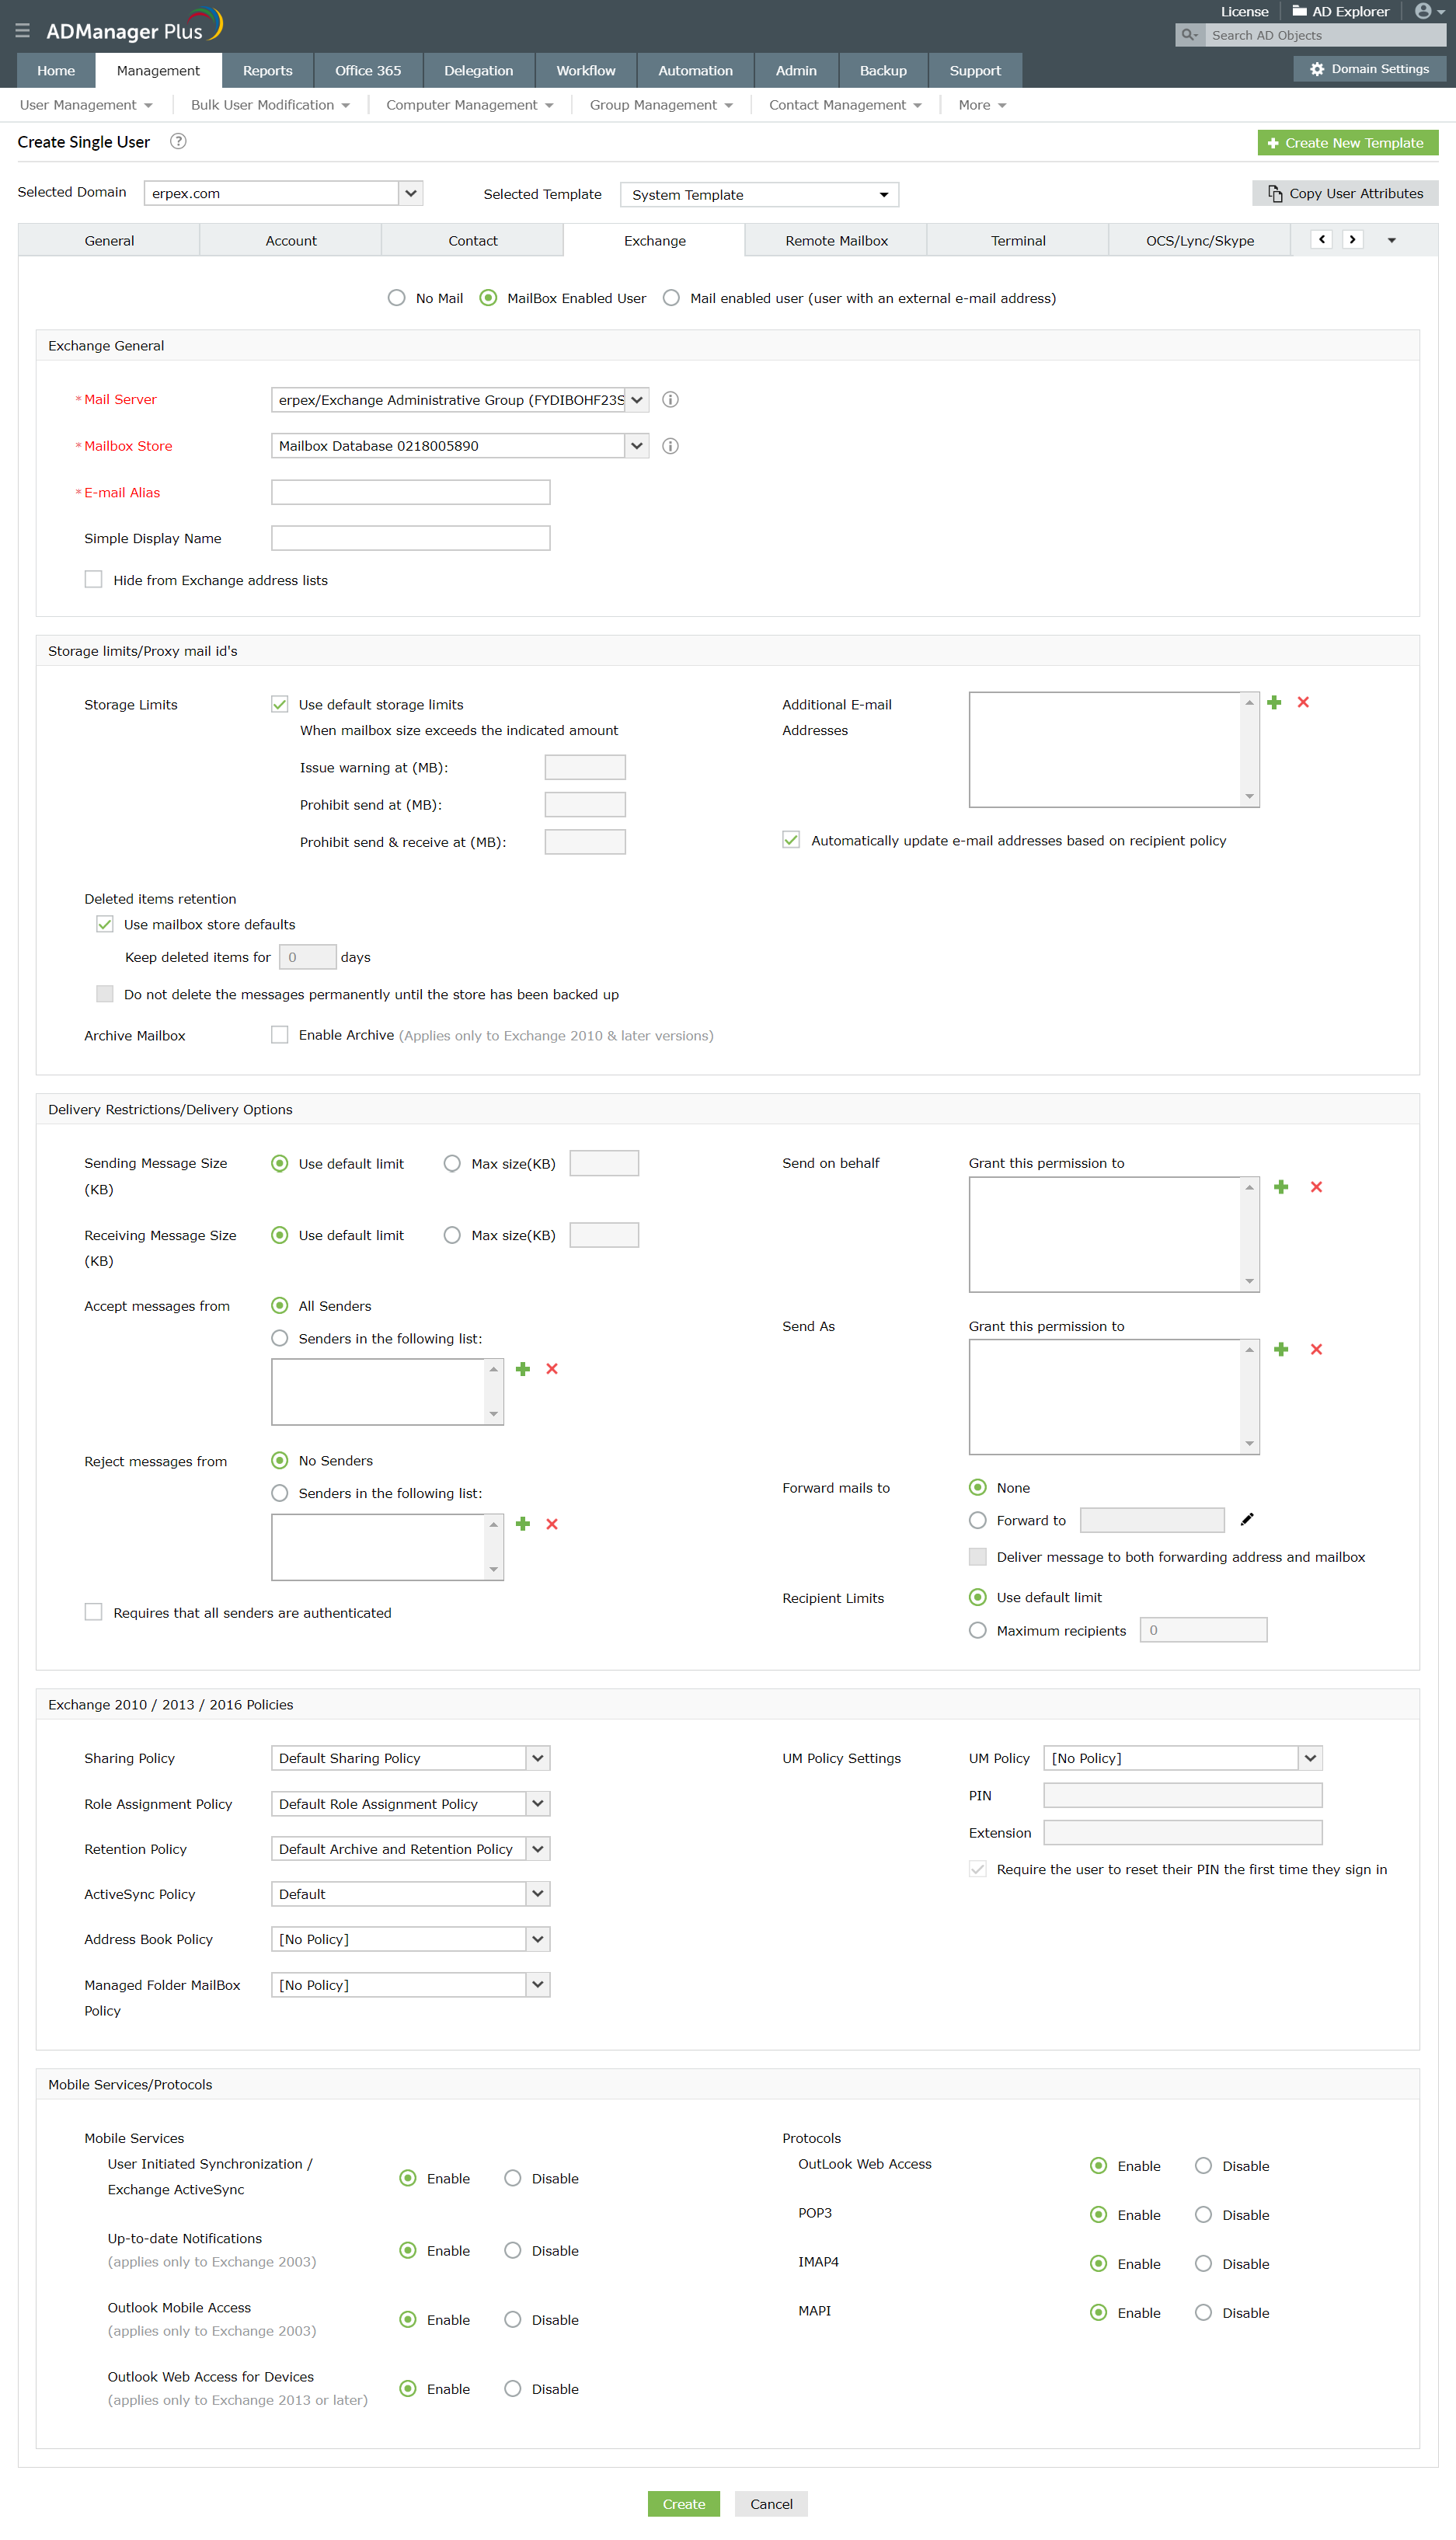
To create a user mailbox in Exchange Server
- Select Single User Creation from User Management tab.
- Select the appropriate User Creation Template, key in the values for all the required Active Directory and Exchange Server attributes, and click Create.
Screenshot
» Start 30-day Free Trial
The script mentioned above will create an Exchange Server mailbox for John Smith using the new-mailbox cmdlet.Also when the script is executed, you will be prompted to enter the password. If you wish to use PowerShell to create shared mailbox in Exchange Server, you will have to depend only on the new-mailbox cmdlet. To create room, and resource mailboxes as well, you can use the same commandlet.
Limitations of using PowerShell to create an Exchange Server mailbox.
- You will not be able to create the mailbox unless you have the necessary permissions or privileges in Exchange. With ADManager Plus, users privileges in native AD or Exchange doesn't have to be elevated, and they can be allowed to do this operation only in specific OUs or domains.
- As the OU value is not mandatory if we fail to mention it in the script, the user account will be created in Users OU, instead of the correct one. Finding and moving the user to the right OU could be tiresome. ADManager Plus allows you to set any attribute as mandatory.
- To configure all the other properties of the Exchange Server mailbox, like the mailbox size limits, delivery restrictions, etc. the script has to be modified. With ADManger Plus, all properties can be configured at once.
- To bulk create mailboxes in Exchange from CSV, the script has to be modified, to include information such as path, or location of the CSV file. With ADManager Plus though, it is offered as a built-in option that's available by default.
- You must know how to execute the scripts from the PowerShell window or command line. ADManager Plus is purely GUI-based, allowing you to perform all management and reporting actions with just mouse clicks from its web-based console.
- Even a misplaced hyphen, a typo in the LDAP names or lack of sufficient permissions will lead to errors. As all actions in ADManager Plus are GUI-driven, there is no need to write scripts, eliminating the chances of errors.
Simultaneously provision mailboxes in both Exchange and Office 365 with ADManager Plus.
Get 30-day free trial.