Creating bootable WinPE media
To perform deployment and offline imaging, you have to boot the machine in to ManageEngine pre-installation environment. To boot these computers, you have a to create a WinPE (Windows Preinstallation Environment) media. ManageEngine Endpoint Central offers 3 types of media to help you boot the machines in to your network environment.
USB Media
You will be using an external USB (a pen-drive or hard disk) to load the WinPE components which will boot the machines in to WinPE environment. If you are planning to perform imaging and deployment in less number of machines, you can use USB media.
PXE server
To boot media using PXE (Preboot Execution Environment), the target computers must support PXE. The created WinPE boot files are transferred to the target computers using TFTP (Trivial File Transfer Protocol) service. This considerably reduces the time required for booting multiple machines as compared to using other media types. It also eliminates the need to have a technician onsite to install the bootable media into the system. To know more about PXE boot server, click here
ISO media
ISO is a disk image file which can be used to load the WinPE components. You can use this media to boot a virtual machine. While booting virtual machines, you can upload the ISO file with WinPE components to boot the virtual machines, and perform imaging and deployment.
Steps to create bootable WinPE media
- In the product console, navigate to OS Deployment -> Deploy -> Create Bootable Media.
- Select the media type USB or PXE or ISO
- Specify a media name and select the remote office under which the bootable media is to be created
Now, you can either choose to have the WinPE tool installed automatically or to manually download the tool, have it installed and specify the location. (If the tool is installed already, the location will be displayed in your interface).
Note : If you choose to manually install the WinPE tool, ensure to complete the installation before you continue creating the bootable media. The automatic driver installation on the other hand is an incremental process. The ADK tool / WinPE tool will be installed initially and then the media will be created.- Select the architecture of the target computers.
To add the required drivers available in the driver repository, follow the steps given below;
- Enable Add drivers from repository -> Select network & hard disk drivers. You will get list of driver files available in driver repository.
- Search the required drivers based on the hardware ID or filter based on the share path, storage type, manufacturer or model.
- Select the driver files and click save.
- Click on Create bootable media
Note : The media creation is an incremental process : The ADK tool installation and then the media creation will be processed one after the other. The created media will be stored in the Distribution Server of the respective remote office.
This step varies for each media creation.
If you are creating USB media follow the steps given below:
- Click on Download media tool for the required bootable media
- Extract the downloaded zip file and run OSDMediaDownloadLauncher.exe. You will be redirected to the following screen:
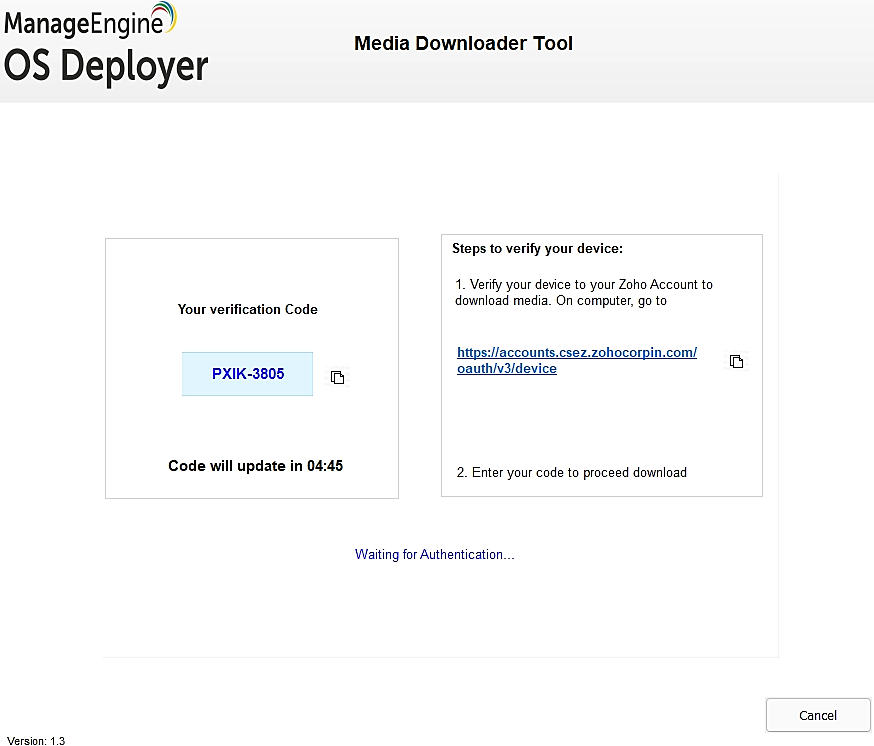
- Login using your Zoho account or the verification code.
- The tool will list out the external USB drives connected to the machine. The user can select the required USB drive and can customize the format.
- Click download.
- The bootable media will be successfully downloaded. You can use the media to perform deployment and offline imaging on any computer.
If you are creatingPXE media follow the steps given below:
- To publish the created WinPE media in the PXE server, Click on Action against the media to be published and select Publish PXE media.
If you are creating ISO media follow the steps given below:
- Click on Download media tool for the required bootable media
- Extract the downloaded zip file and run OSDMediaDownloadLauncher.exe. You will be redirected to the following screen:
- Login using your Zoho account or the verification code.
- Select the location where the media is to be downloaded.
- Click download.
Steps to boot the computer using the created WinPE media
Booting computers using USB media:
Connect the USB to the target computer. Open Boot order menu, select the USB drive either from LEGACY BOOT or UEFI BOOT. Ensure that you select the required boot option based on the created image to perform proper deployment.
Booting computers using PXE media:
You have to configure DHCP server to host PXE media. Refer this document to know how to configure DHCP server. After configuring DHCP server, open Boot order menu in the target computer and select Onboard NIC. By now, all the files required for booting process will be transferred to the target computer.
Booting computers using ISO media:
You can upload this downloaded ISO file in the target virtual machine to perform imaging and deployment. You can also mount the ISO file in a CD drive and use the CD for booting process and select CD/DVD drive from the boot order menu.
Note:
- For ISO and USB media, if you want to use this media in a remote office, click on download under actions and select remote office to use this media for remote offices.
- For PXE media, a separate PXE server will be running for each remote office in the respective distribution server computer.
Need more help?
If you still have concerns in configuring PXE settings, avail a free personalized technical demo at your convenience.