How to deploy agents using IP ranges?
Agents can be deployed in bulk to all the devices in an enterprise using IP ranges. The steps to install agents via IP ranges is given below:
If the tool is being used to install agents on a WorkGroup machine ensure that the below settings are enabled on the machine where tool is being executed.
- Open gpedit.msc on the local machine.
- Open Computer configuration ->Windows settings ->Security settings ->Local policies ->Security option.
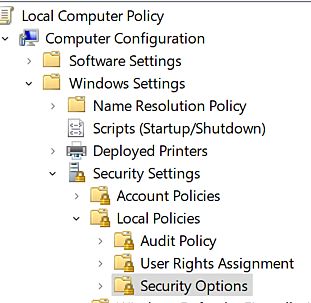
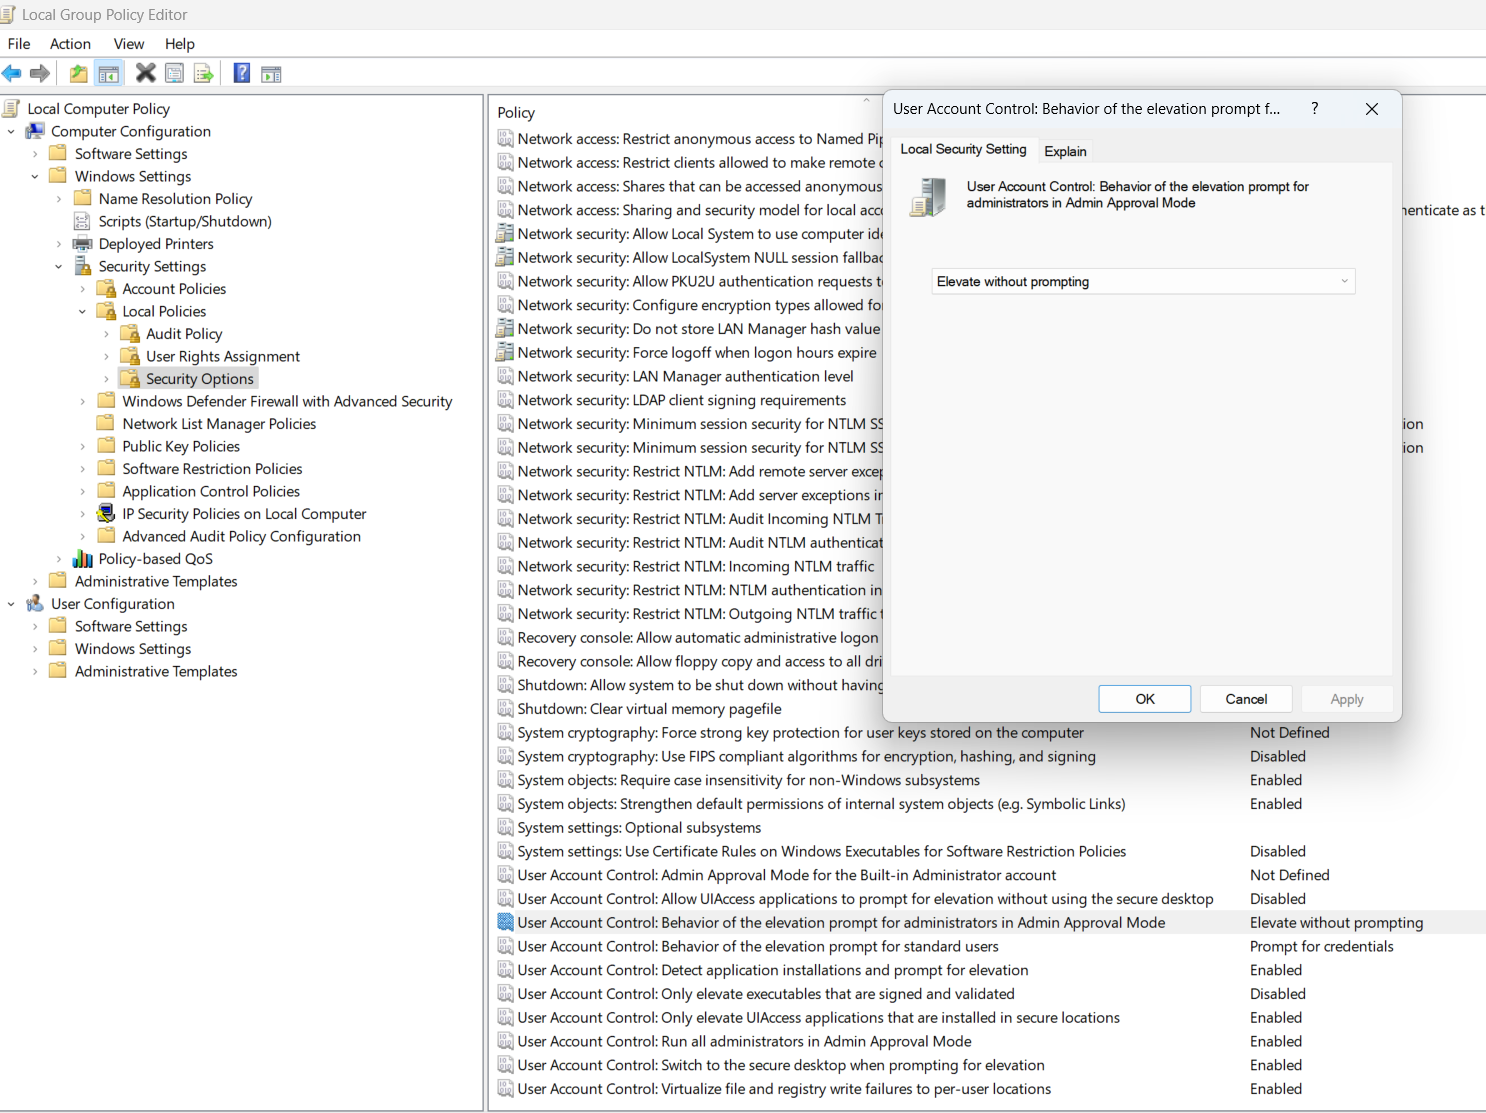
- Right click and open the properties of "User Account Control: Behavior of the elevation prompt for administrators in the admin approval mode".

- Change to "Elevate Without Prompting" and click OK.
These settings can be changed back to default one, once the agent installation has been completed.
Note:
This tool will require Admin$ share of the corresponding target machine to be accessible from the machine where it is executed.
1. Account
- A domain account is an admin or service account with limited administrative privilege.
- The account used for installation should have access to the agent machine Admin$\temp folder with read and write permissions.
Note: The account would be added to the local administrator group.
2. Admin$/temp accessibility
To confirm the Admin$/temp accessibility:
- Login to the Endpoint Central server installed machine with the domain account being used.
- Open the "run" window.
- Type in "remote machine share". For example,\\computer-name\Admin$\temp
Note: If an agent is managed under a distribution server, accessibility should be verified from the corresponding distribution server installed machine.
Steps:
1. Download the tool
Extract the
file.
- Right click on SetupUtility.bat file with administrative mode.
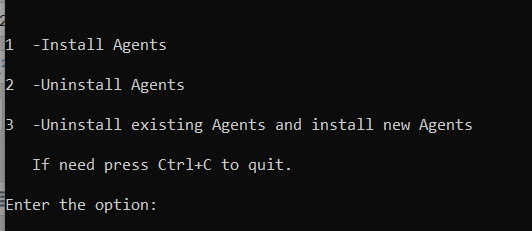
The tool displays 3 options. You can choose to install, uninstall or reinstall the agent. Enter the option chosen.
2. Selecting the required Mode of Operation
If you'd like to Install the agent, follow the steps given below:
- Select the first option on screen.
- Navigate to the Agent tab on the product console. Select Agent Installation ->Other Methods -> Download the Agent from the Command Line option.
- Select the required remote office
- Download and extract the agent installer files and place the files in the Tools folder. The required agent installer files are UEMSAgent.msi , UEMSAgent.mst, DCAgentServerInfo.json , DMRootCA.crt and DMRootCA-Server.crt.
Note: The agent installer file DMRootCA-Server.crt would not be available for cloud edition of the product and when 3rd party certificates are uploaded on the server.
If you'd like to Uninstall the agent, you would need to use the agent cleanup tool in-order to do so. To know how Click the link.
If you'd like to Re-install the agent, use the agent cleanup tool for uninstallation and follow the same steps as for installation of the agent.
3. Selecting the required Mode of Installation
The next step is choosing the required mode of installation. The mode of installation is common for installation, uninstallation and re-installation. An example of this in the case of installation, is given in the image below.
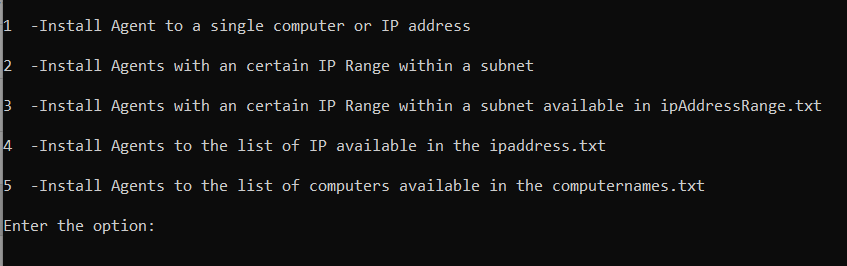
The tool displays 5 options. You can choose the desired option to install, uninstall or reinstall the agent. Enter the option chosen and follow the instructions provided for successful deployment of the agent.
- Option 1: Install/Uninstall or Re-Install the agent by providing the machine name or the IP address in the command console.
- Option 2: Install/Uninstall or Re-Install the agent by providing the IP address range in the command console.
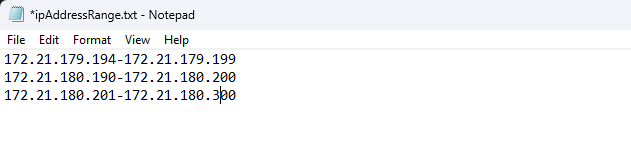
Option 3: Install/Uninstall or Re-Install the agent by opening the ipAddressRange.txt file which is present in the tools folder and update the required IP ranges.
Option 4: Install/Uninstall or Re-Install the agent by opening the ipaddress.txt file which is present in the tools folder and update the required IPs.

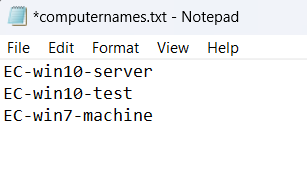
Option 5: Install/Uninstall or Re-Install the agent by opening the computernames.txt file which is present in the tools folder and update the required computer names.
To complete the installation, provide the required details which are prompted.
Note: The credentials to be provided for agent installation in client computers should have domain admin permissions.
Troubleshooting Agent Installation Issues:
To learn how to troubleshoot agent installation issues, refer to the document given link