Chrome integration with MDM using G Suite
To manage Chrome OS devices using MDM you need to purchase licenses as explained here. The first step before enrolling Chromebooks is the Chrome integration using G Suite. This is done to automatically sync and enroll Chromebooks added to Google portal, with MDM.
Procedure
Step #1: Configure Google Admin Console
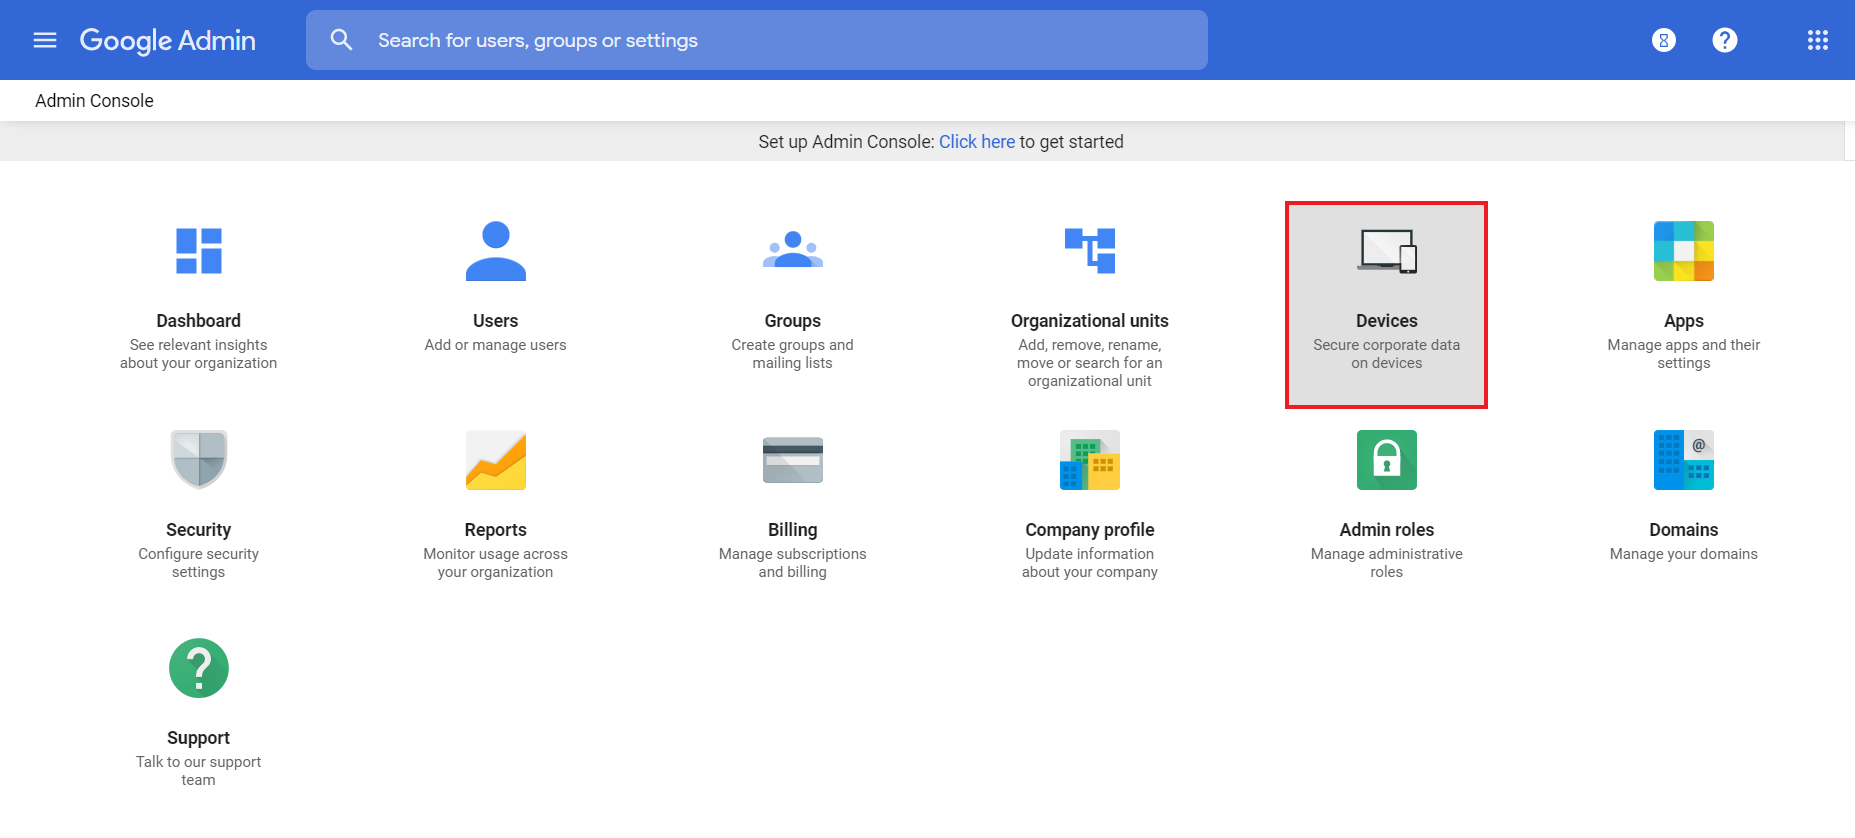
- Login to Google Admin Console, with your admin credentials and select Devices.
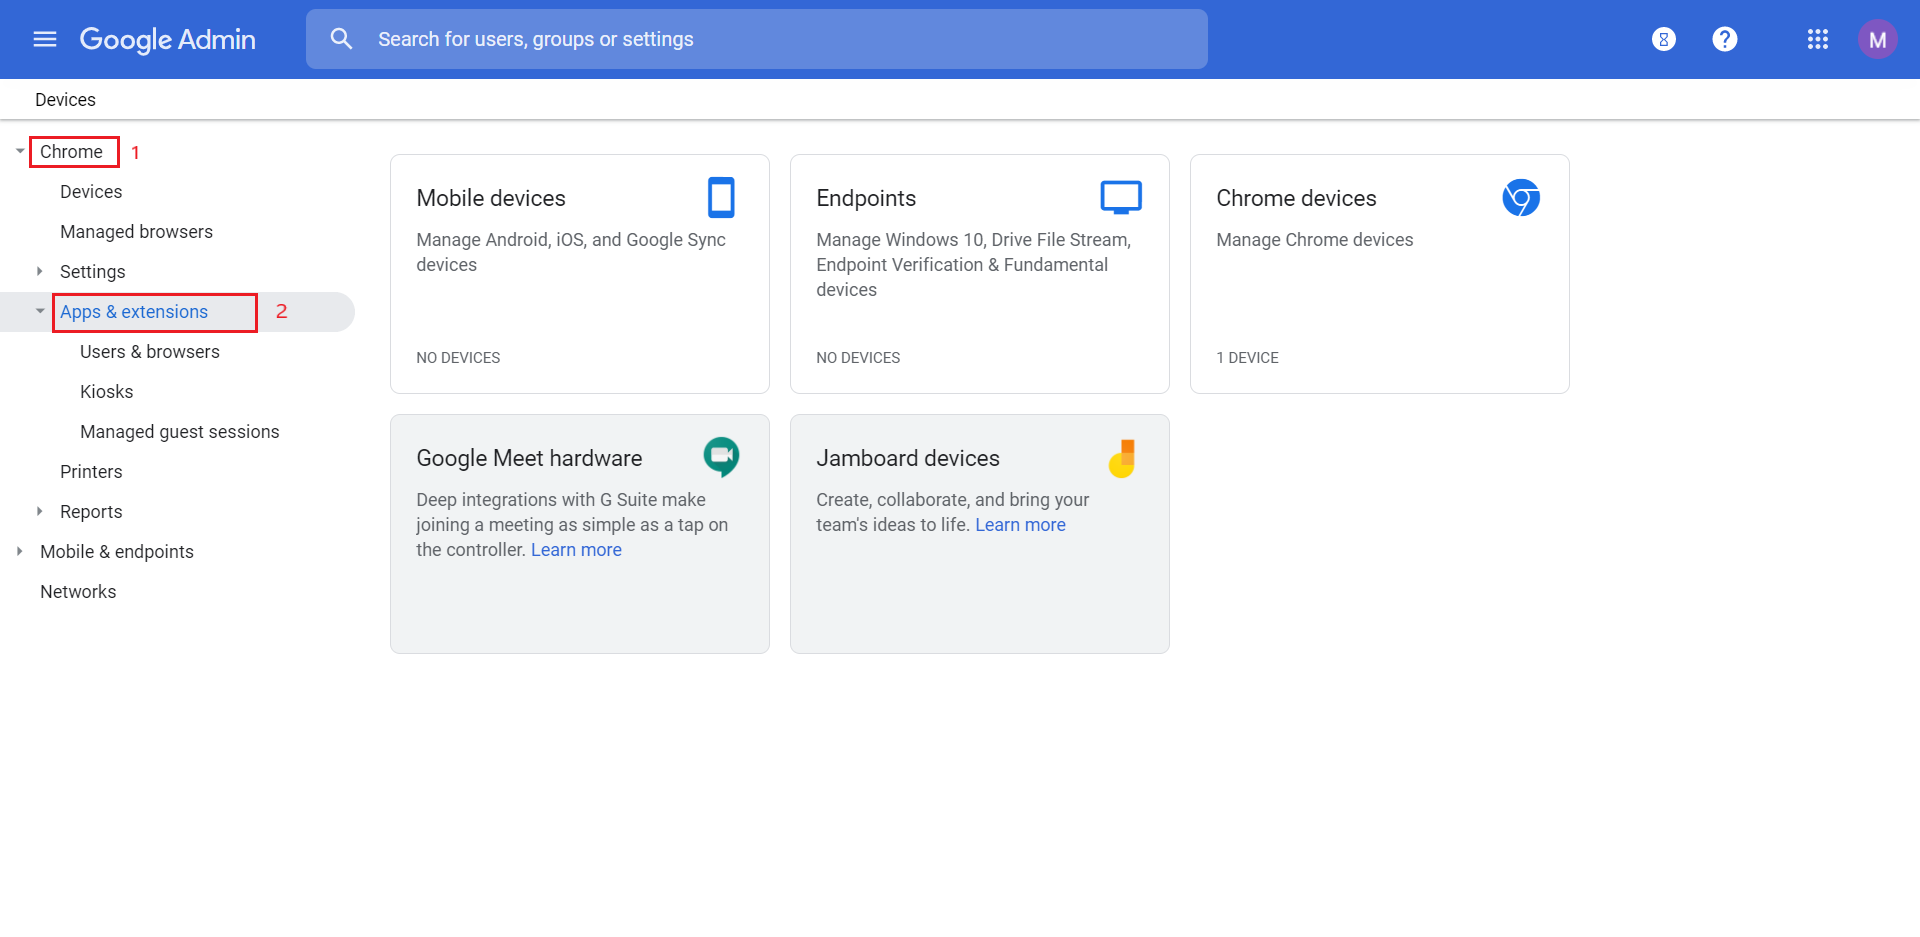
- Select Chrome -> Apps & extensions -> Users & browsers, from the left pane.
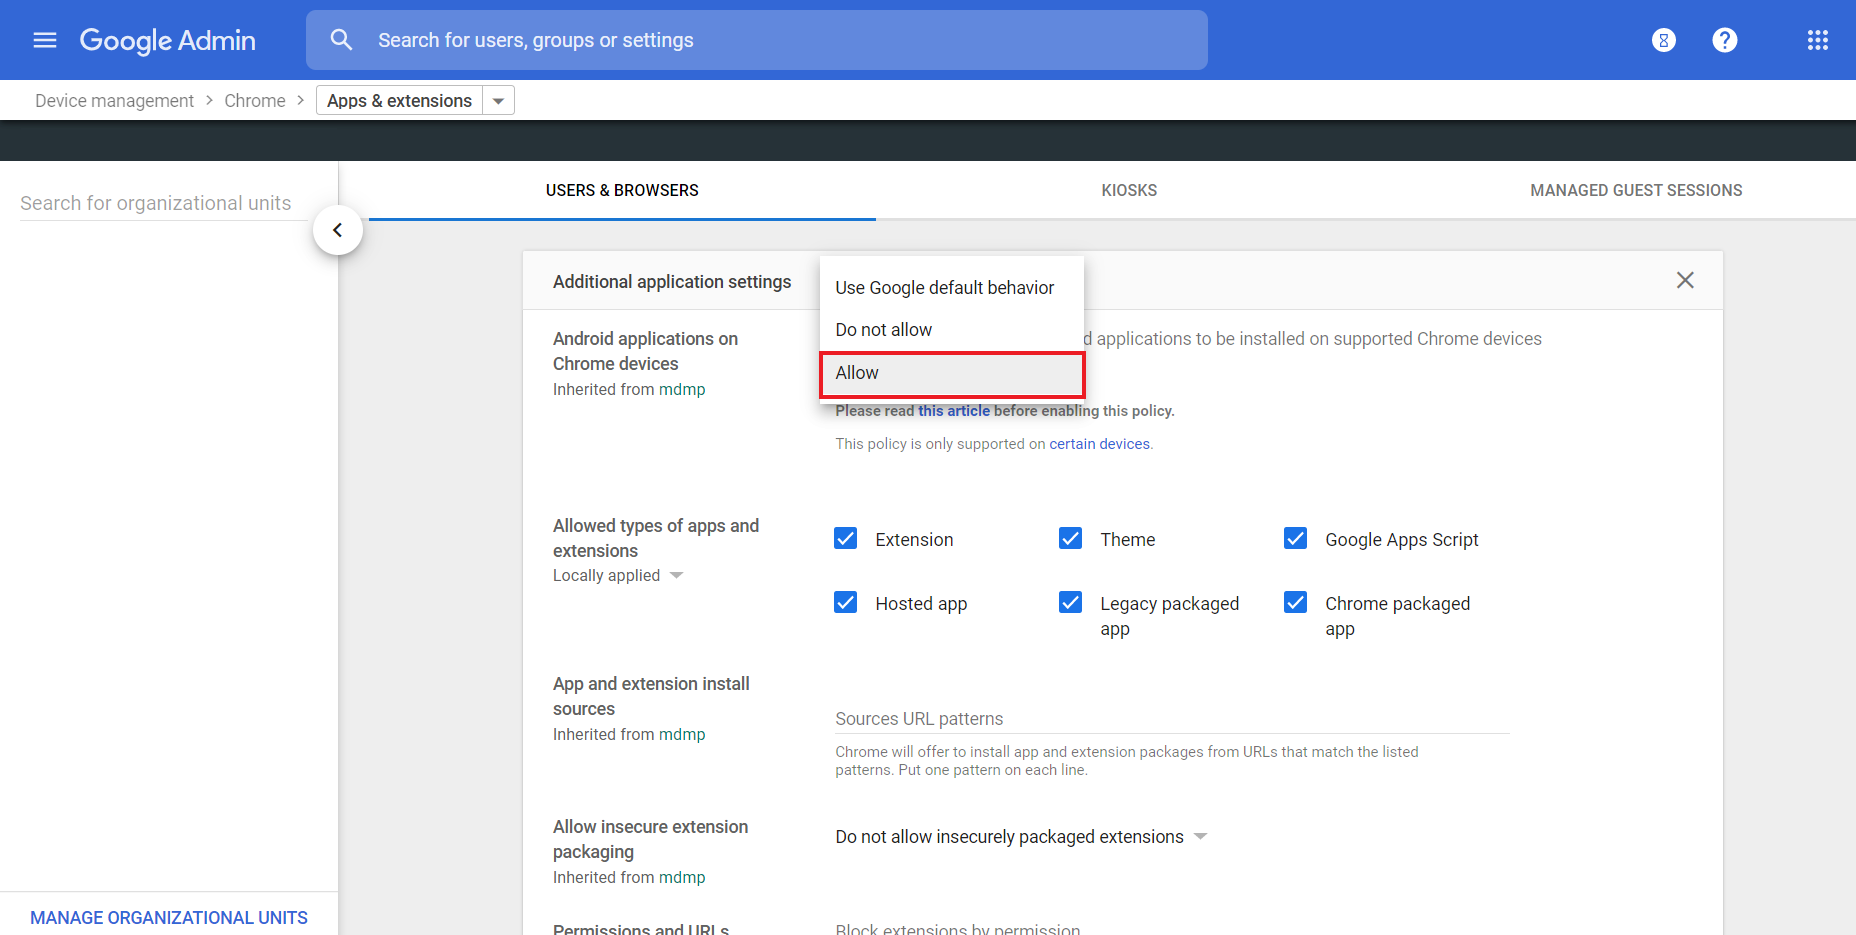
- Select Settings (Gear icon) under Users & Browsers tab. Select Allow for Android applications on Chrome devices. Click Save
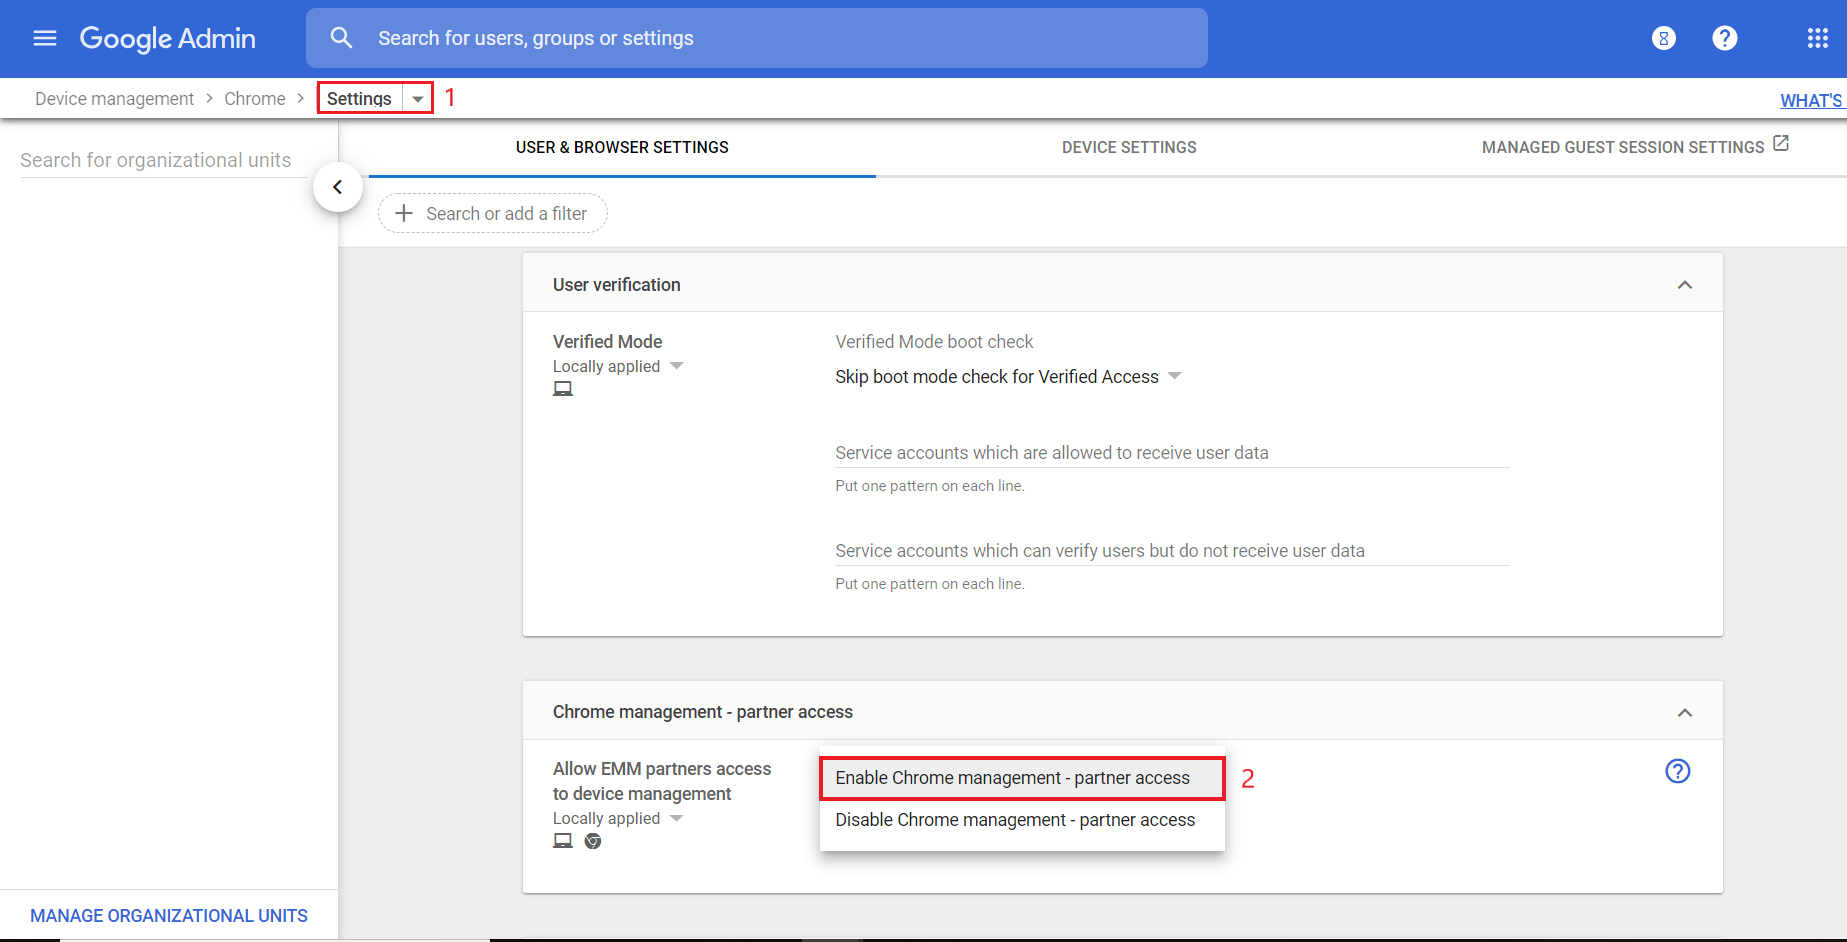
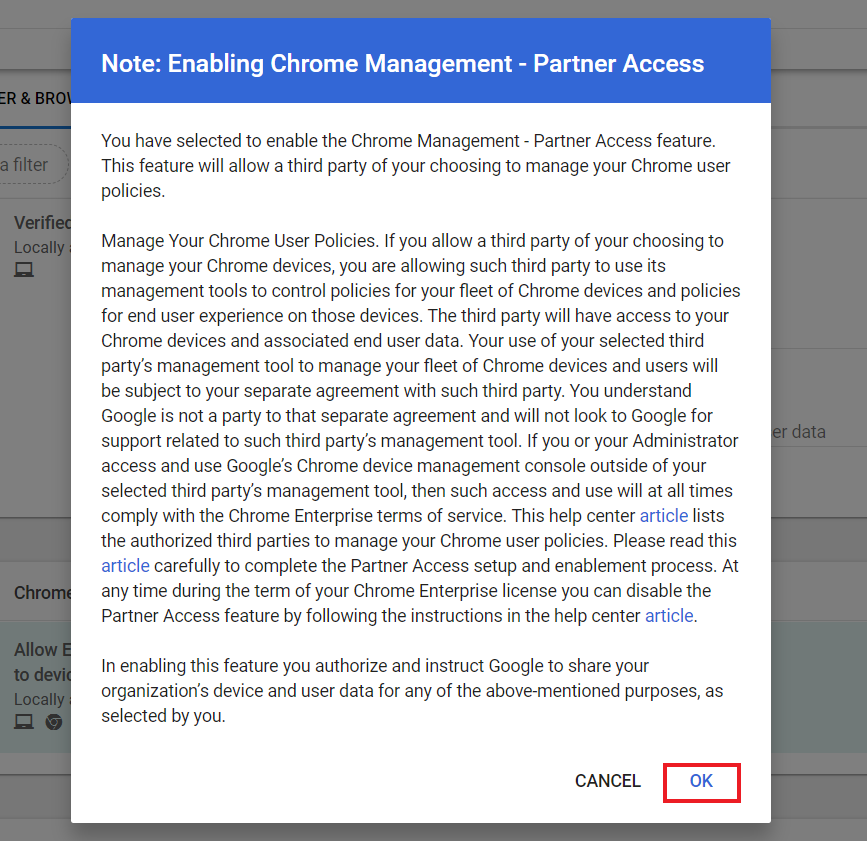
- Now, click on Settings from the dropdown menu. Under User & Browser settings navigate to Chrome Management - Partner Access. Select Enable Chrome Management - Partner Access and agree to the given terms and conditions.
- Click on Save to save the user settings.
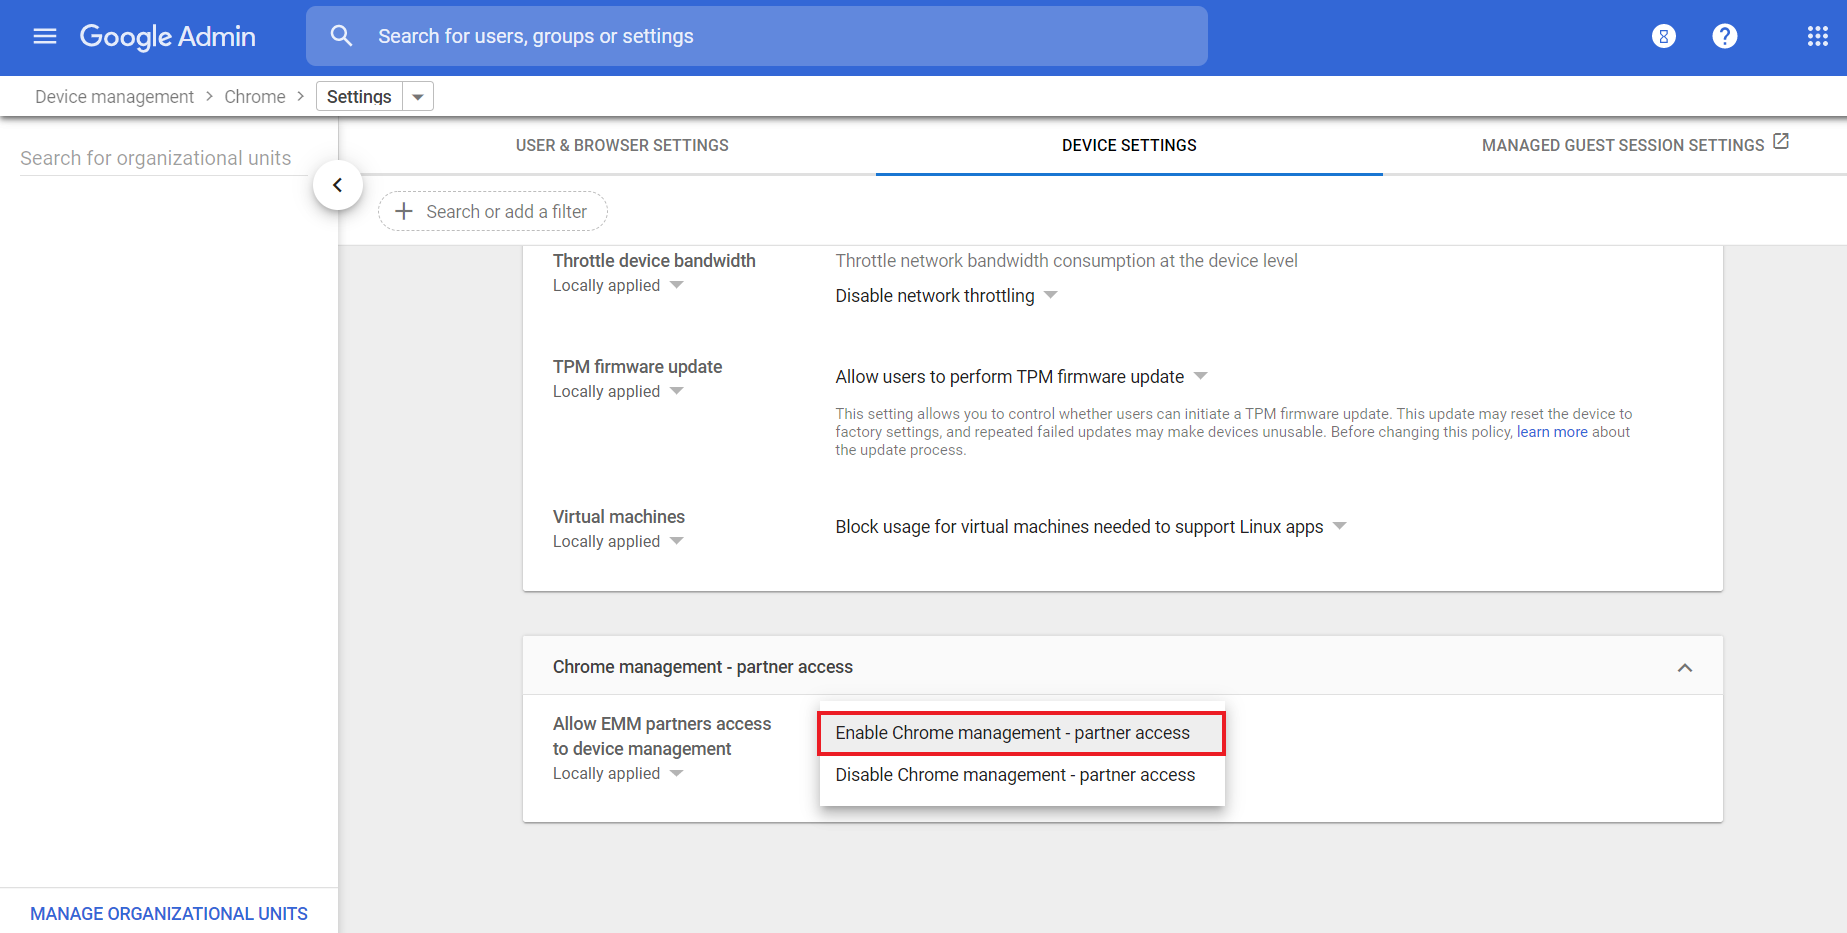
- Now, click on Device Settings and navigate to Chrome Management - Partner Access. Select Enable Chrome Management - Partner Access and agree to the given terms and conditions.
- Click on Save to save the device settings.
Step #2: Integrate with MDM
- On the MDM server, click on Enrollment tab from the top menu and select Chromebook Enrollment, present under Chrome OS.
- If you've already integrated G Suite in Android Enterprise you can go directly to the next step. If not, click on Configure Now and provide the domain registered with G Suite as well as the domain admin account.
- Now, click on Configure Chrome Integration and you will be redirected to Google and requested to provide the passcode associated with domain admin account. Once the passcode is entered, an alphanumeric client token is generated which is to be copied and pasted back on the MDM server.
- Once you have pasted the client token, click on Integrate to succesfully complete Chrome integration using G Suite. You can now enroll Chromebooks using MDM.
Jump To