Automate Enrollment of Windows 10 or above devices, using Windows Autopilot
Windows Autopilot simplifies the deployment and configuration of Windows devices, minimizing manual intervention by IT administrators. Once configured, new devices running Windows 10 or above can be shipped directly to users, automatically enrolling them in your MDM upon initial startup. This eliminates the need for manual device activation, streamlining the setup process and enhancing operational efficiency.
In the on-premises Windows Autopilot configuration, the end user can add the domain in the Appid Uri field only if that particular domain is verified in the azure environment. Refer here to know more.
Prerequisites
- Configure Device Enrollment with Microsoft Entra ID.
- Ensure Windows endpoints are running Windows 10 (Creator Update 1703 release) or above.
- Access the Microsoft Entra ID portal with an Intune License. Check here for details.
Step 1: Obtain Device Details
Method 1: Obtain Hardware IDs from the Vendor
Preferrably, the Hardware IDs can be obtained from your device vendor or reseller. The provided CSV file containing the necessary Hardware IDs can be directly uploaded to the Entra ID portal, simplifying the enrollment process.
Method 2: Extract hardware IDs using script
Alternatively, a script can be used to obtain the Hardware IDs as follows:
- Download this script.
- Copy the script file to the target PC.
- Open PowerShell with administrator privileges on the target machine and run the script.
- The script will generate a CSV file named
AutopilotHWID.csv, saved in the directory where the script was executed. This CSV file typically includes the Device Serial Number, Windows Product ID, and Hardware Hash.
Step 2: Upload Device Details
Once you have the CSV file, upload it to the Entra ID portal. Follow these steps to confirm that the hardware hash for the device was uploaded into Intune and that the device shows as a Windows Autopilot device:
- Log in to the Microsoft Intune admin center.
- On the Home screen, choose Devices from the menu on the left.
- In the Devices | Overview screen, select Windows under By platform.
- On the Windows | Windows devices screen, go to Device onboarding and click on Enrollment.
- In the Windows | Windows enrollment screen, find Windows Autopilot and select Devices.
- In the Windows Autopilot devices screen, click on Import in the toolbar.
- In the Add Autopilot devices dialog box, upload the CSV file and click on Sync on the toolbar.
- Wait for the sync process to finish; this may take a few minutes.
- Once the sync is complete and the device appears in the Windows Autopilot devices list in Intune, it is ready for deployment, as long as a Windows Autopilot profile is assigned to it.
Step 3: Create an Autopilot Profile
The Deployment Profile governs the Out-of-Box Experience (OOBE) for end users, allowing you to set consistent defaults for all devices and ensure a uniform onboarding experience.
- Log in to the Microsoft Intune admin center.
- Navigate to Devices > Windows > Enrollment > Deployment Profiles > Create profile > Windows PC.
- Name the profile and set "Convert all targeted devices to Autopilot" to "No" if you do not want existing devices to be converted to Autopilot upon reset, then click Next.
- In the Out-of-Box Experience (OOBE) section, configure the following options:
- Deployment mode: User-Driven
- Join to Azure AD as: Azure AD joined
- Optional configurations can be adjusted based on your organization's needs
- Click Next to proceed to the assignments.
- In the Assignments tab, this profile can be associated with the desired groups. Refer here to create Autopilot device groups in Intune.
- Review and click Create to save the profile.
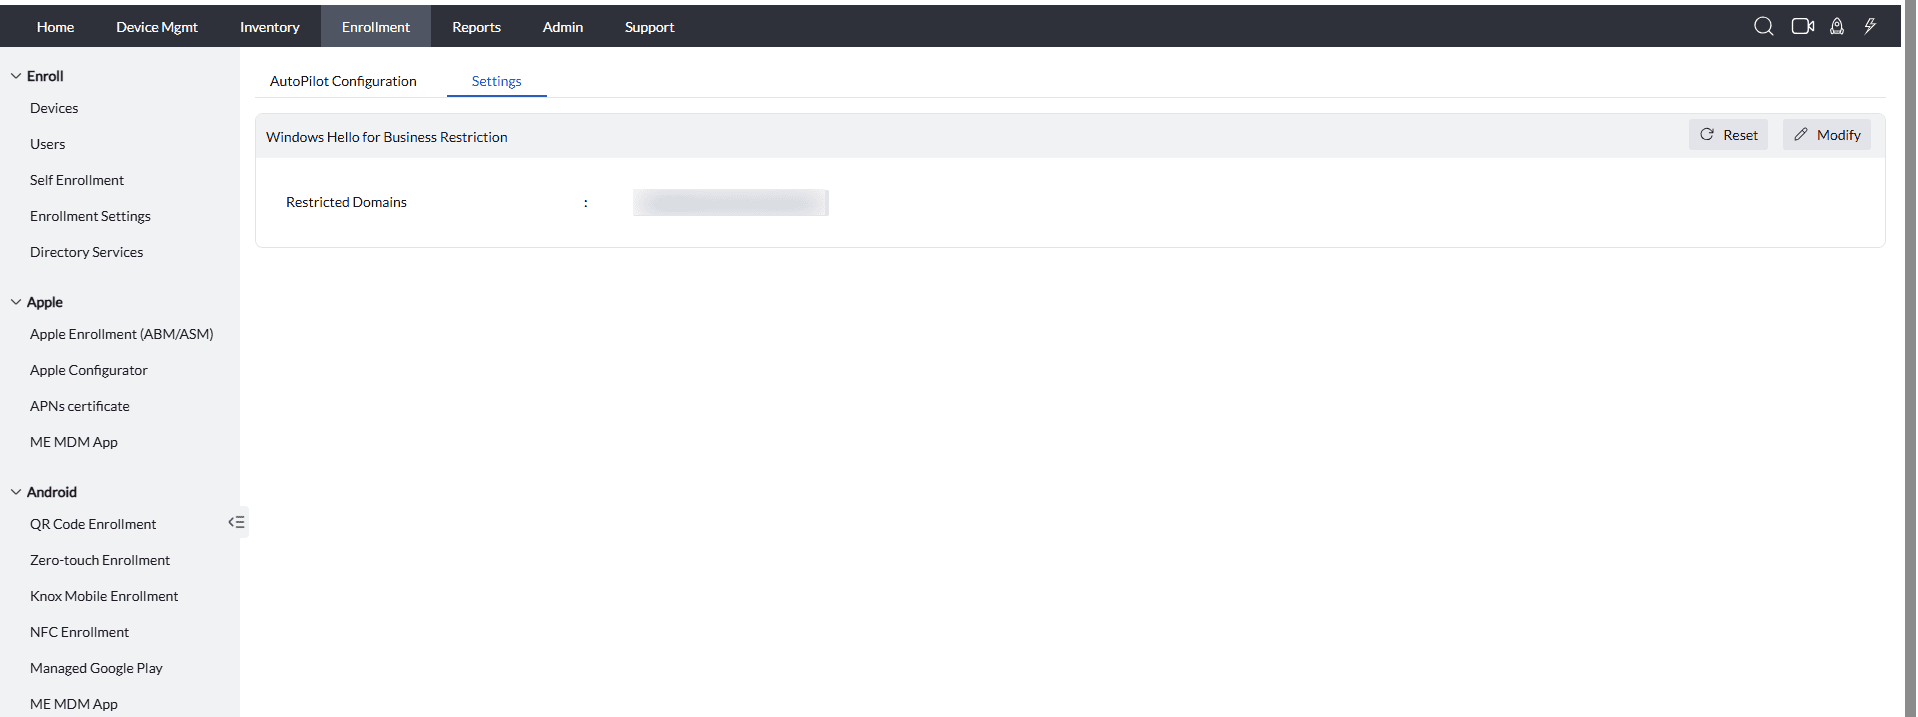
Restricting Windows Hello for Business During Enrollment
As part of Windows Entra ID Enrollment, you can restrict the use of Windows Hello for Business for Microsoft Entra ID domain during the device's out-of-box experience (OOBE).
Windows Hello for Business allows users to sign in using gestures such as biometric authentication or a PIN. In scenarios where these authentication methods are not permitted, such as shared device environments, you can prevent users from setting it up during initial device provisioning.
Configuring the Restriction
- Navigate to Enrollment > Azure Enrollment > Settings.
- Under Windows Hello for Business Restriction, enter the domain(s) for which the restriction should apply in the Restricted Domains field (e.g., zylker.com).
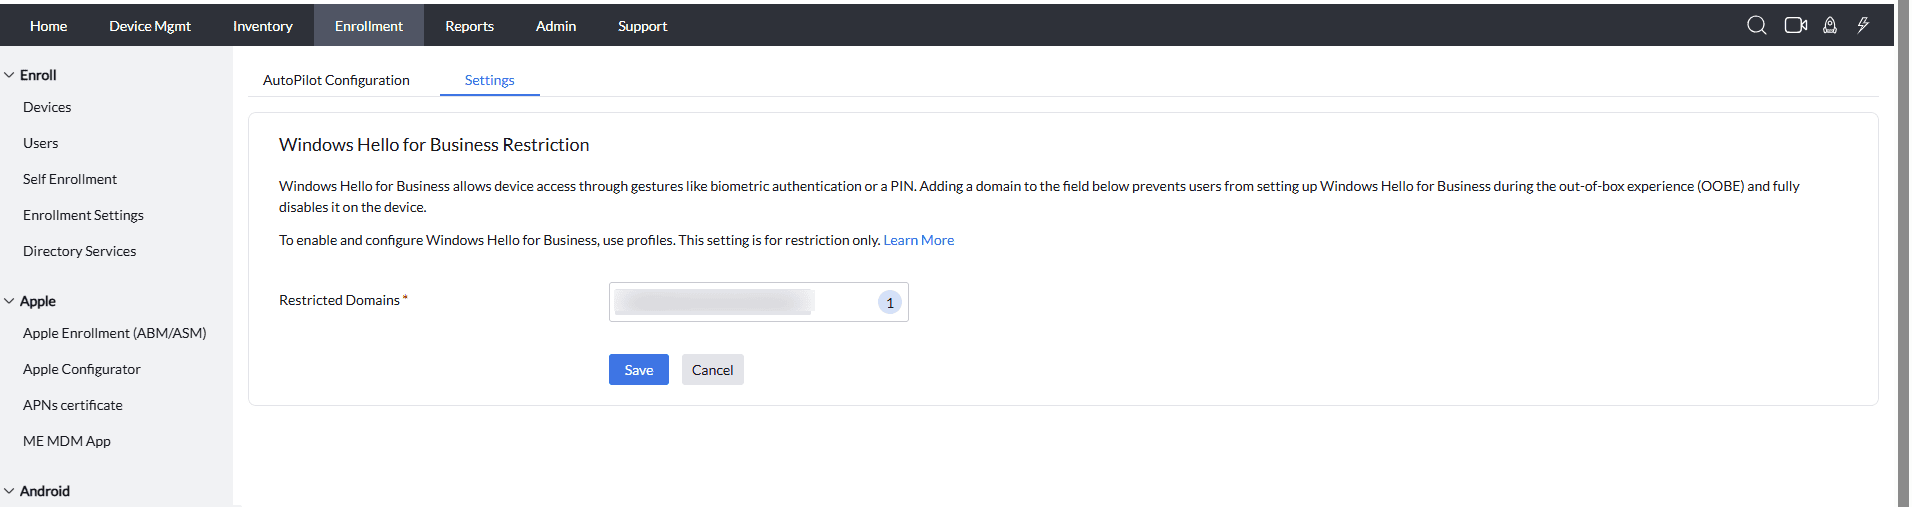
- Click Save.
Once configured and enrolled via Autopilot, devices associated with the listed domains will:
- Skip the Windows Hello for Business setup during OOBE.
- Have the feature disabled automatically on the device.