Configuring two-way SSL-enabled web applications
To allow access to two-way SSL-enabled web applications via the Cloud Protection Gateway Server, follow these two steps:
- Import a client certificate
- Upload an issuer certificate
Step 1: Import a client certificate
Client certificates confirm the legitimacy of the client by the server. To import one to Log360 Cloud, follow the below steps:
- Log in to the Log360 Cloud web console.
- Go to Settings -> Configuration -> Cloud Protection Settings -> Certificate -> Certificate Trust Store.
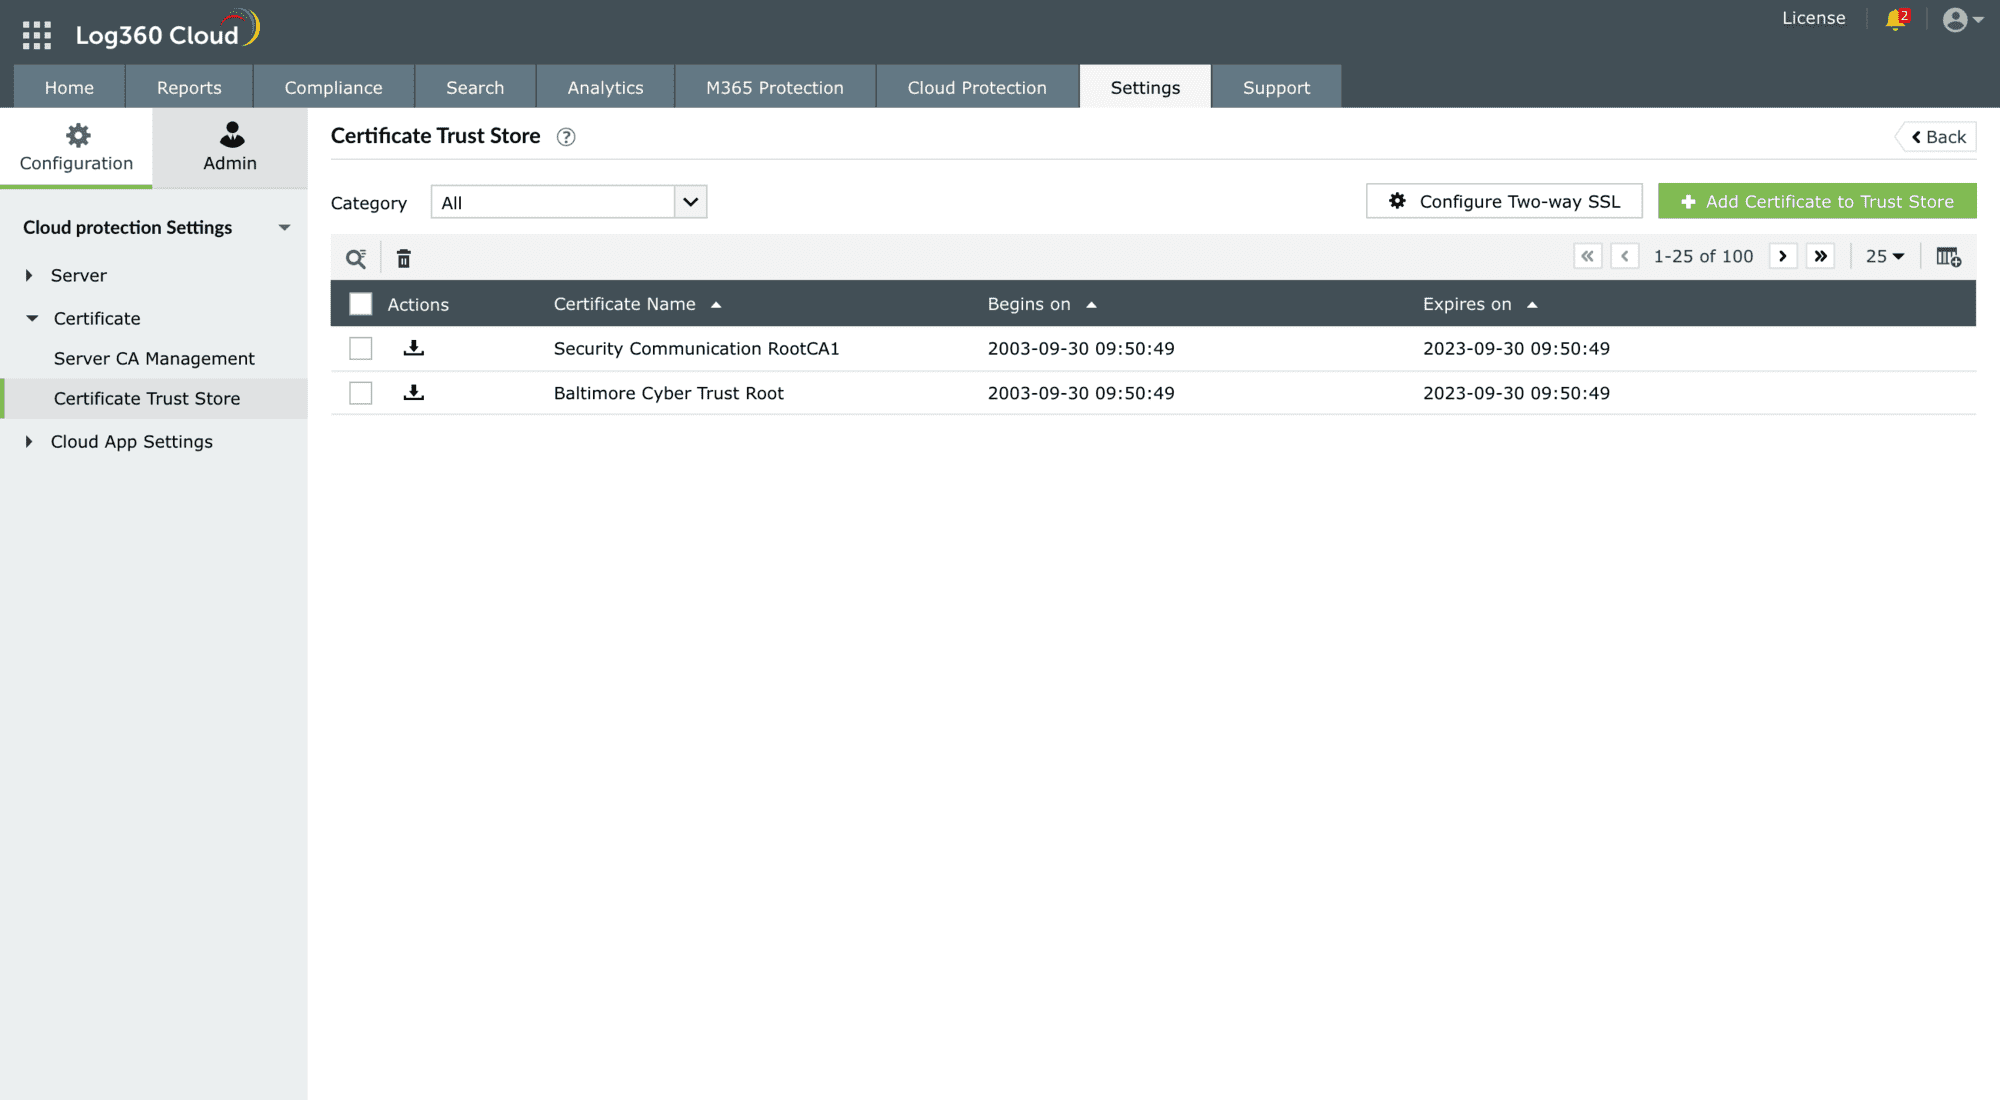
- Click on Configure Two-way SSL.
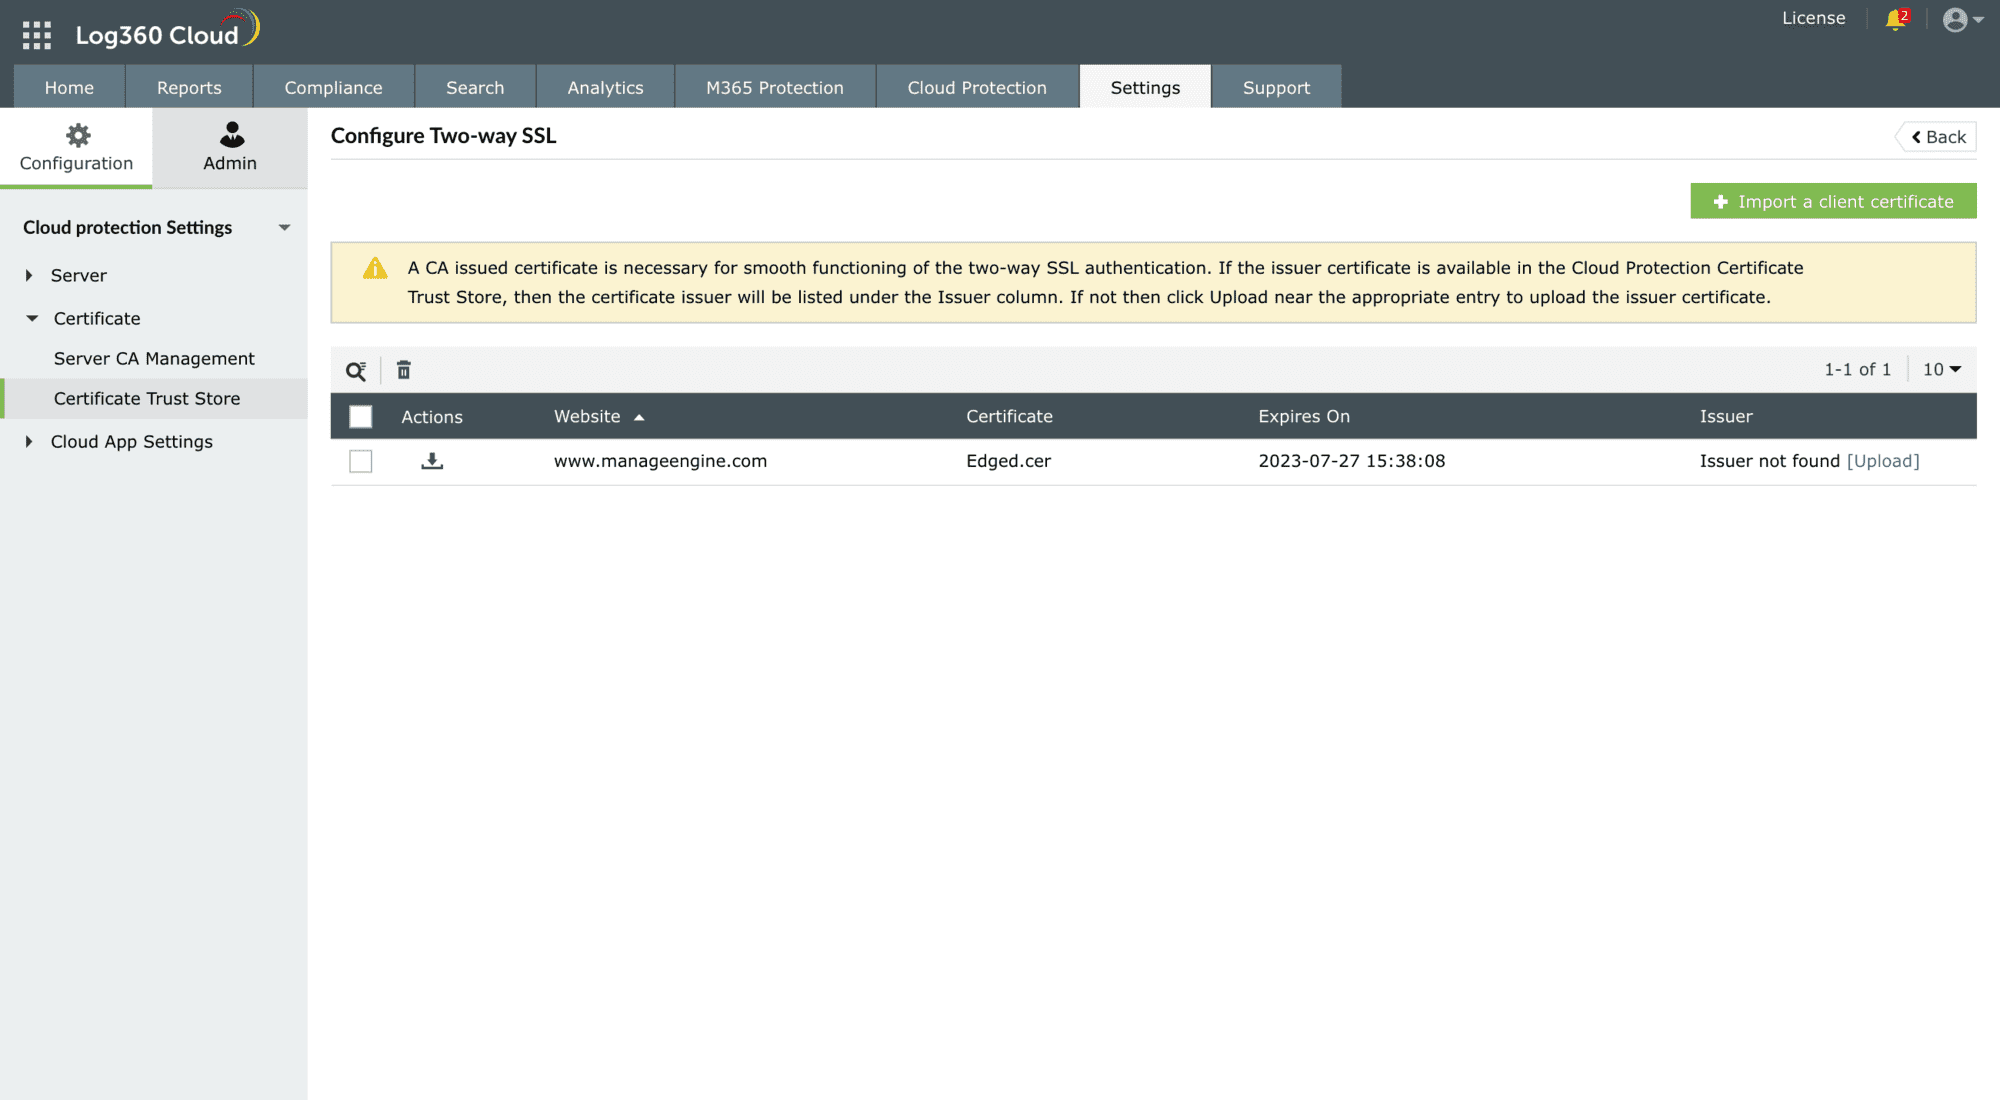
- Click Import a Client Certificate and type in the client website.
- Select the Client Certificate and provide the Client Certificate Password.
- Click Find Certificate Issuer to validate the issuer certificate. If the trust store already has the Issuer CA, then the issuer name will be displayed under Client Certificate Password.
- If the issuer certificate doesn't exist already in the trust store, click Browse and select the certificate file.
- Click Import to add the certificate.
Note:
- To download or view an imported client certificate, click the Download icon in the Actions column of the respective certificate in the Configure Two-way SSL page
- P12 and PFX certificate formats are supported.
Step 2: Upload an issuer certificate
Issuer certificates confirm the legitimacy of the client certificate. To upload one to Log360 Cloud, follow the below steps:
- Under the Issuer column, click the Upload link corresponding to the target certificate to select the issuer certificate from your machine.
- Click Import.
- In case the issuer certificate is deleted, you can re-upload it by following the above steps.
Note: Issuer certificates can be .cer (DER encoded), .cer (Base64 encoded), .crt, and .der.